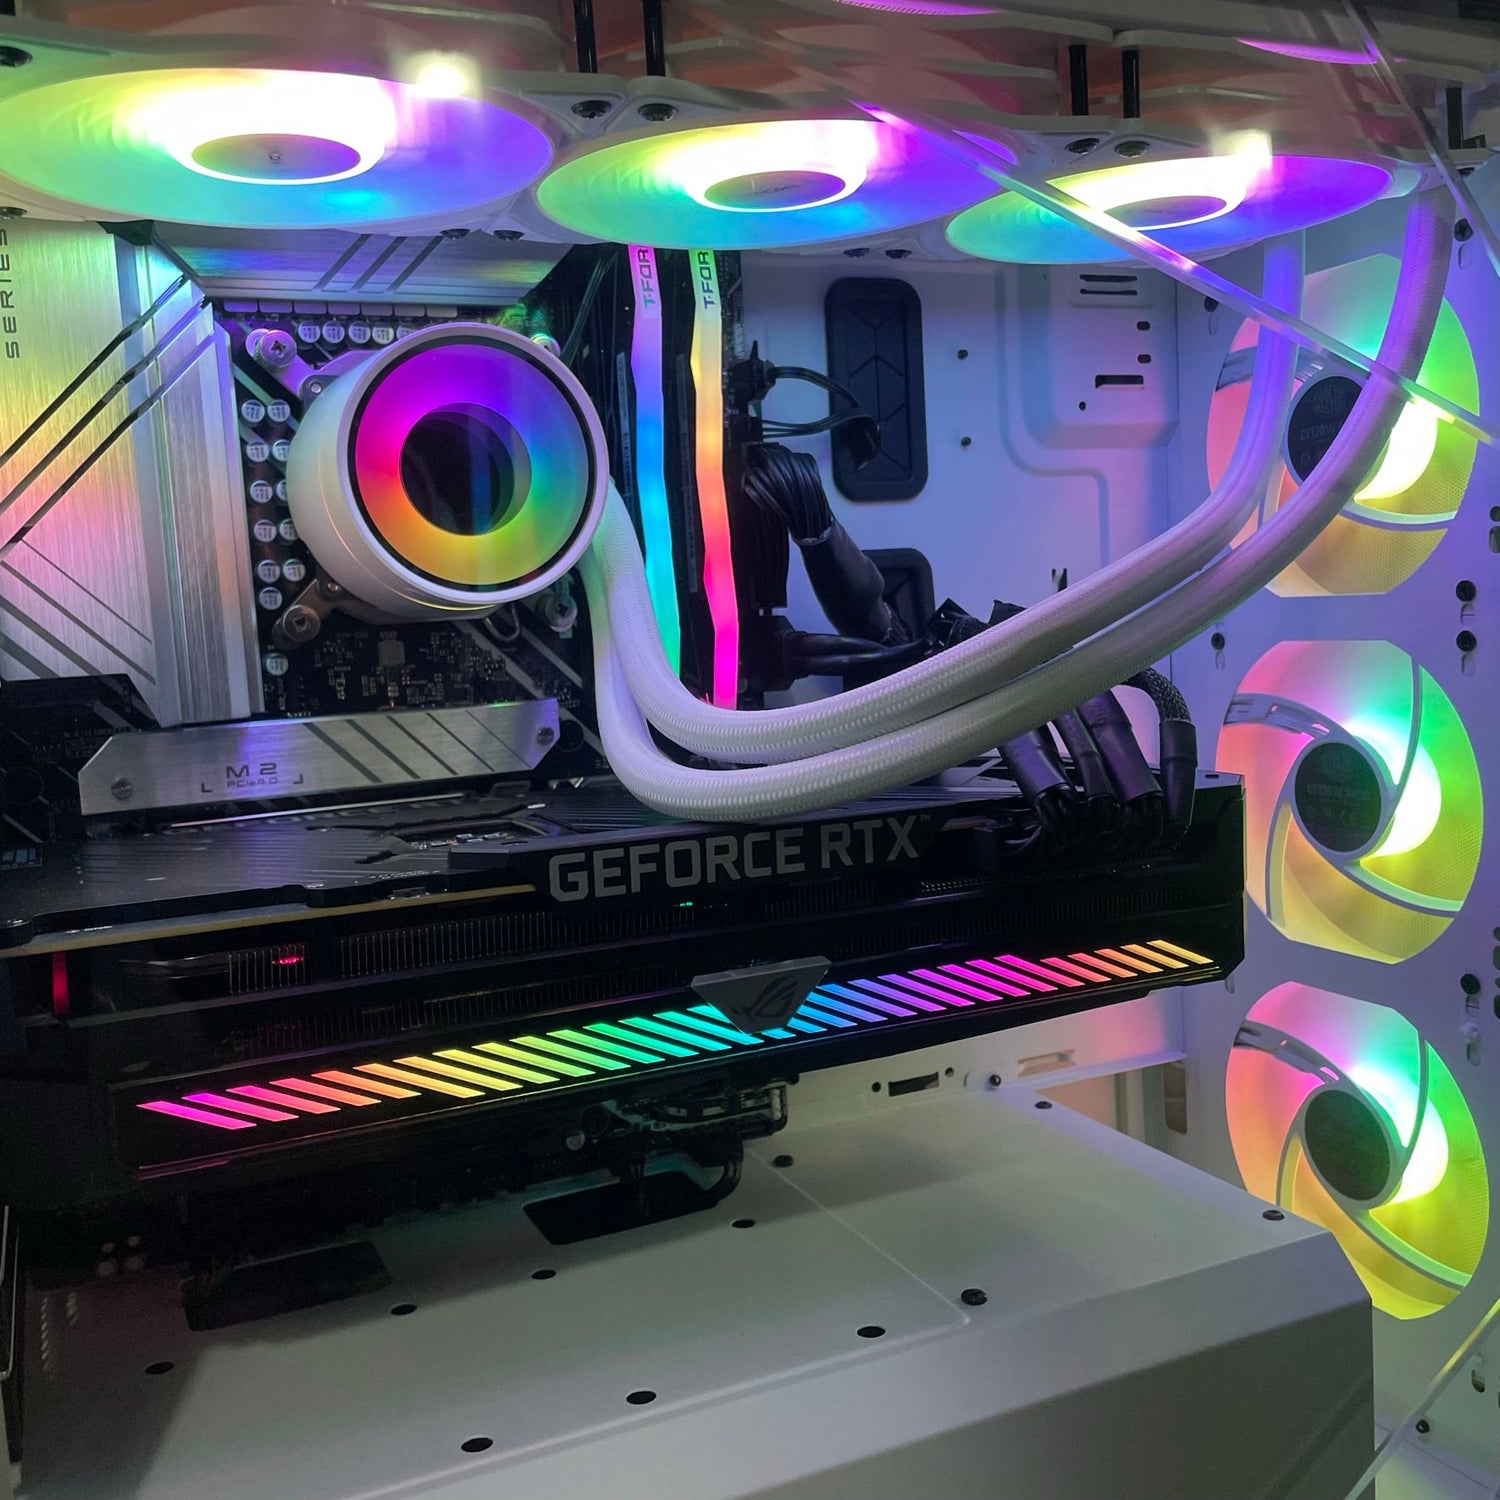
Welcome back to Groovy Computers, where we help you navigate the world of technology with ease! In this blog post, we'll share some tips and tricks for assembling your custom PC, with a focus on cable management and other essential skills. Let's get started!
- Preparation: The Key to a Smooth Assembly
a. Gather Your Tools: To assemble your PC, you'll need a Phillips-head screwdriver, a pair of tweezers, and a set of zip ties or Velcro straps for cable management.
b. Organize Your Workspace: Set up a clean, well-lit workspace with enough room to spread out your components and tools.
c. Ground Yourself: Static electricity can damage sensitive components. Ground yourself by touching an unpainted metal surface or wearing an anti-static wrist strap.
- Assembly Basics: Putting It All Together
a. Install the CPU: Carefully align the CPU with the socket on your motherboard, following the notches and marking indicators. Gently lower the CPU into place and secure the retention arm.
b. Attach the CPU Cooler: Apply a pea-sized amount of thermal paste to the CPU. Follow the cooler's installation instructions, ensuring it's securely attached to the motherboard.
c. Install RAM: Insert the RAM sticks into the appropriate DIMM slots on the motherboard, applying even pressure until the clips click into place.
d. Mount the Motherboard: Place the I/O shield into the case and then carefully lower the motherboard into position, aligning the mounting holes with the standoffs. Secure the motherboard with screws.
e. Install the GPU: Insert the GPU into the appropriate PCIe slot on the motherboard, applying gentle pressure until it clicks into place. Secure it with a screw to the case.
f. Add Storage: Mount your SSDs and HDDs in the appropriate drive bays or M.2 slots, following your case's guidelines.
- Mastering Cable Management: A Neat and Organized Build
a. Plan Your Routing: Before connecting cables, plan their routes to ensure a clean and organized look. Identify the shortest and most direct paths between components.
b. Use Cable Ties or Velcro Straps: Secure loose cables with zip ties or Velcro straps to keep them tidy and prevent them from obstructing airflow. Some cases also have built-in cable management channels or hooks.
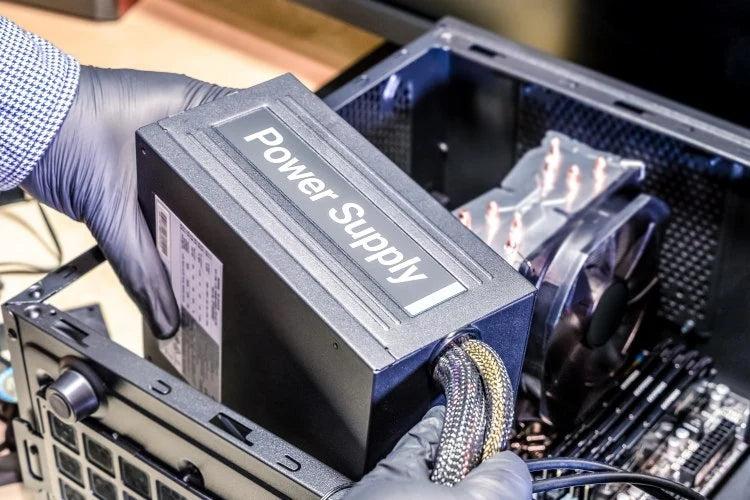
c. Connect Power Cables: Attach the necessary power cables from your PSU to the motherboard, GPU, and storage devices. Tuck excess cable length out of sight, behind the motherboard tray or in designated compartments.
d. Manage Data Cables: Connect SATA cables and front panel connectors to the motherboard. Route these cables neatly, using the same cable management techniques as with power cables.
- Final Touches: Double-Check and Test
a. Inspect Your Work: Examine your build for any loose connections, unsecured components, or obstructed fans.
b. Test Your System: Connect your monitor, keyboard, and mouse, and power up your PC. If everything is working correctly, you should see the BIOS/UEFI screen. If not, recheck your connections and component installations.
With these assembly tips and tricks, you'll be well on your way to mastering cable management and other essential skills for building a custom PC. By planning, organizing, and securing your cables, you'll create a clean, efficient, and visually appealing system. Happy building!


Leave a comment
All comments are moderated before being published.
This site is protected by hCaptcha and the hCaptcha Privacy Policy and Terms of Service apply.