

Building your own PC in 2025 gives you complete control over your gaming experience while saving 15-25% compared to pre-built systems. At Groovy Computers, we've helped hundreds of gamers put together their dream machines, and I can tell you that the satisfaction of pressing that power button for the first time is something special.
The market has never been more exciting. With AMD's 3D V-Cache processors leading gaming performance and graphics cards spanning from budget-friendly options to powerhouse 4K beasts, there's a perfect build waiting for every gamer and budget.
Key Takeaway
- Building your own PC typically saves you 15-25% compared to buying pre-built systems while giving you complete control over component selection
- The CPU and motherboard socket must match perfectly, and your memory needs to go in specific slots (usually slots 2 and 4) for best performance
- Budget builds start around $700-800 for solid 1080p gaming, while $1,200-1,500 gets you excellent 1440p performance
- Graphics cards are the biggest performance factor for gaming, but current market conditions mean some GPUs sell for significantly above their suggested prices
- DDR5 memory now offers up to 31% better gaming performance than DDR4 and should be your choice for new builds in 2025
Understanding PC Build Budgets and What They Get You
When customers reach out to us at Groovy Computers, the first question is always about budget. The good news? You can build a capable gaming PC at almost any price point in 2025.
Budget builds in the $700-800 range deliver solid 1080p gaming performance. A typical setup at this price includes an AMD Ryzen 5 7600 processor, 16GB of DDR5 memory, a 1TB NVMe SSD, and an RX 6600 graphics card. You're looking at 60-80 FPS in modern titles at high settings, which is more than enough for most gamers.
The $1,200-1,500 sweet spot is where things get really exciting. This is our most recommended range for serious gamers. You can grab a Ryzen 7 processor, bump up to 32GB of DDR5 memory, and pair it with an RTX 5070 graphics card. This setup crushes 1440p gaming at 80-120 FPS in demanding titles with room for ray tracing.
High-end builds between $1,800-2,500 target enthusiast-level performance. These systems feature top-tier CPUs like the Ryzen 9 9800X3D and graphics cards such as the RTX 5070 Ti or RTX 5080. You're getting 100+ FPS at 1440p with ray tracing enabled, or solid 4K gaming at 60+ FPS depending on the game.
The extreme enthusiast segment exceeds $4,000 and chases no-compromise 4K performance. These builds center around flagship processors and the RTX 5090 graphics card. While the performance is incredible, the RTX 5090 currently sells for $2,919 compared to its $1,999 suggested price, which is something to consider carefully.
Pre-built systems typically cost about 20% more than equivalent DIY builds across all price tiers. However, that premium might be worth it if you want warranty coverage for the entire system and professional assembly.
CPU Selection: AMD vs Intel in 2025
The processor is the brain of your PC build, and choosing between AMD and Intel affects everything from gaming performance to your upgrade path.
AMD maintains a strong gaming performance advantage with its 3D V-Cache technology. The Ryzen 7 9800X3D specifically targets gaming applications and offers very low latency. In real-world testing, games like Elden Ring, Starfield, and Hogwarts Legacy show performance gains of 5-15 FPS at 1080p and 1440p compared to Intel's flagship processors.
Intel counters with strong single-thread performance and high boost clocks. The Core i9-14900F delivers excellent gaming results in applications that favor high clock speeds. Intel also maintains advantages in compatibility and stability with certain titles and older games due to long-standing relationships with developers.
For budget-conscious builders, the Intel Core i5-14600KF represents excellent value in the mainstream segment. It's a 10-core processor that handles gaming and multitasking with ease.
The Ryzen 9 9950X3D beats Intel's comparable chips by significant margins in gaming-focused testing. According to current testing, it delivers about 40 FPS more in 1080p gaming scenarios, establishing AMD's clear lead for pure gaming builds.
Socket compatibility is crucial – your CPU and motherboard must use the same socket type. AMD's AM5 platform supports both Ryzen 7000 and 8000 series processors, while Intel's LGA 1700 works with 12th and 13th generation chips. This matters because it affects your future upgrade options.
Intel uses LGA (Land Grid Array) sockets where pins are on the motherboard. AMD uses PGA (Pin Grid Array) design with pins on the CPU itself. Both work perfectly fine, but AMD's approach allows for visual alignment during installation while Intel's design makes the CPU more robust during handling.
Memory: DDR5 vs DDR4 and How Much You Need
Memory technology took a big leap forward with DDR5, and the benefits are real.
Independent testing from Digital Foundry revealed average frame rate improvements of up to 31% when upgrading from DDR4 to DDR5. That's not a small difference. Current recommendations center on 32GB DDR5-6000 kits with CAS latency of 30, which can boost average frame rates by up to 14% compared to 16GB DDR5-4800 setups.
The maturity of DDR5 technology in 2025 makes these higher-performance kits more accessible to mainstream builders. DDR4 remains viable for budget builds, but if you're building new, DDR5 makes more sense for the long haul.
Here's a mistake we see constantly at Groovy Computers: new builders install memory modules in slots next to each other rather than the recommended second and fourth slots. This results in single-channel operation and leaves significant CPU performance on the table. Your motherboard manual will show you exactly which slots to use, but it's almost always slots 2 and 4 for dual-channel operation.
Memory capacity matters more than ever in 2025. 16GB is the absolute minimum for gaming, but 32GB has become the sweet spot. Many modern games like Star Citizen and Starfield can use over 16GB during gameplay, and having extra RAM means smoother multitasking when you're streaming or recording.
High-frequency memory also benefits integrated graphics performance, making it particularly valuable for budget builds using APUs or systems with secondary display outputs. The performance gains extend beyond just frame rates to include reduced stuttering and faster texture loading.
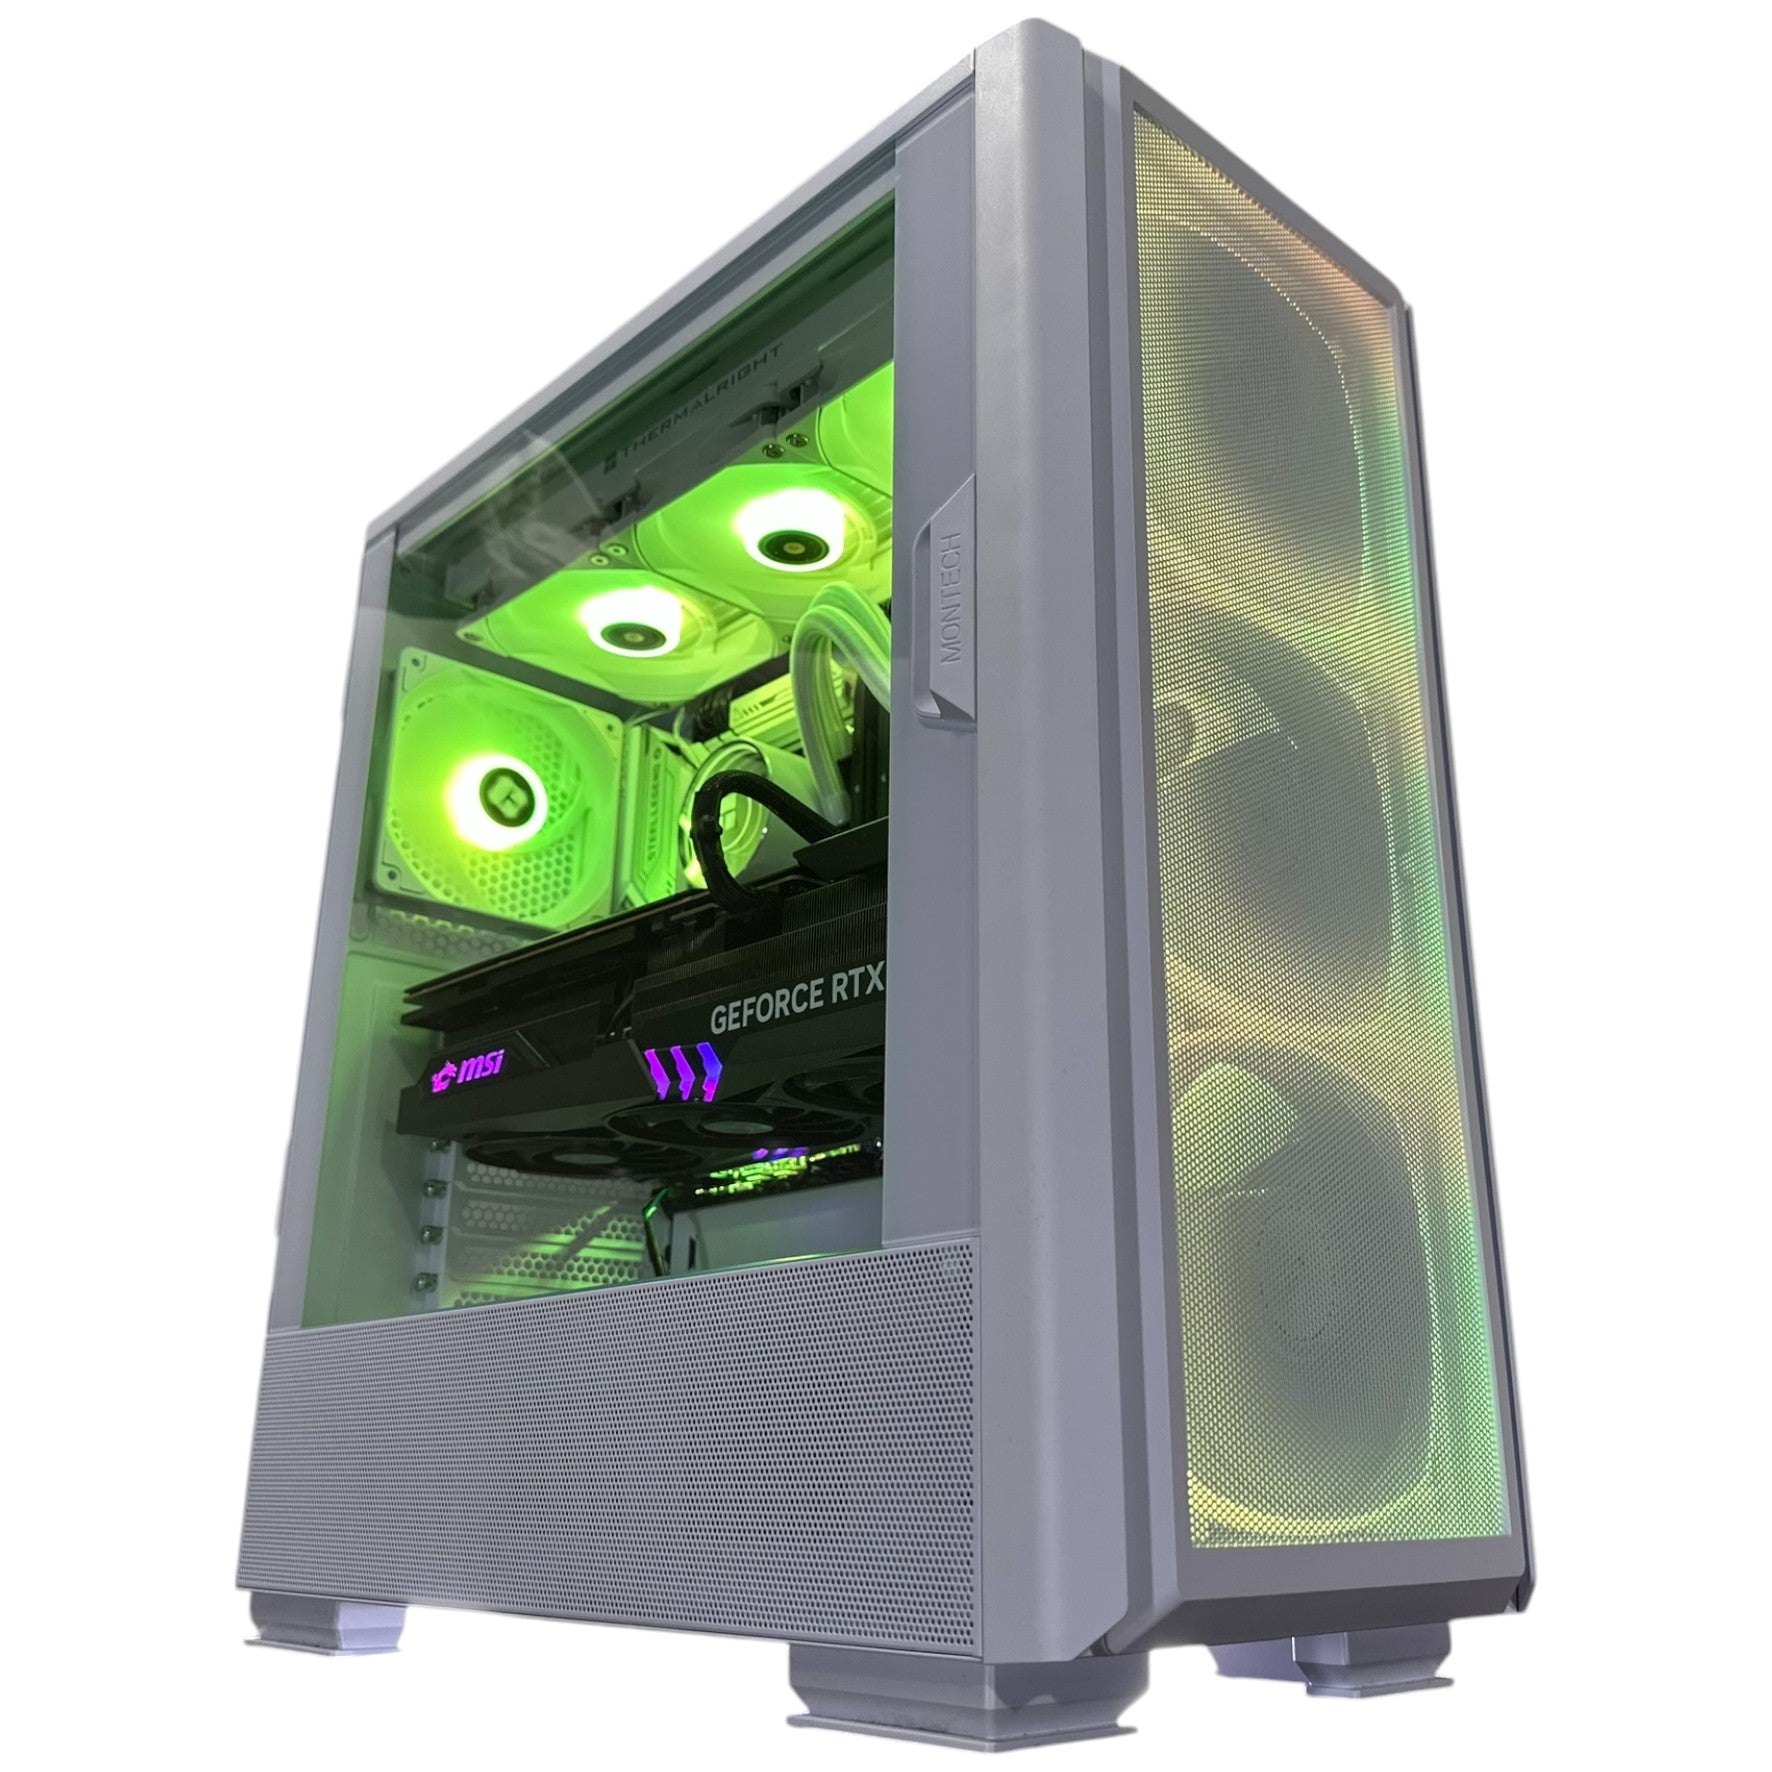
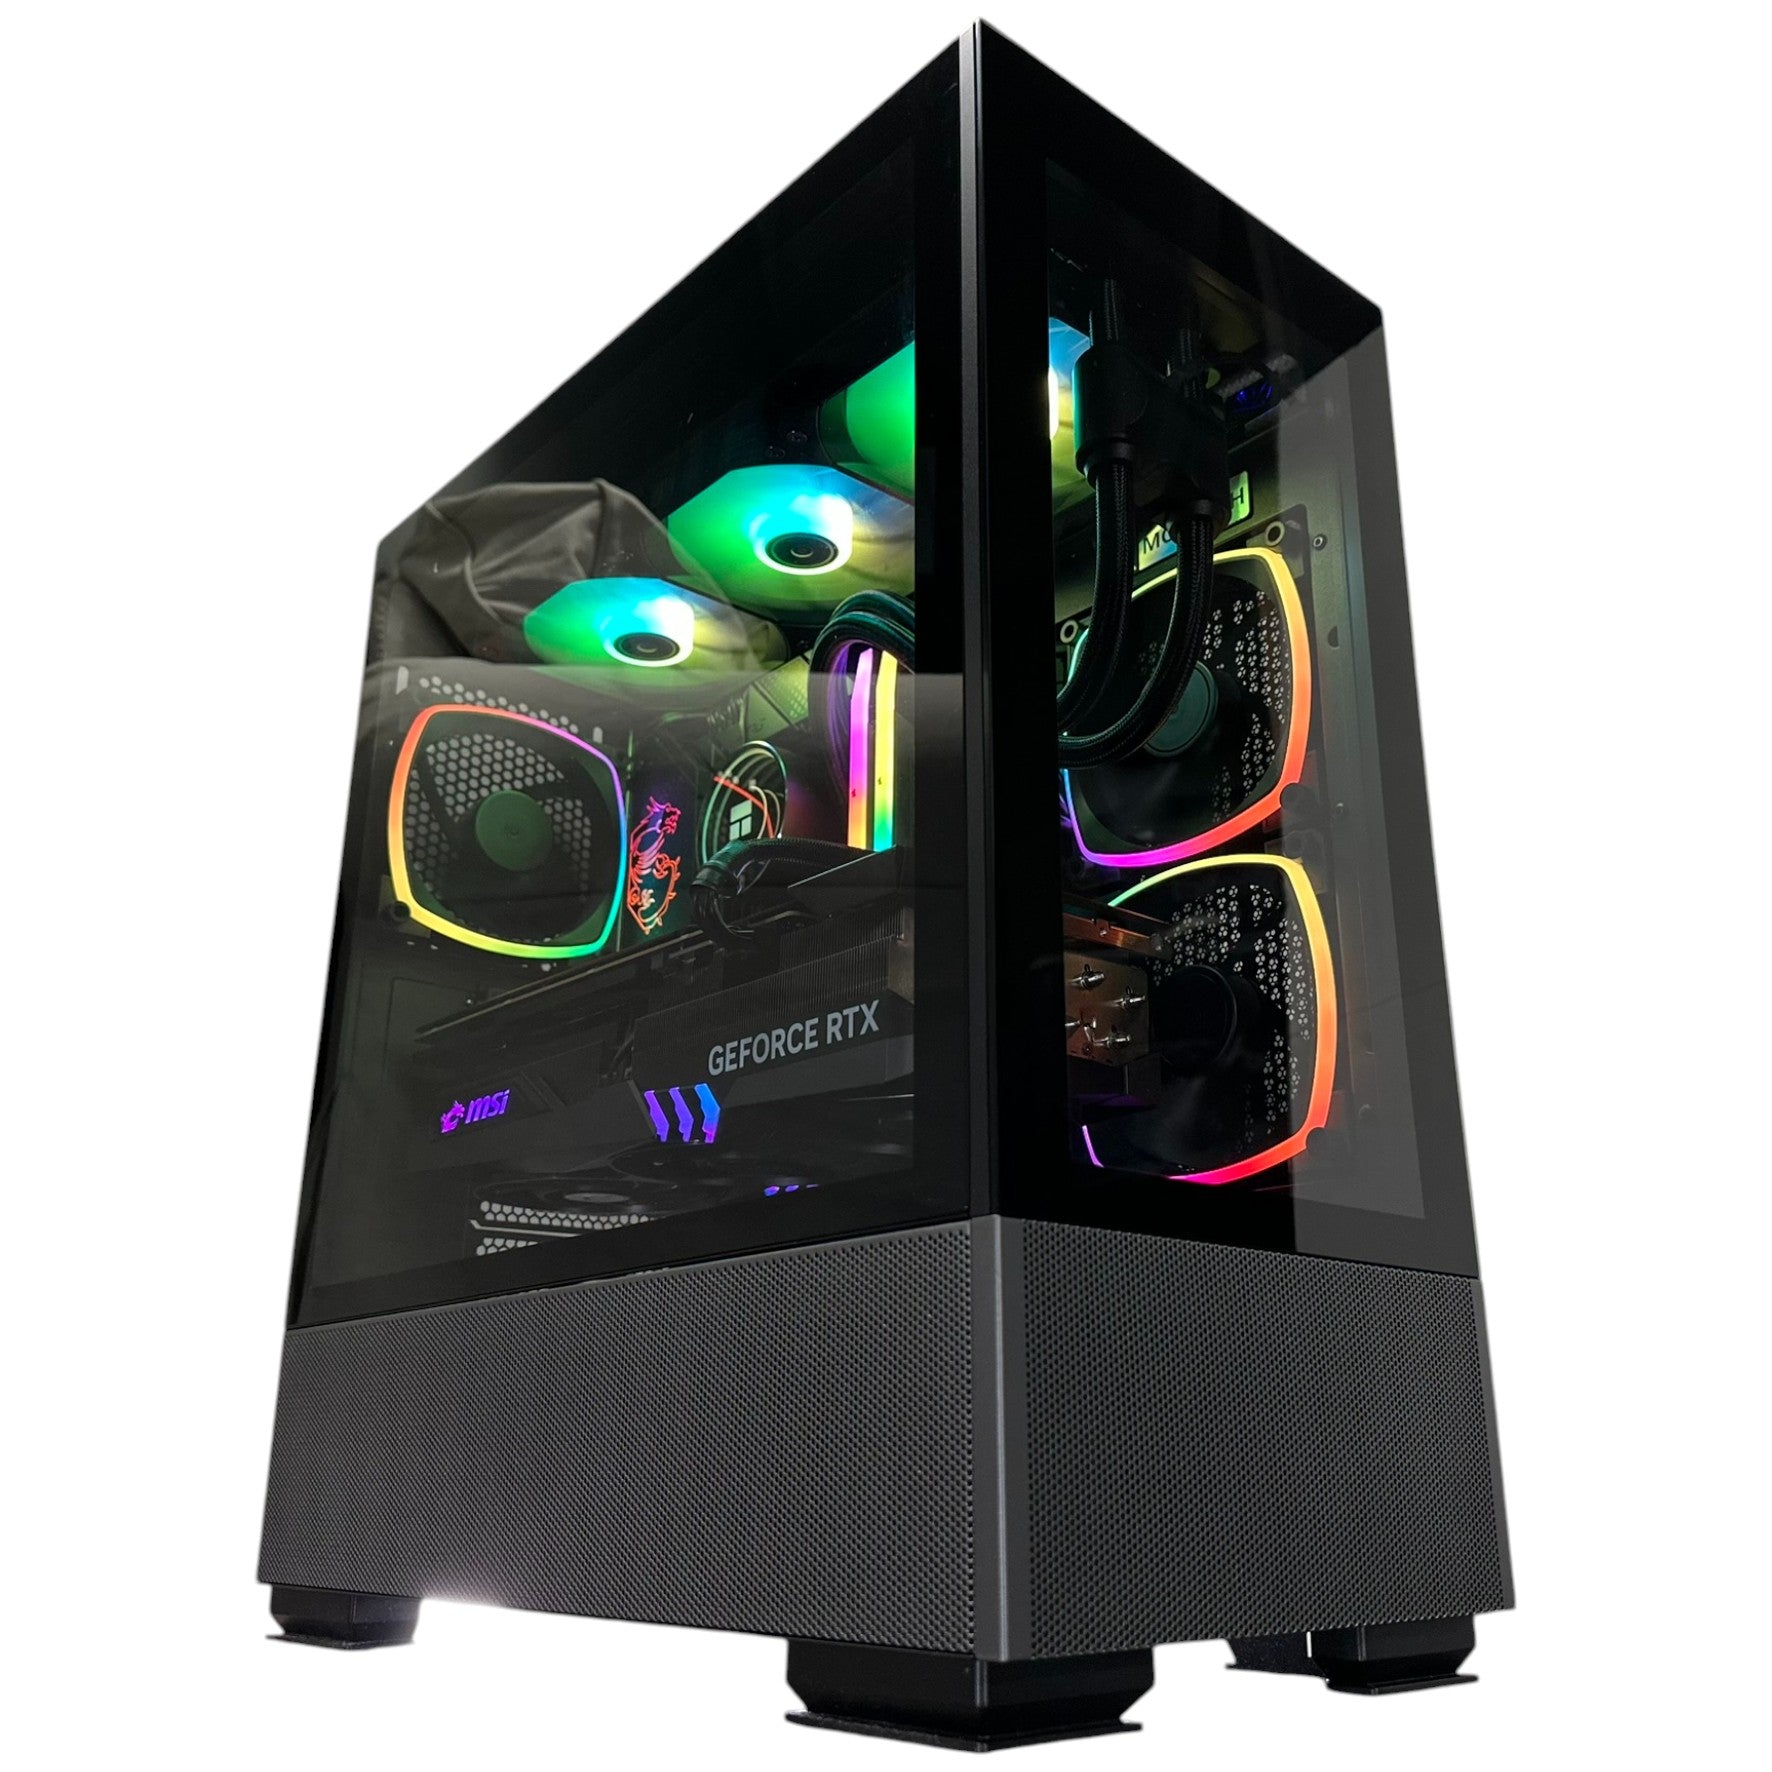
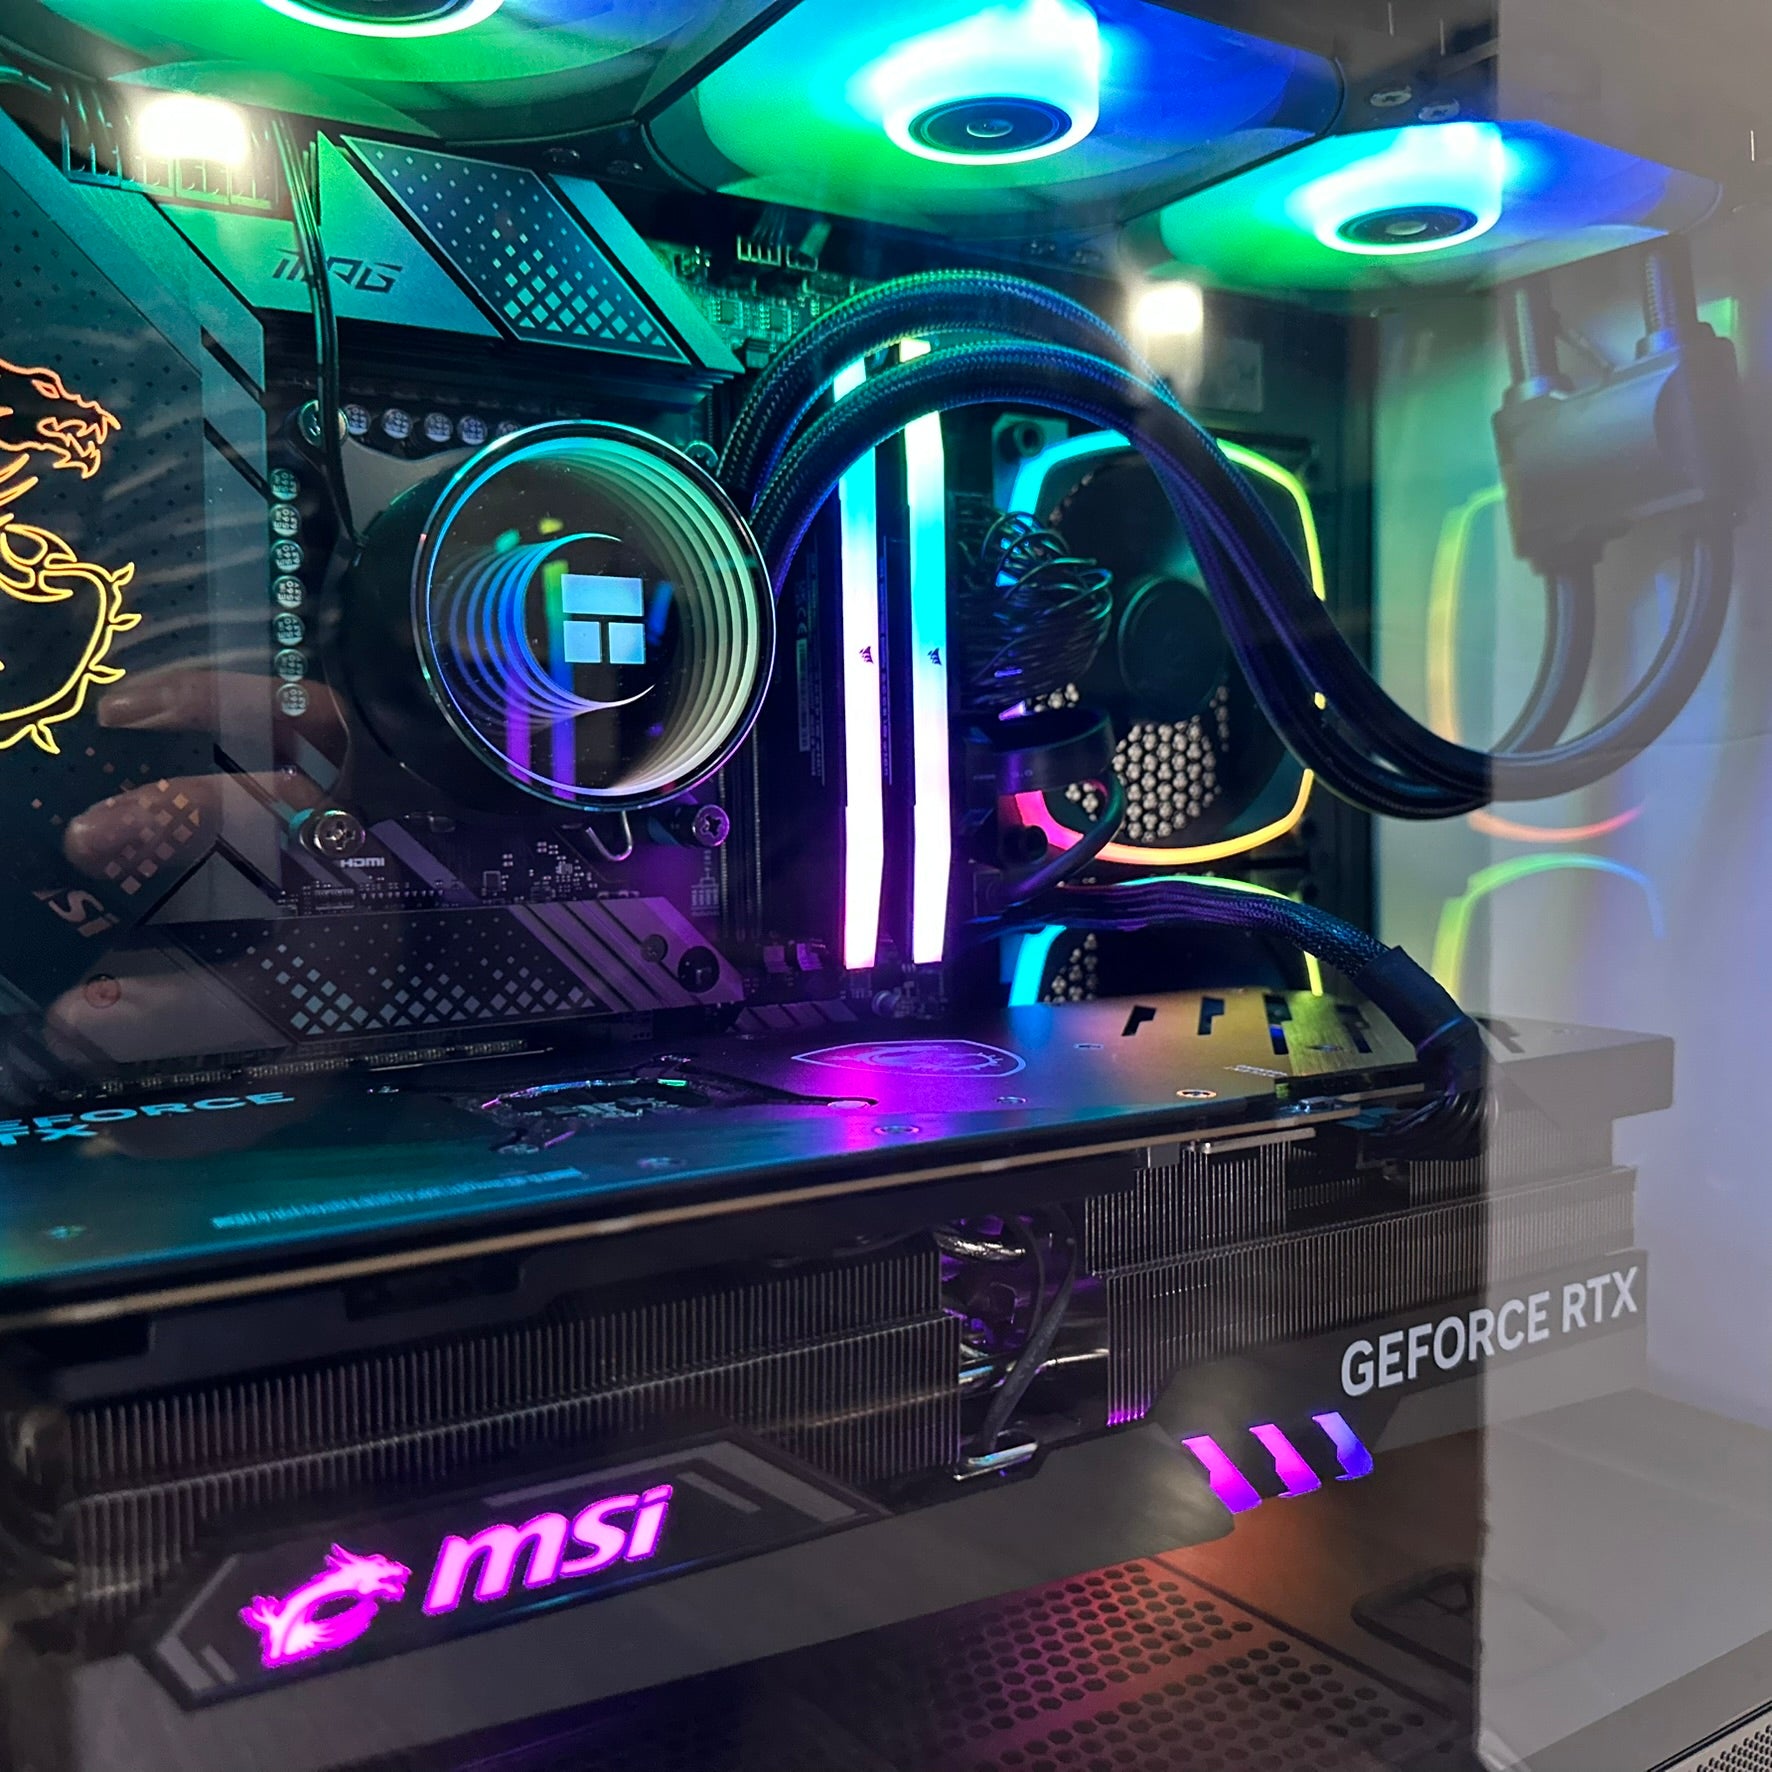
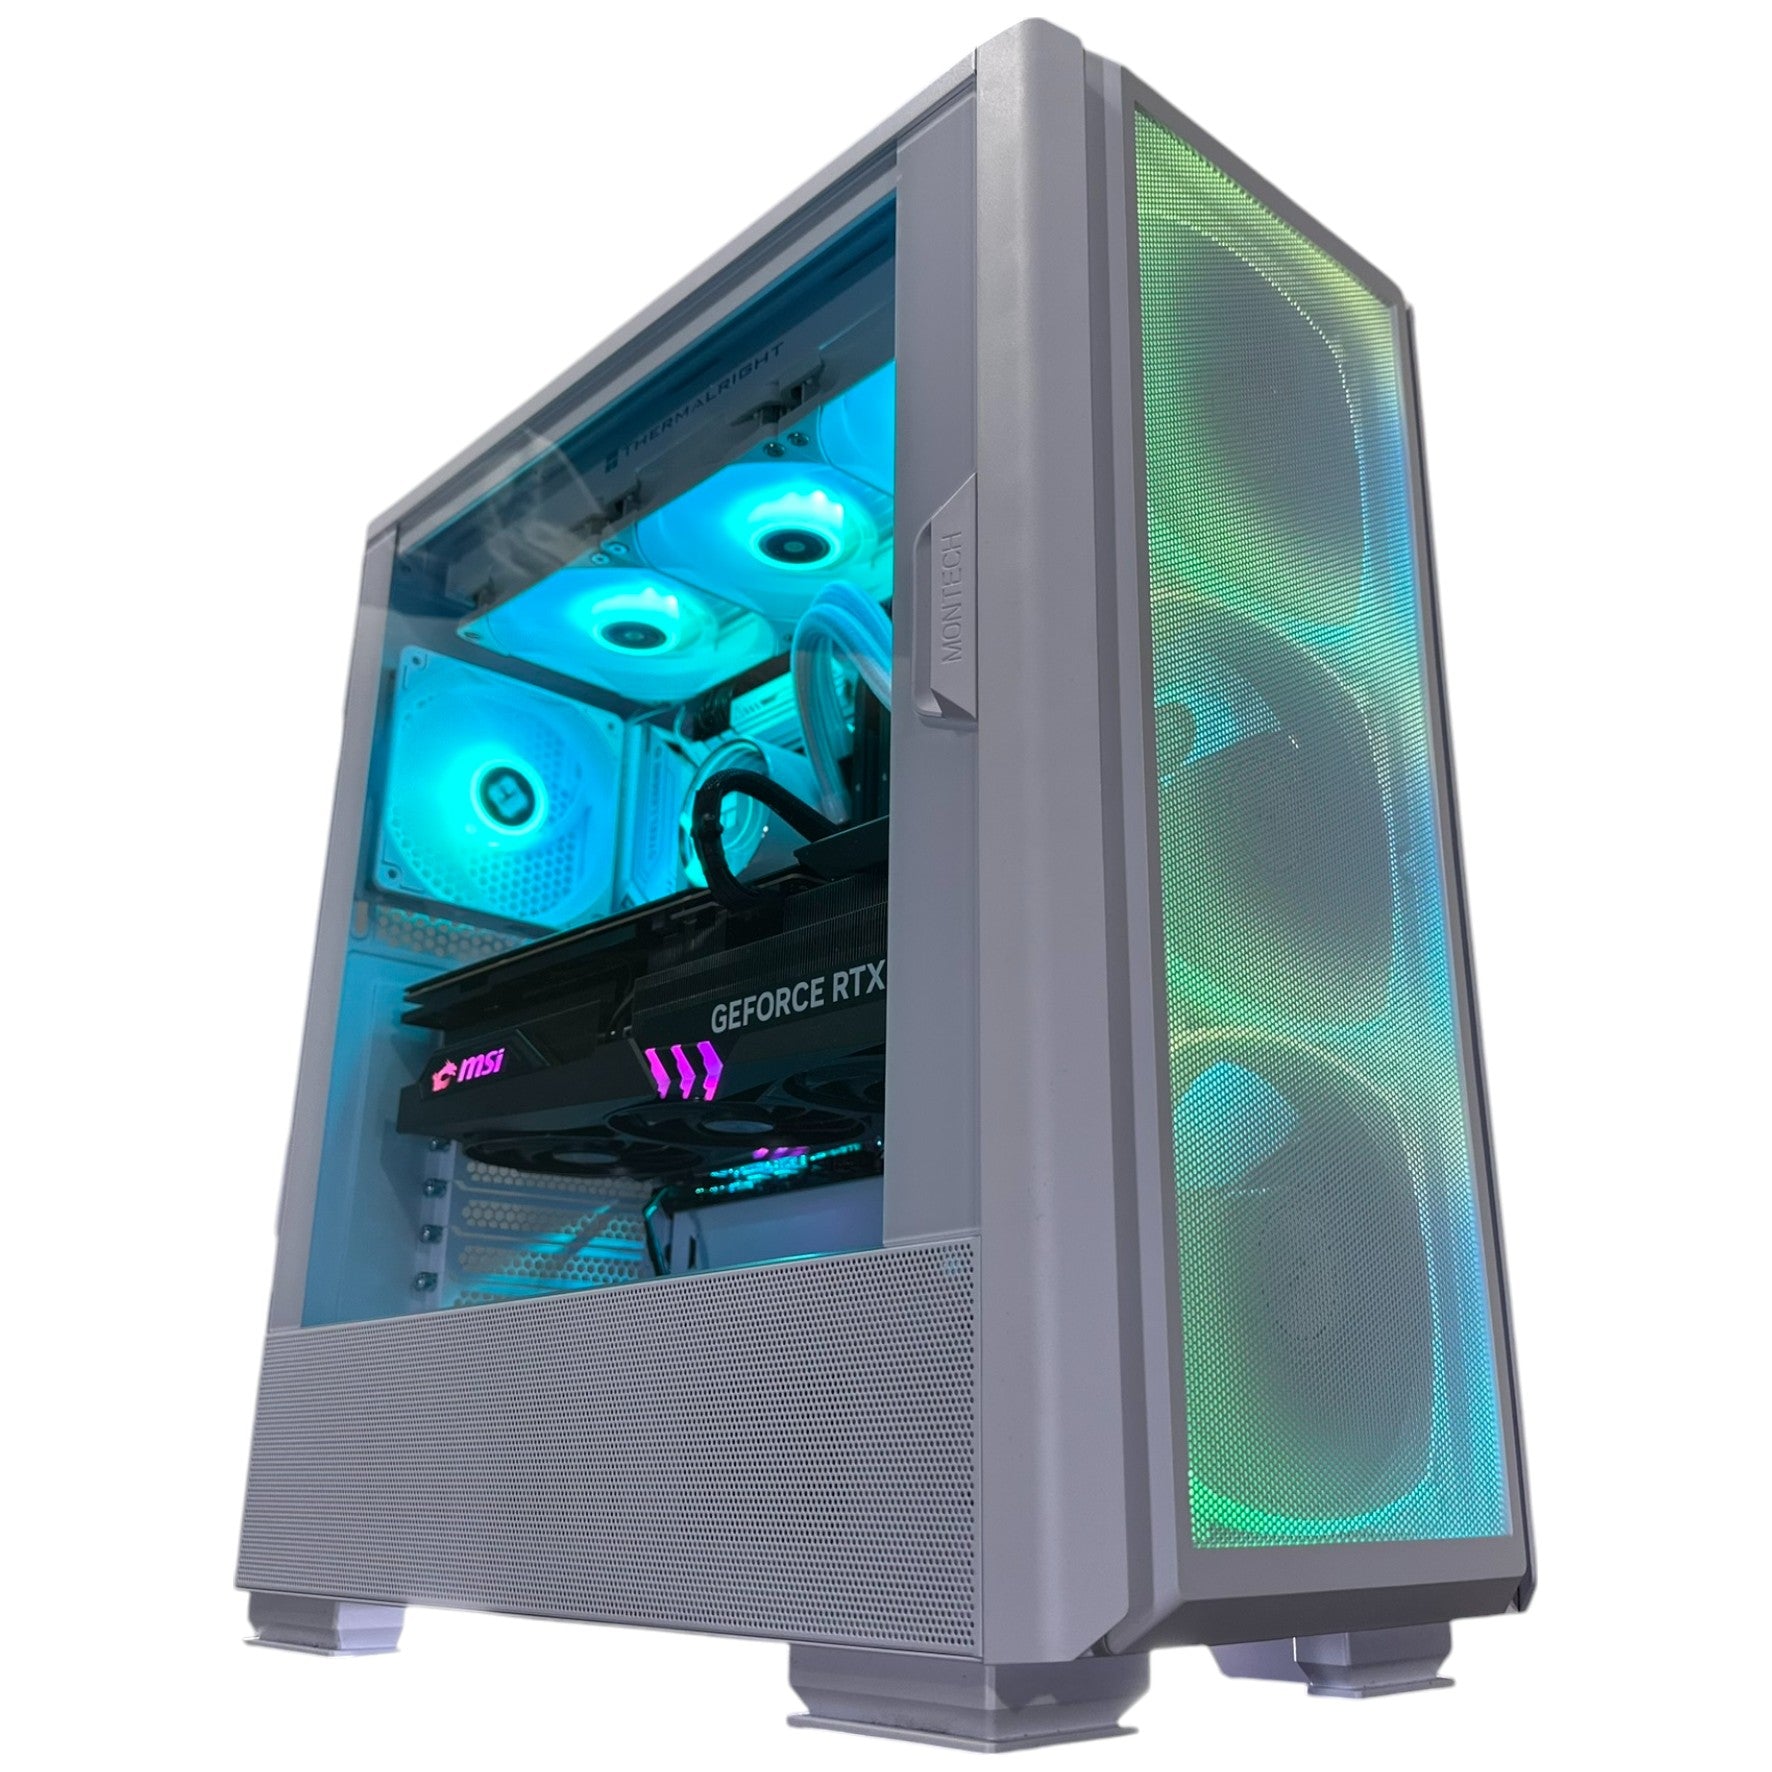
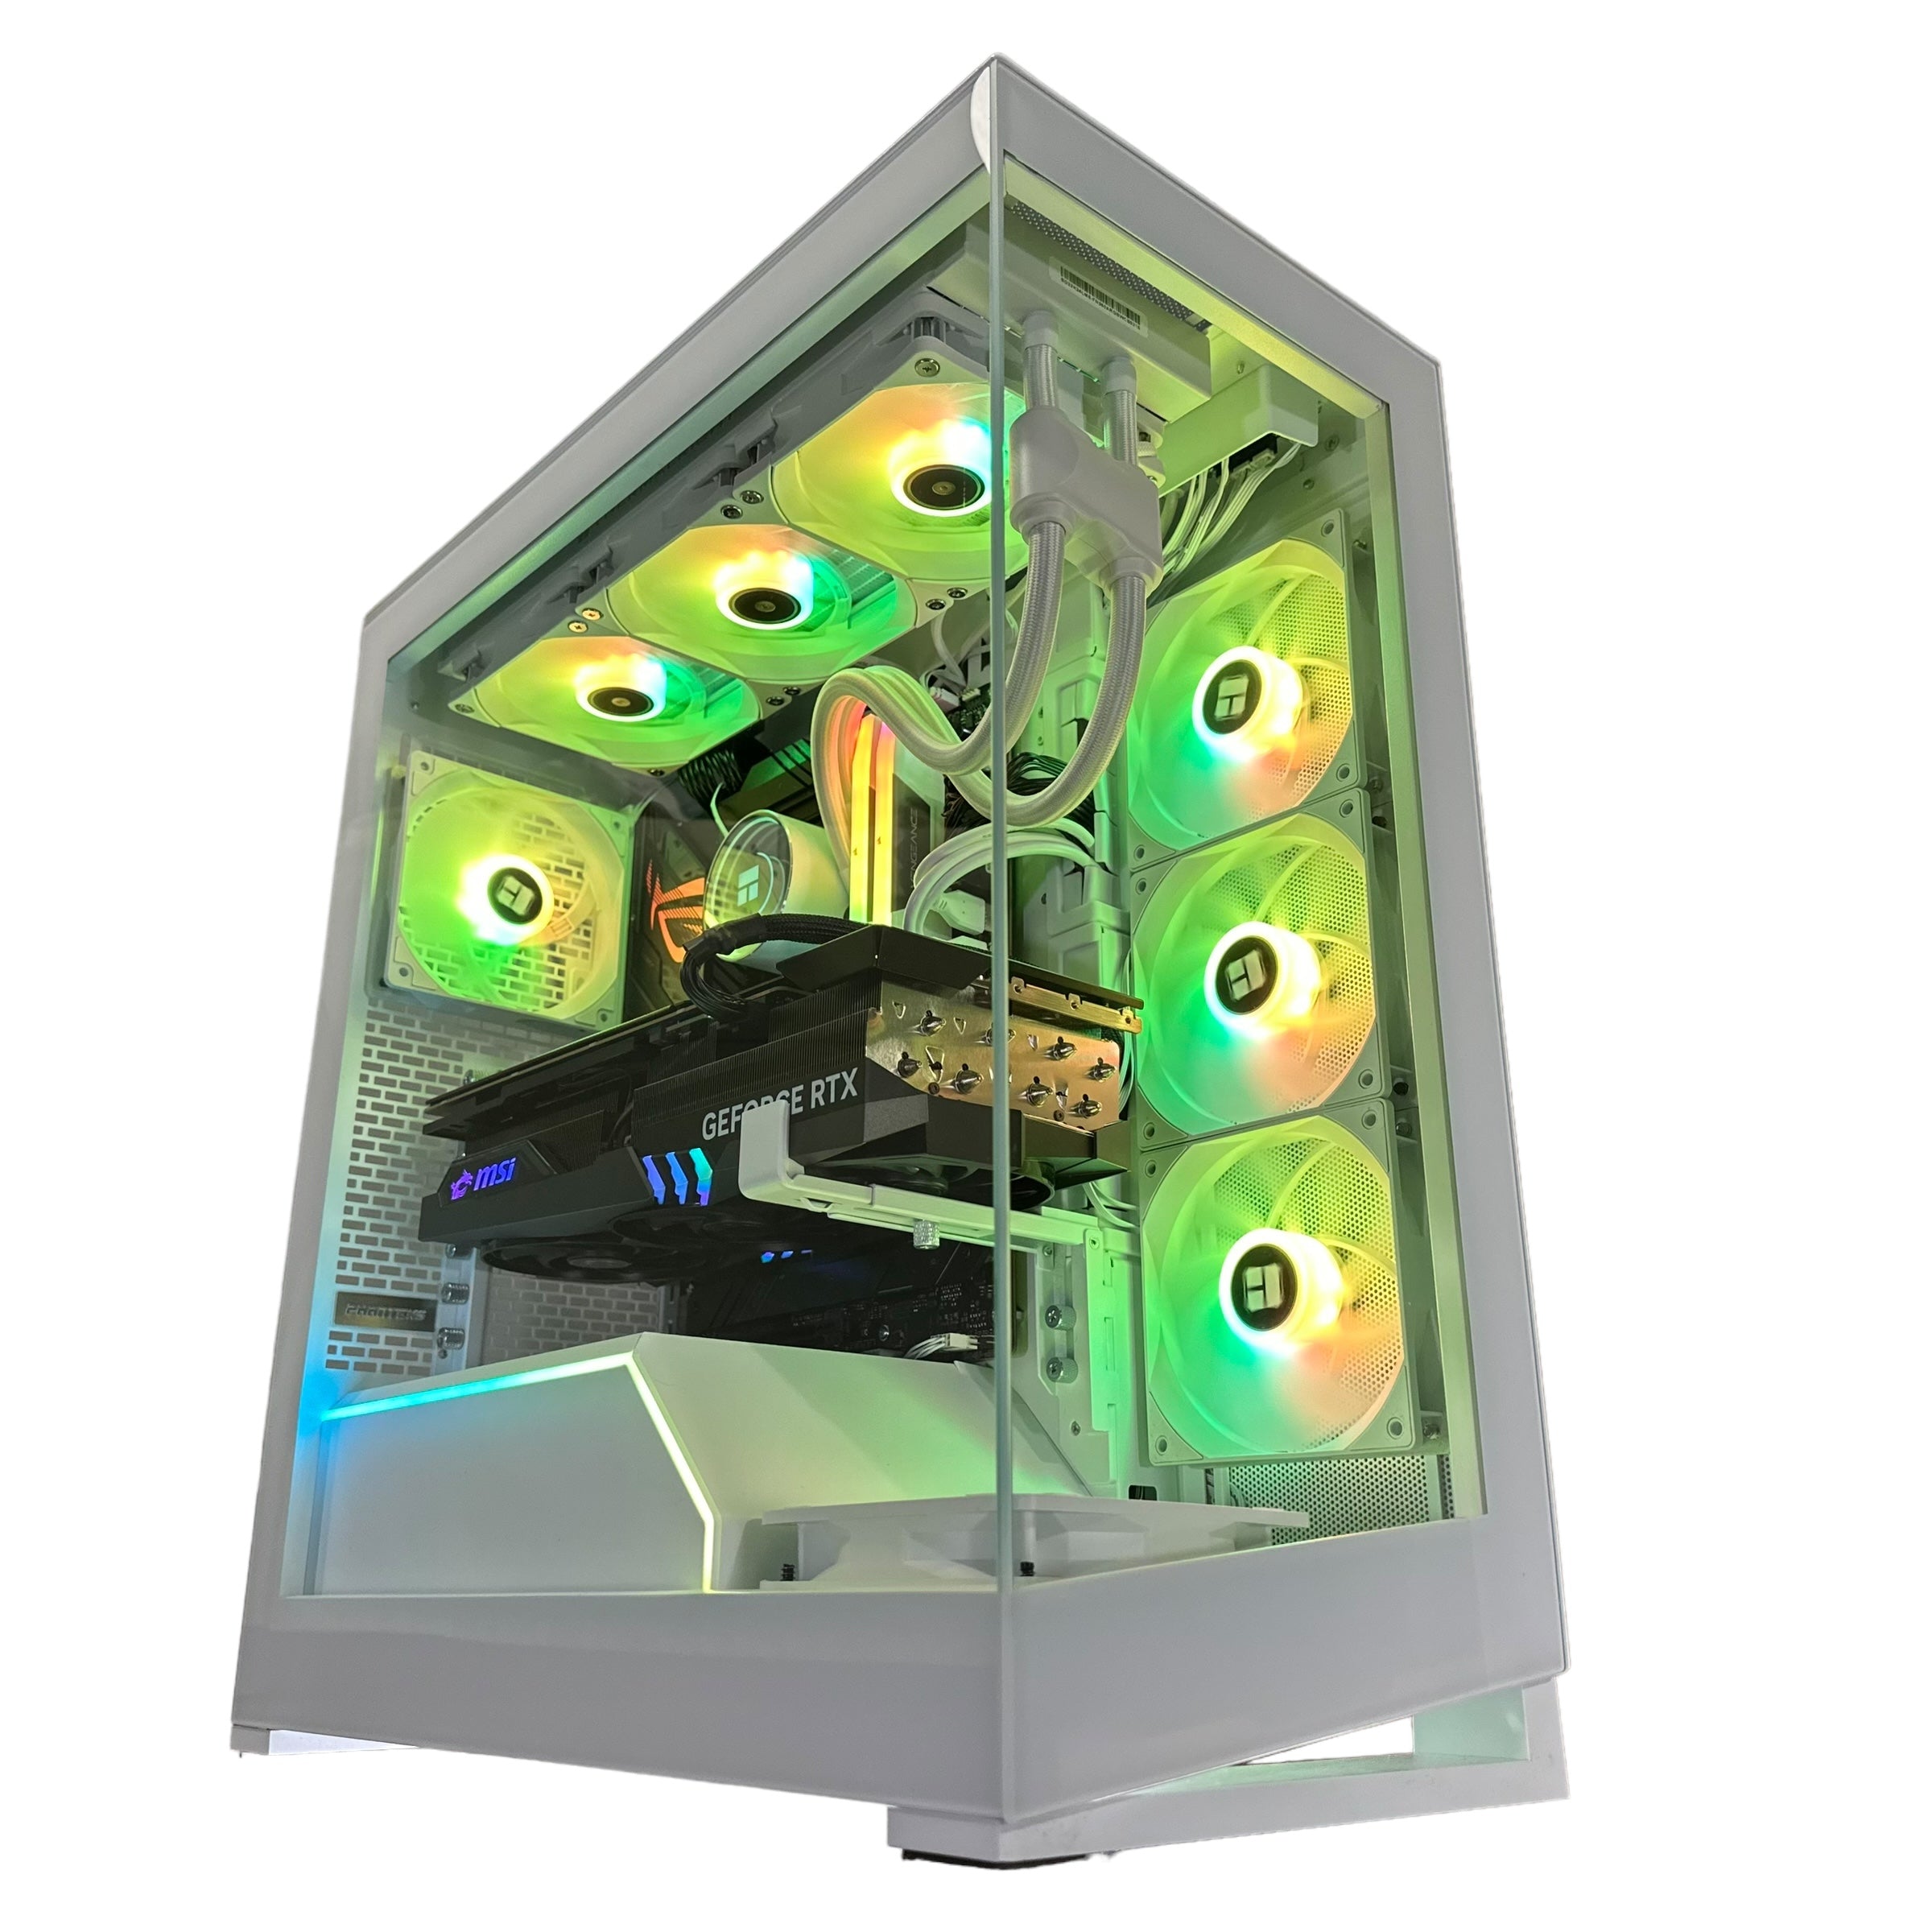
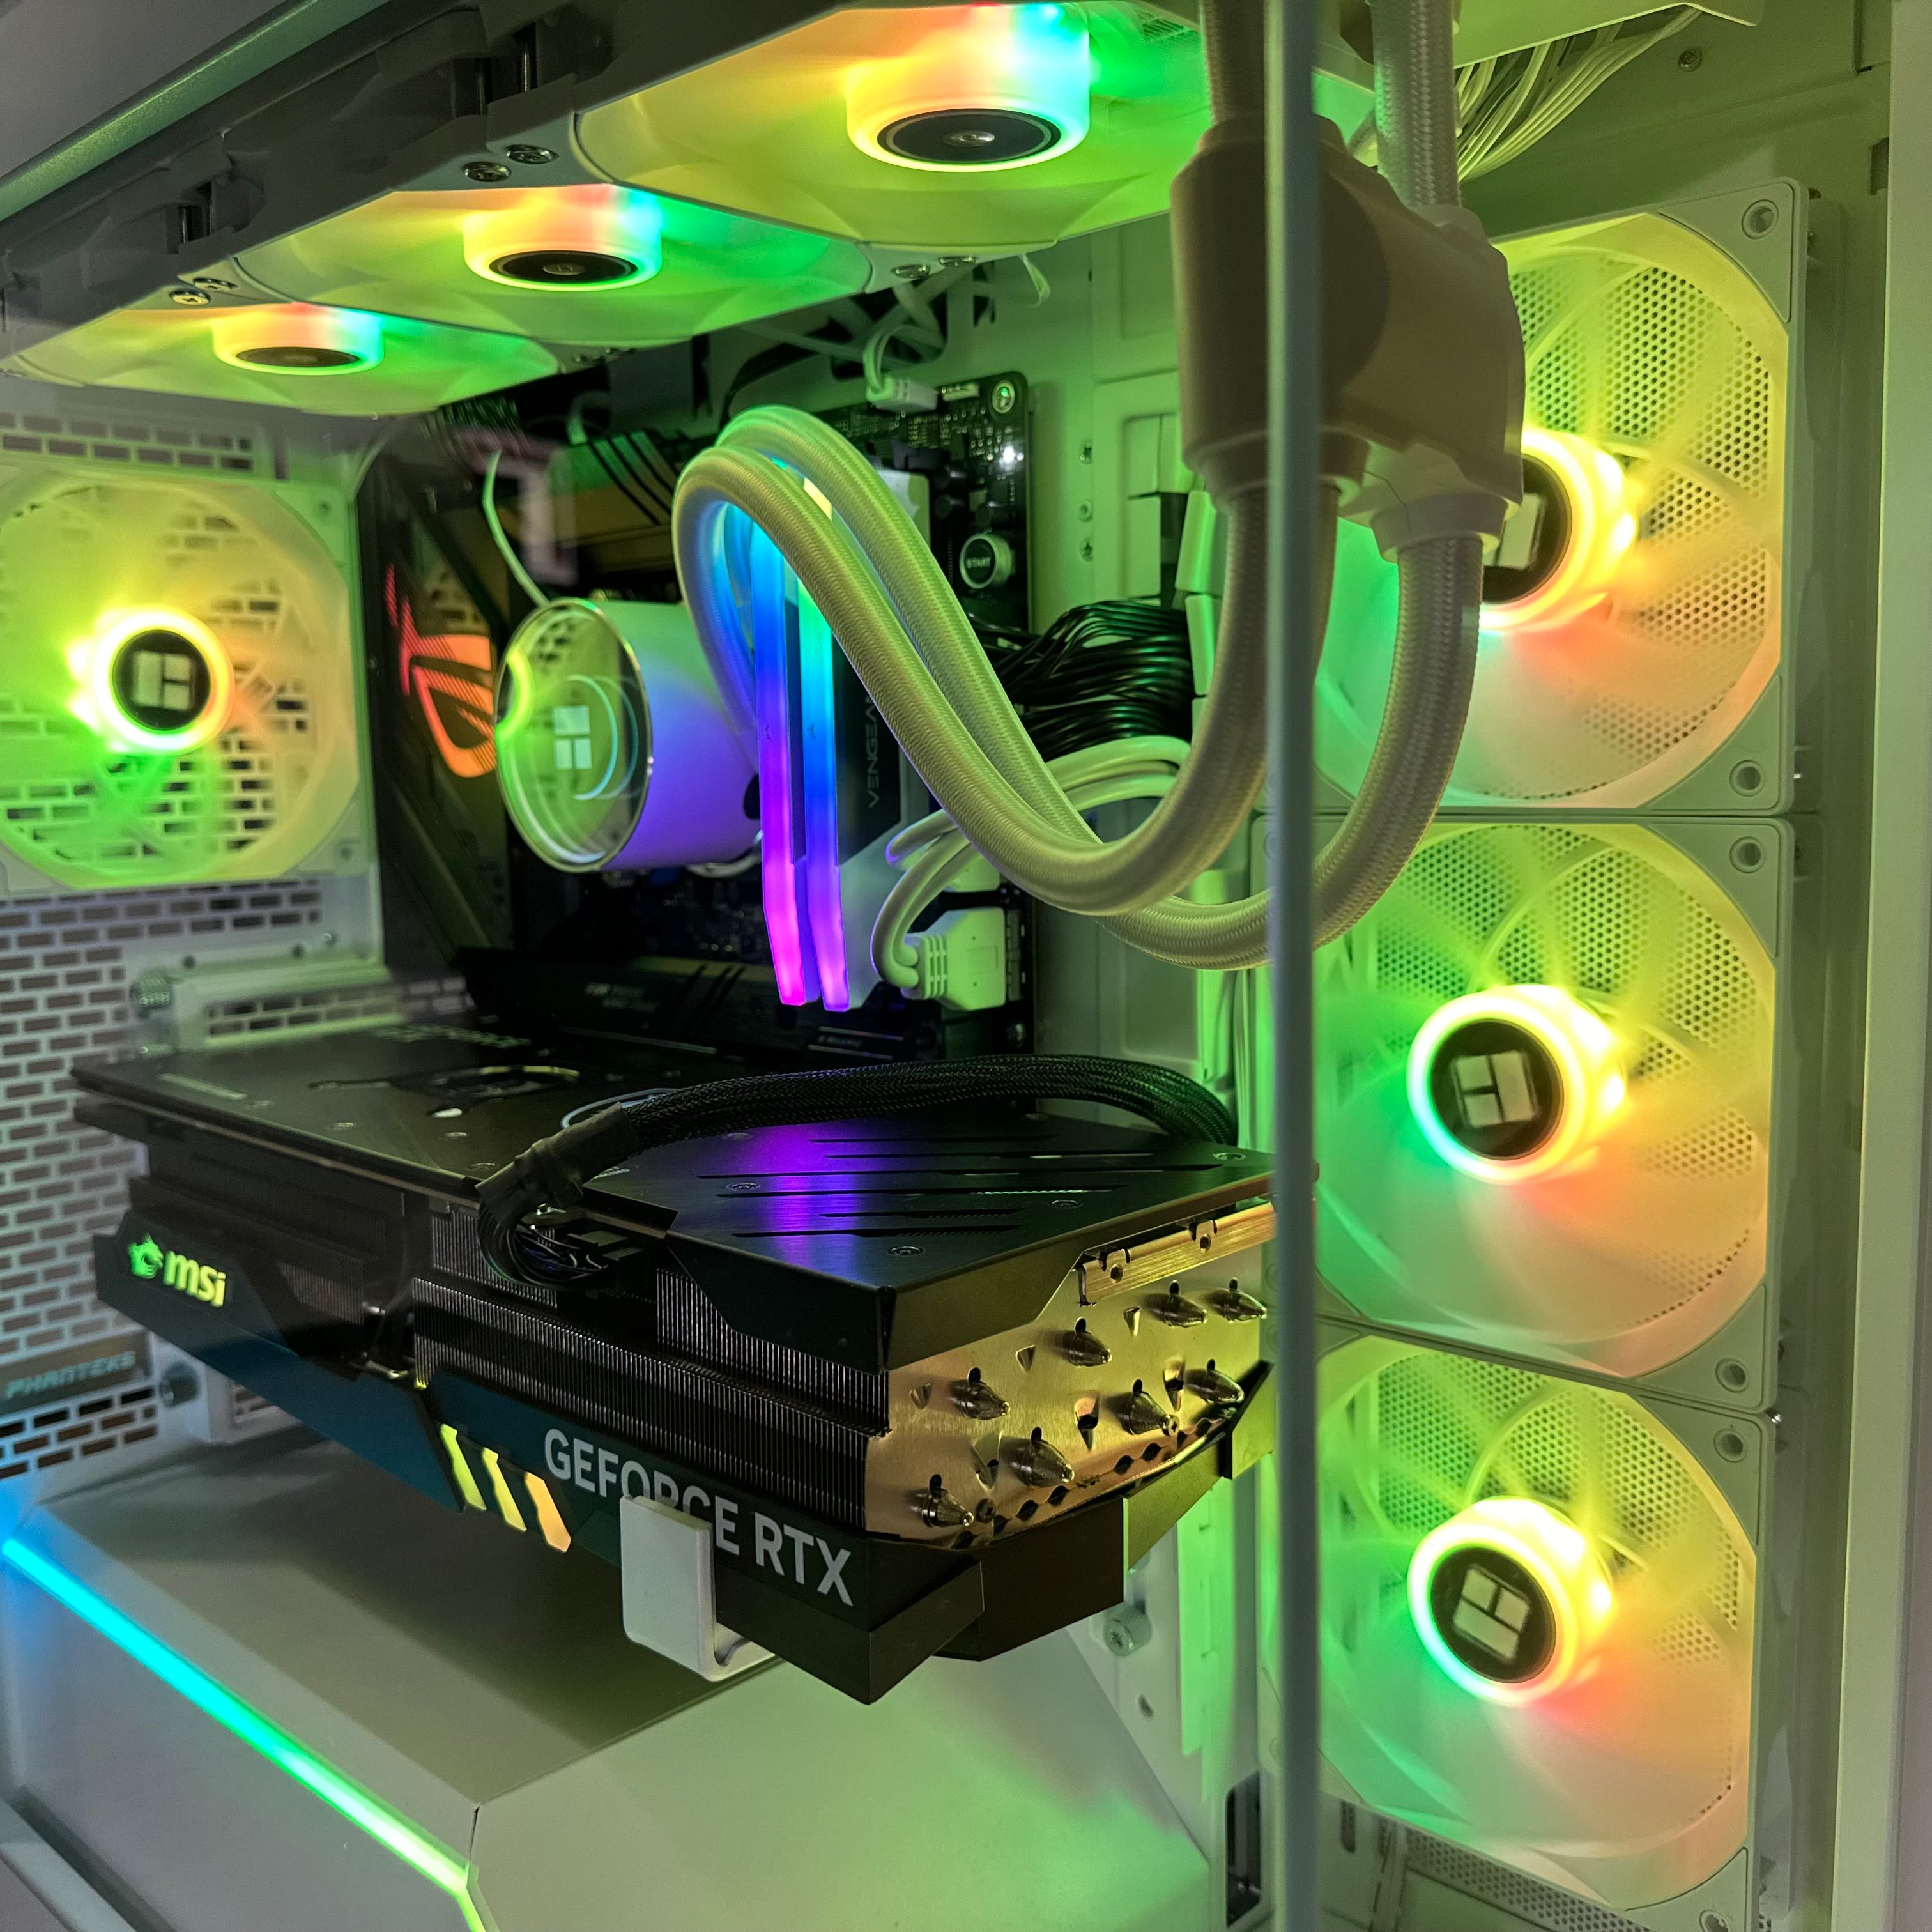
Graphics Card Selection in a Challenging Market
Your GPU is the single most important component for gaming performance, and 2025's market presents both opportunities and challenges.
The introduction of RTX 5070 Ti and RTX 5090 graphics cards provides new performance tiers, but pricing remains higher than suggested retail levels. Budget builders can achieve solid 1080p performance with options like the RX 6600, while mid-range systems benefit from RTX 5060 or RTX 5070 cards for 1440p gaming.
What's frustrating about the current market: the RTX 5090 sells for nearly $920 above its $1,999 suggested price. High-end builders seeking 4K performance must weigh whether current pricing is worth it or if waiting makes more sense.
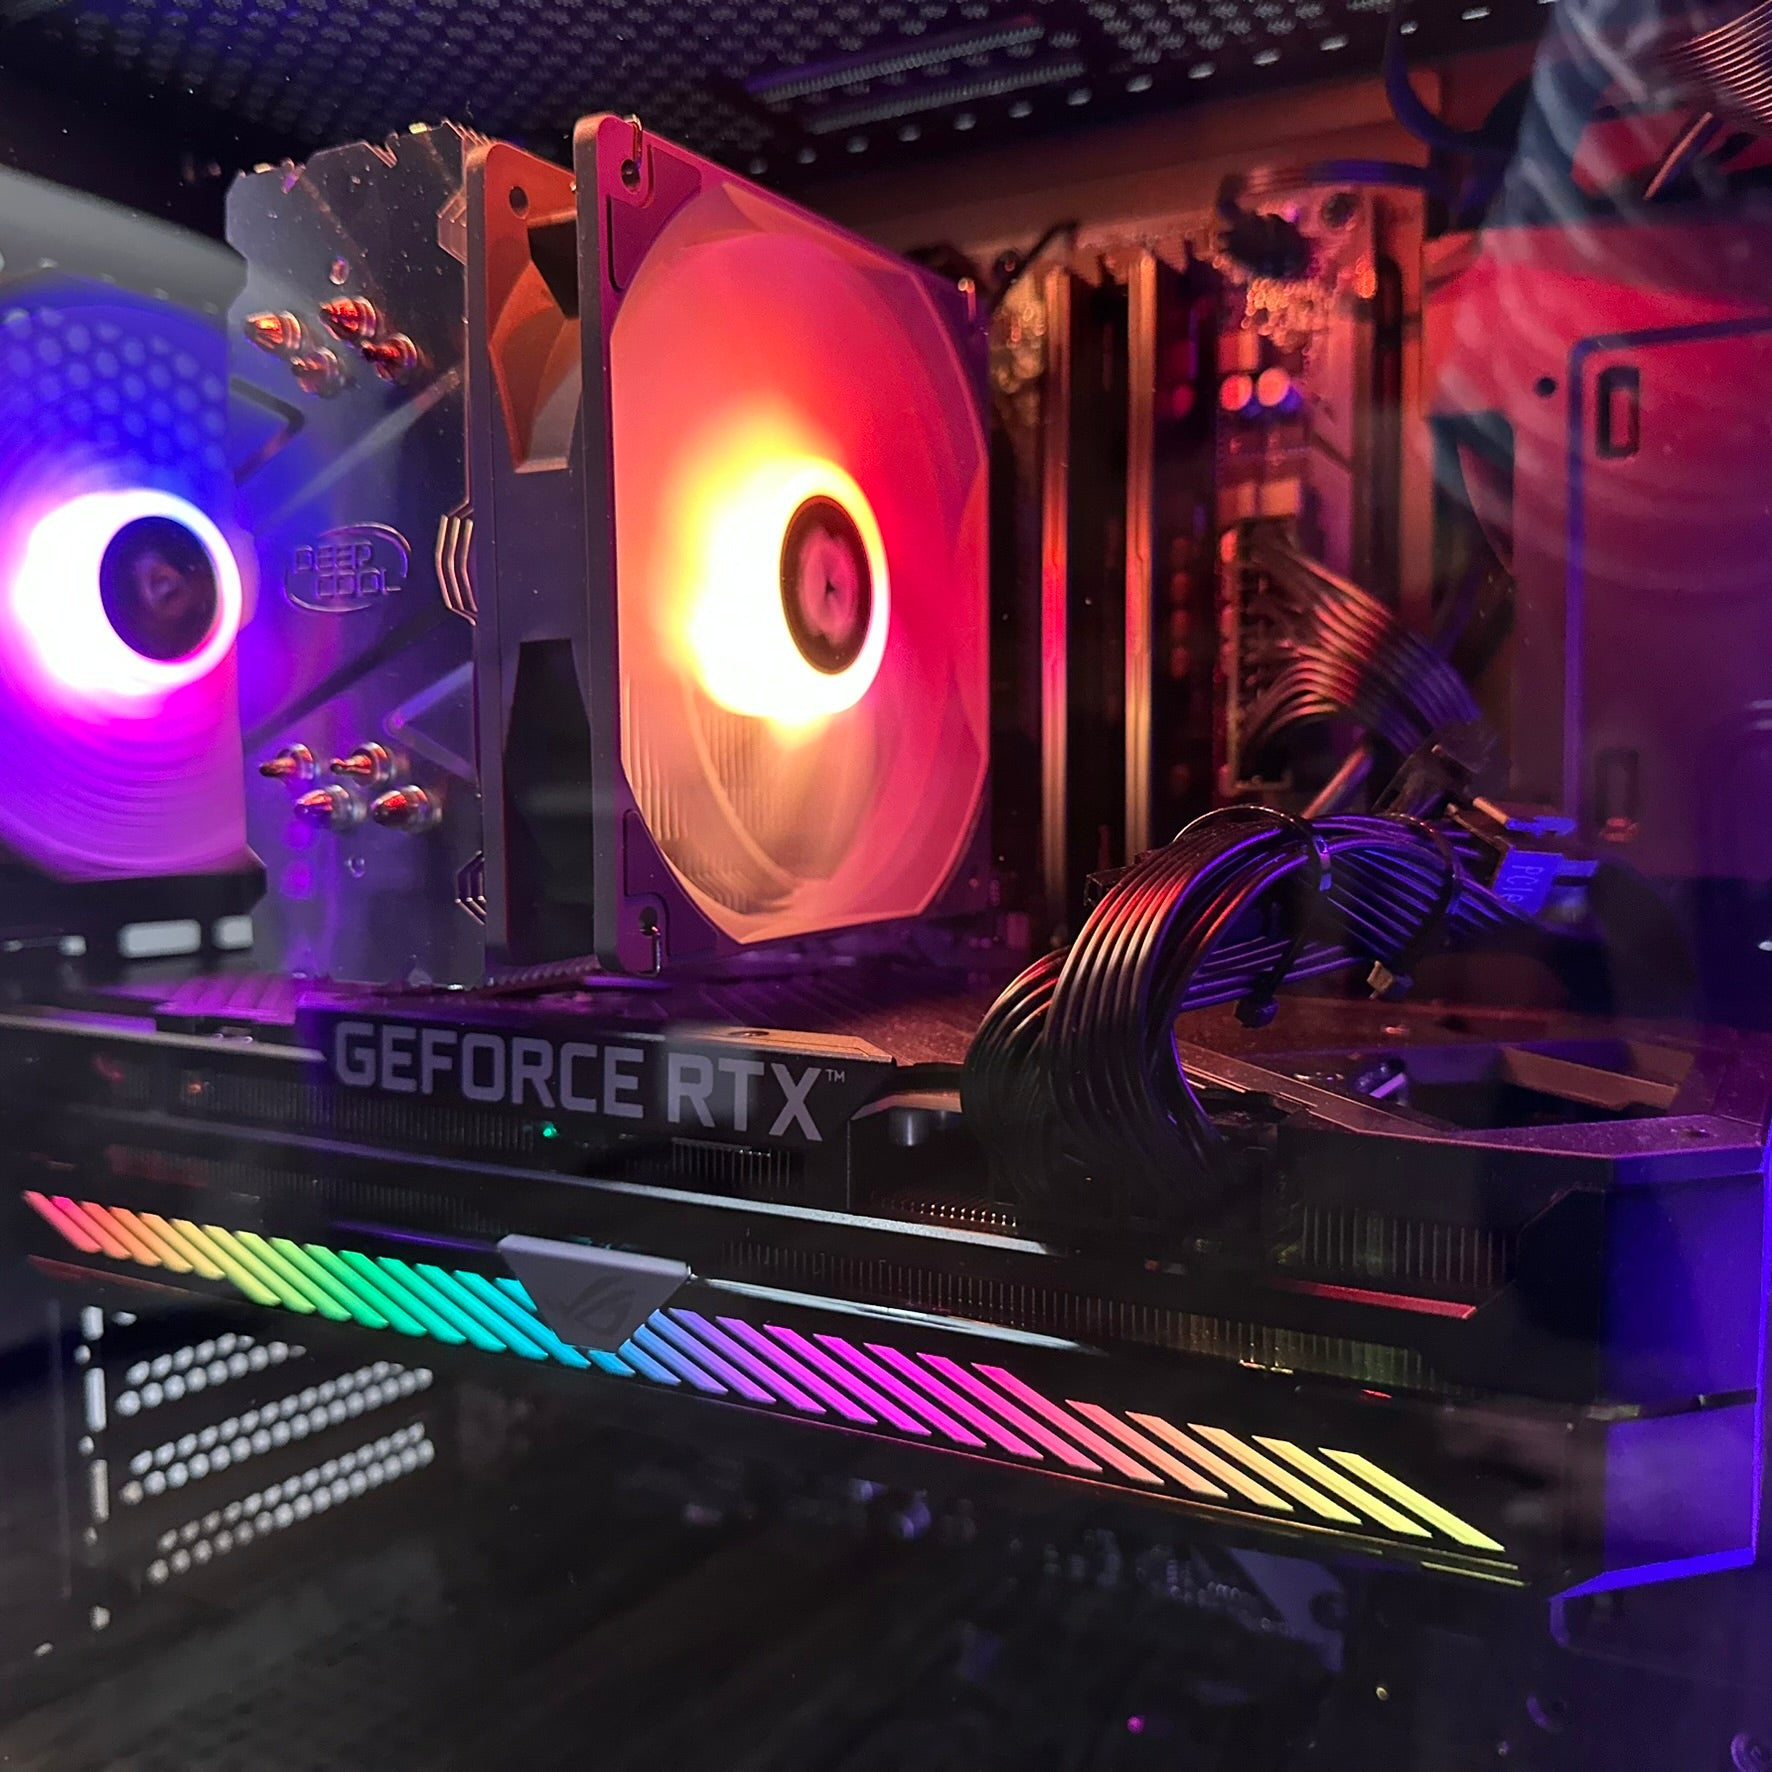
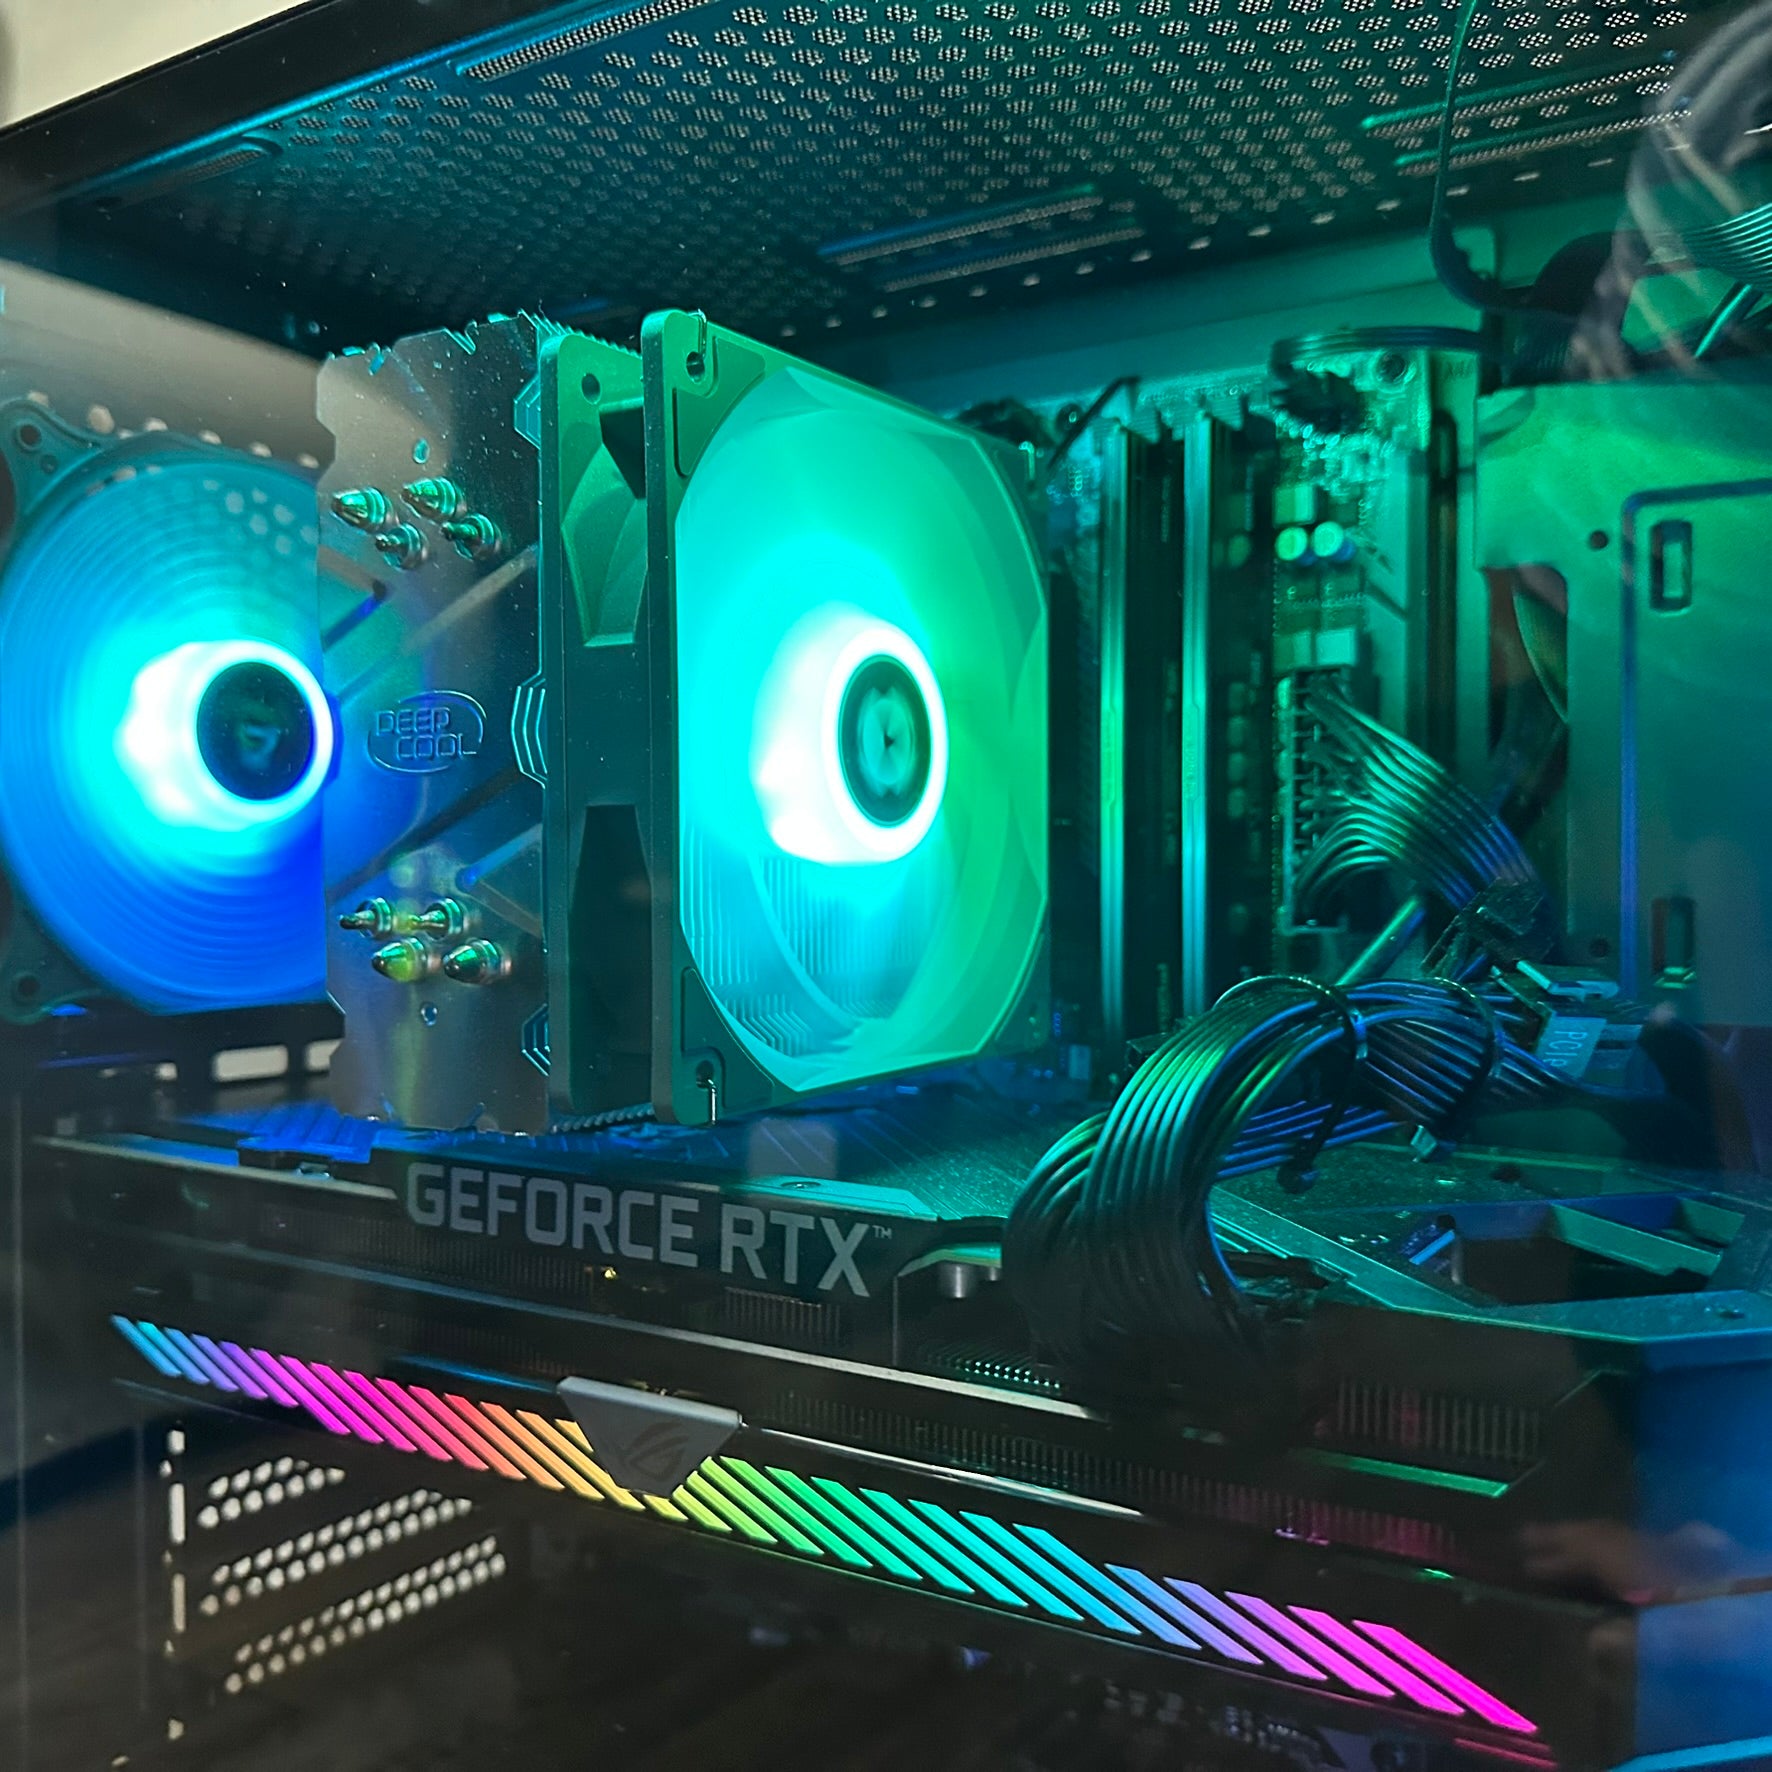
AMD's RX 6000 and 7000 series cards offer excellent value for gamers who don't need the absolute latest features. The RX 6600 XT delivers great 1080p performance at a much lower price point than comparable NVIDIA cards. The RX 7900 XTX competes directly with NVIDIA's high-end offerings for 4K gaming.
PCIe slot selection matters more than many builders realize. The slot closest to the CPU typically provides the most lanes and best performance. This is particularly important for newer GPUs supporting PCIe Gen 5, which require maximum bandwidth to reach their full potential.
Power requirements have grown significantly. Modern high-end graphics cards can consume 300-450+ watts under load. You need a robust power supply and proper cable management to prevent issues. The ATX 12VHPWR connector requires careful attention to cable seating to avoid melting problems.
For reference, we typically recommend these GPU tiers:
Budget 1080p gaming: RX 6600, RTX 3060 High-refresh 1080p or solid 1440p: RTX 5070, RX 7700 XT High-end 1440p or entry 4K: RTX 5070 Ti, RX 7900 XT Extreme 4K: RTX 5080, RTX 5090, RX 7900 XTX
Storage Solutions: NVMe, SATA, and How Much You Need
Storage technology has simplified dramatically with the mainstream adoption of NVMe M.2 SSDs.
The Samsung 990 Pro remains the top choice for overall SSD performance, rated for 7,450/6,900 MBps sequential read/write speeds. For value-conscious builders, the Crucial T500 offers comparable real-world performance at significantly lower cost.
PCIe 5.0 SSDs like the Crucial T705 deliver up to 14.5 GB/s sequential speeds, but the practical benefits for gaming remain limited compared to the price premium. Most games in 2025 don't push even PCIe 4.0 drives, so spending extra on Gen 5 storage is often unnecessary unless you're future-proofing.
We recommend installing your primary M.2 drive during motherboard preparation before mounting it in the case. This gives you much easier access and makes the process less frustrating than trying to install it after everything else is in place.
Storage setup typically works best with a tiered approach. Your primary drive should be a high-performance NVMe SSD with DRAM cache for your operating system and frequently played games. Secondary storage can use QLC-based drives for bulk game storage, providing adequate performance at reduced cost per gigabyte.
DirectStorage API in Windows 11 makes high-performance storage increasingly important for future game performance. While not many games use it yet, the technology will become more relevant as developers optimize for next-generation consoles and PCs.
Capacity recommendations for 2025:
Minimum: 1TB NVMe SSD (operating system and games) Recommended: 1TB NVMe primary + 2TB secondary NVMe or SATA SSD Enthusiast: 2TB high-speed NVMe primary + 4TB+ secondary storage
Motherboard Features and Socket Compatibility
Your motherboard is the foundation that everything else connects to, and choosing the right one affects both current performance and future upgrade paths.
Socket compatibility is the first consideration. Your CPU and motherboard must use the same socket type. AMD's AM5 socket supports current Ryzen 7000 and 8000 series processors, while Intel's LGA 1700 works with 12th, 13th, and 14th generation Core processors.
Chipset selection determines available features. Higher-end chipsets like AMD's X670E or Intel's Z790 offer more PCIe lanes, better VRM (voltage regulator module) designs for overclocking, and additional USB ports. Mid-range chipsets like B650 or B760 provide excellent value for most builders who don't need extreme overclocking.
VRM quality matters more than many builders realize. Better VRMs deliver cleaner power to your CPU, allowing for better stability and potential overclocking headroom. This becomes particularly important with high-end processors like the Ryzen 9 9950X3D or Intel i9-14900F.
Memory support varies by motherboard. Some boards officially support DDR5-6000 or higher speeds, while others are limited to lower frequencies. Check the QVL (Qualified Vendor List) to ensure your chosen memory kit is tested and supported.
Connectivity features include:
Built-in WiFi and Bluetooth (very convenient, worth the extra cost) USB ports (at least USB 3.2 Gen 2, preferably some USB-C) M.2 slots (most boards have 2-4 now) PCIe slots (at least one x16 for GPU, additional x1 or x4 for expansion) Audio codec (ALC1220 or better for quality sound)
Form factor affects case compatibility. ATX is the standard full-size format with the most expansion options. Micro-ATX offers a smaller footprint with fewer expansion slots. Mini-ITX is the smallest form factor, perfect for compact builds but with limited expandability.
Power Supply Sizing and Efficiency Ratings
Your power supply might seem boring compared to flashy GPUs and RGB lighting, but it's absolutely critical for system stability and longevity.
Modern systems with high-end components can approach 800+ watts under gaming loads. We typically recommend 850W+ power supplies for premium builds to ensure you have headroom for peak loads and future GPU upgrades.
Efficiency ratings matter more than many builders think. The 80 Plus certification system has several tiers:
80 Plus (White): 80% efficient at typical loads 80 Plus Bronze: 82% at 20% load, 85% at 50% load, 82% at 100% load 80 Plus Gold: 87% at 20% load, 90% at 50% load, 87% at 100% load 80 Plus Platinum: 90% at 20% load, 92% at 50% load, 89% at 100% load 80 Plus Titanium: 92% at 20% load, 94% at 50% load, 90% at 100% load
Higher efficiency means less wasted power and lower electricity bills over the system's lifetime. Gold-rated or higher is worth the investment for most builds.
Modular design simplifies cable management. Fully modular power supplies let you attach only the cables you need. Semi-modular designs have the essential cables permanently attached with optional cables for expansion. Non-modular supplies have all cables permanently attached, which can make cable management messy.
Here's our wattage recommendation by build tier:
Budget builds (RX 6600, RTX 3060): 650W Mid-range (RTX 5070, RX 7700 XT): 750W High-end (RTX 5070 Ti, RTX 5080): 850W Extreme (RTX 5090, dual GPU): 1000W+
Quality brands matter. Corsair, EVGA, Seasonic, and be quiet! consistently deliver reliable power supplies. Avoid no-name brands even if they're cheaper.
Cooling Solutions: Air vs Liquid
Heat management determines whether your components run at peak performance or slow down due to excessive heat.
Air cooling remains the traditional choice. High-end air coolers like dual-tower designs offer excellent performance, reliability, and maintenance-free operation. They're also generally quieter than budget liquid coolers and have no risk of leaks.
All-in-one (AIO) liquid cooling has become mainstream for premium builds. AIO coolers offer visual appeal, space efficiency around the CPU socket, and excellent cooling performance. However, they're more complex to install and have potential failure modes that air coolers don't.
Modern high-end graphics cards can consume 450+ watts under load, while flagship CPUs approach 200+ watts during peak performance. Your case needs good airflow to handle this heat effectively.
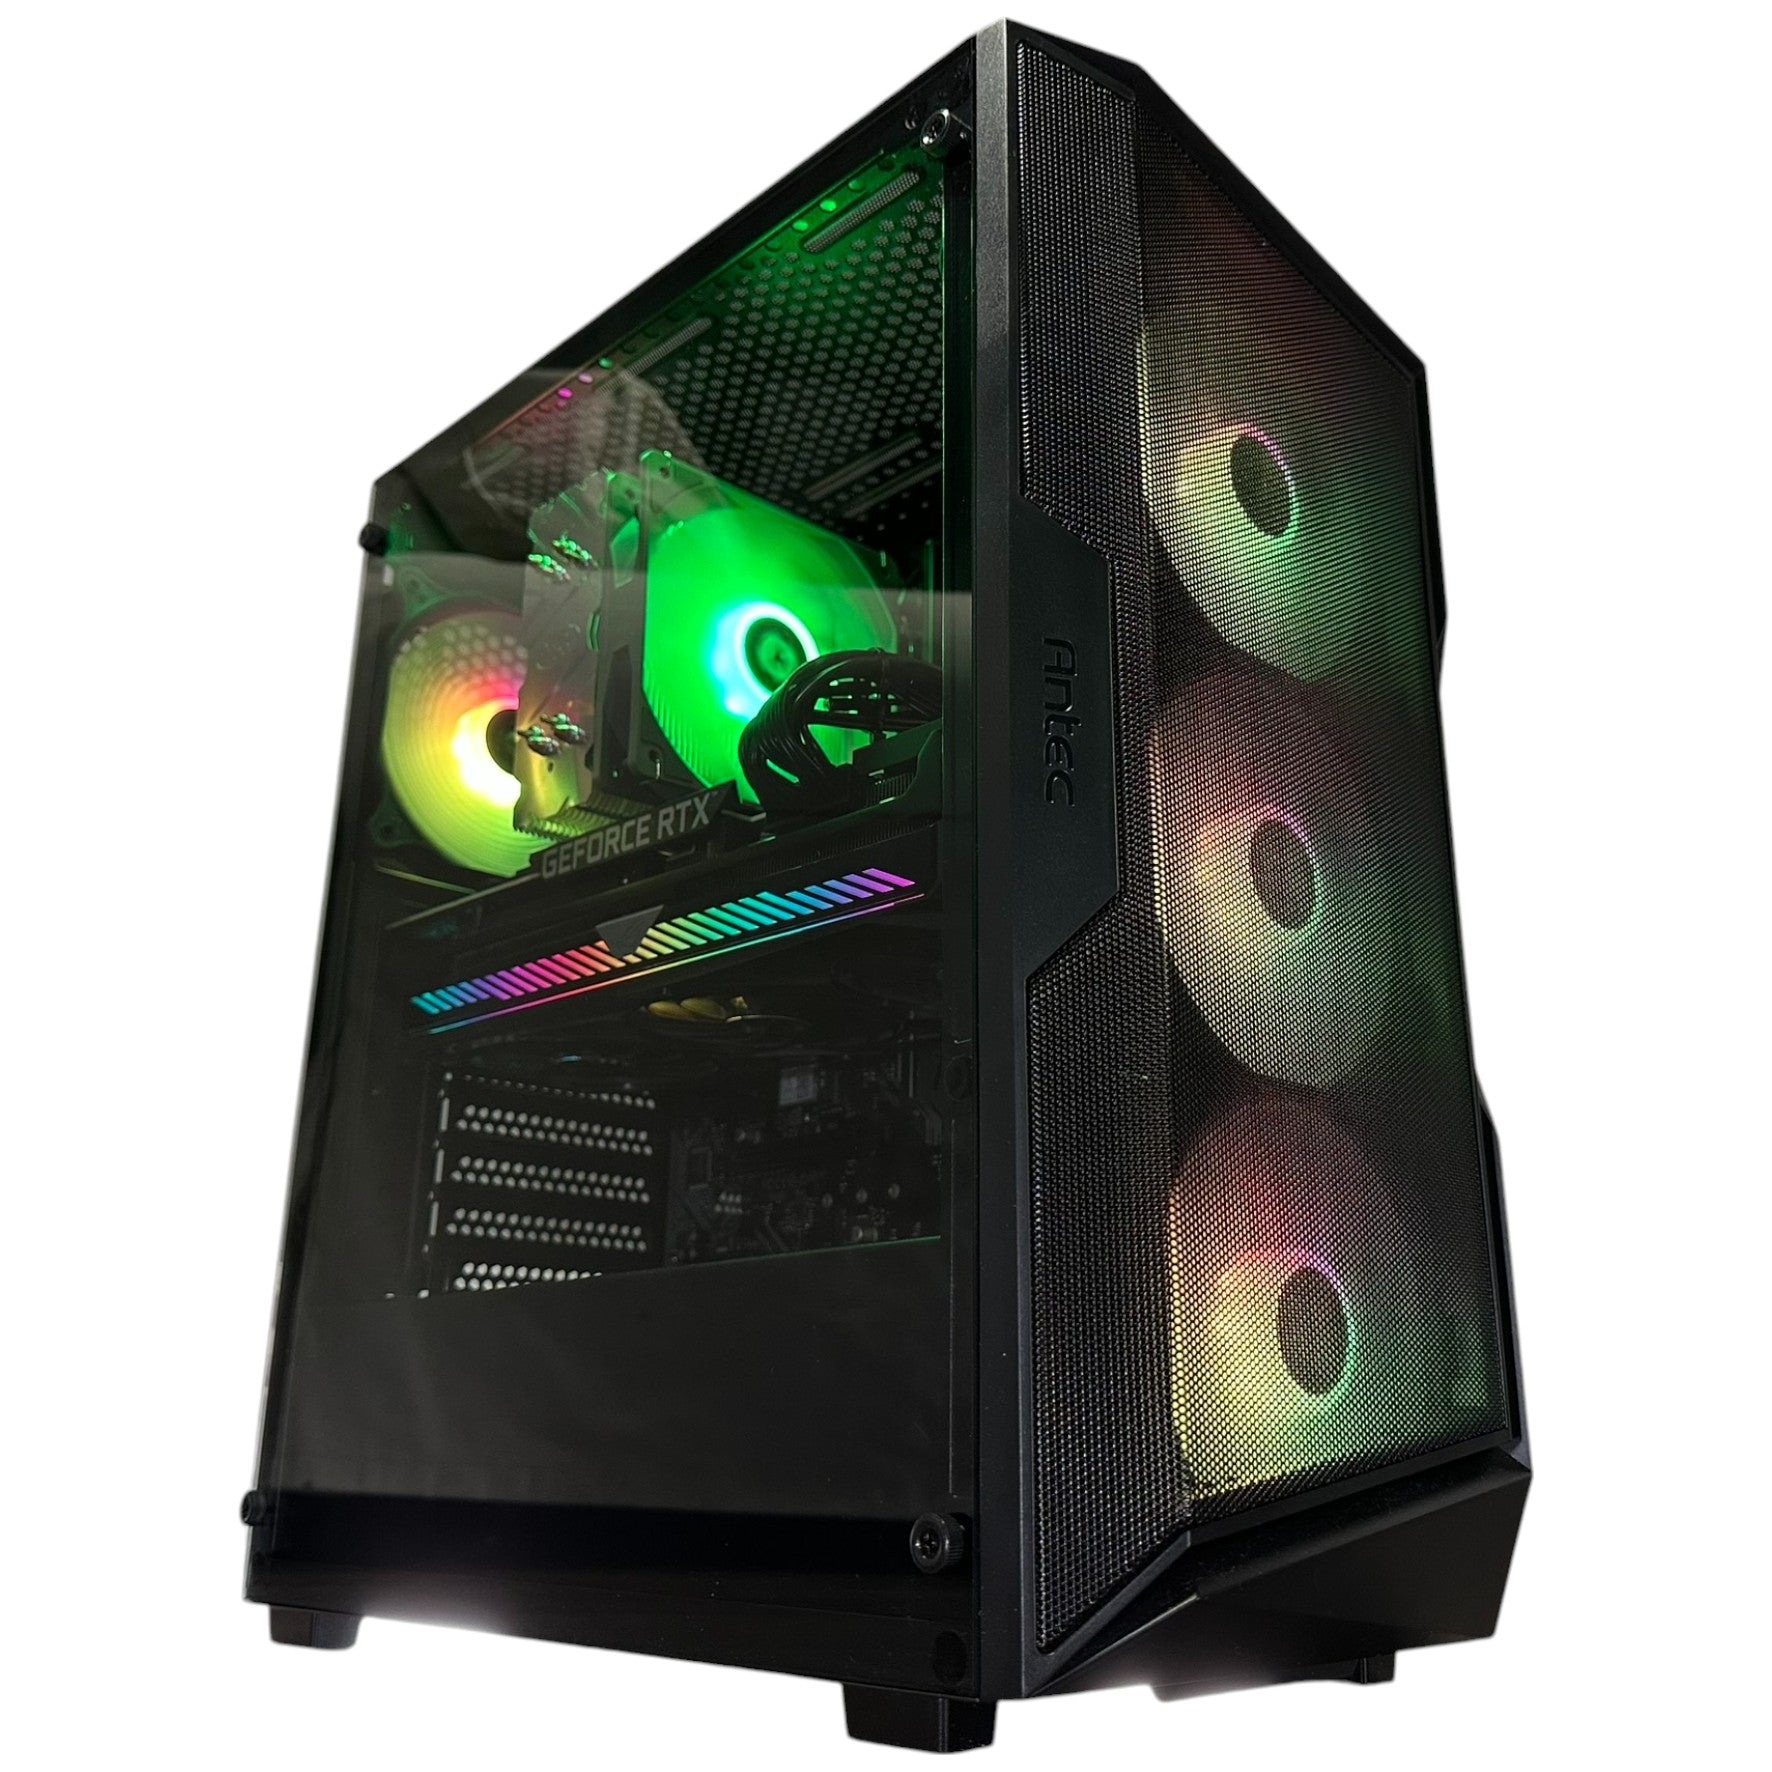
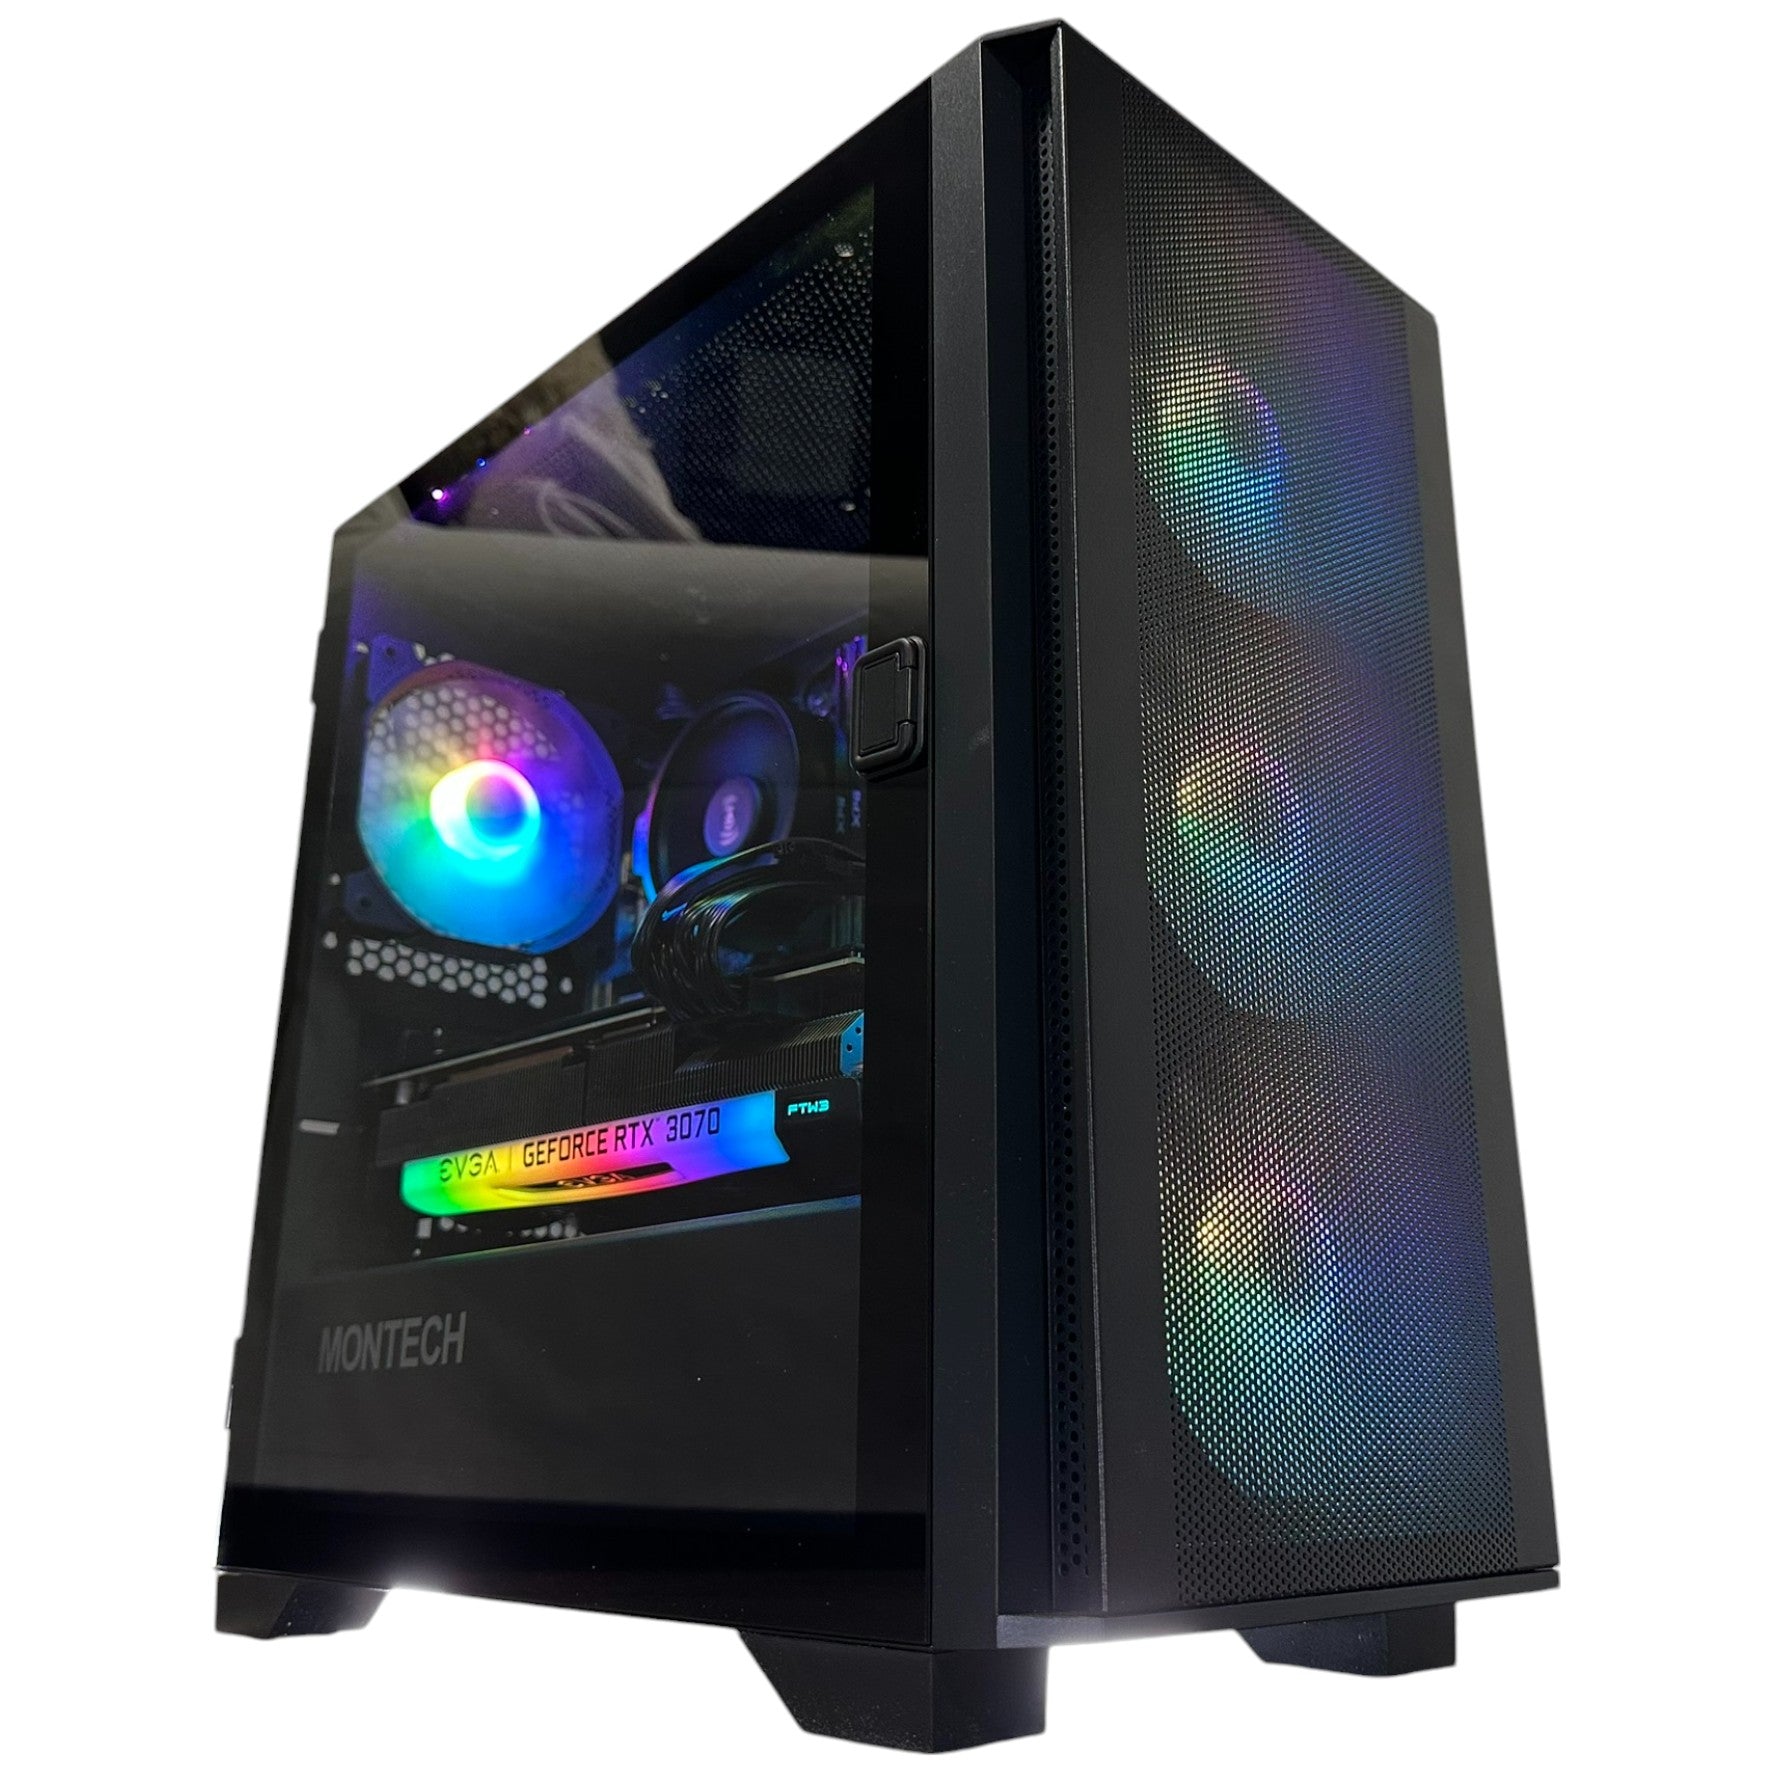
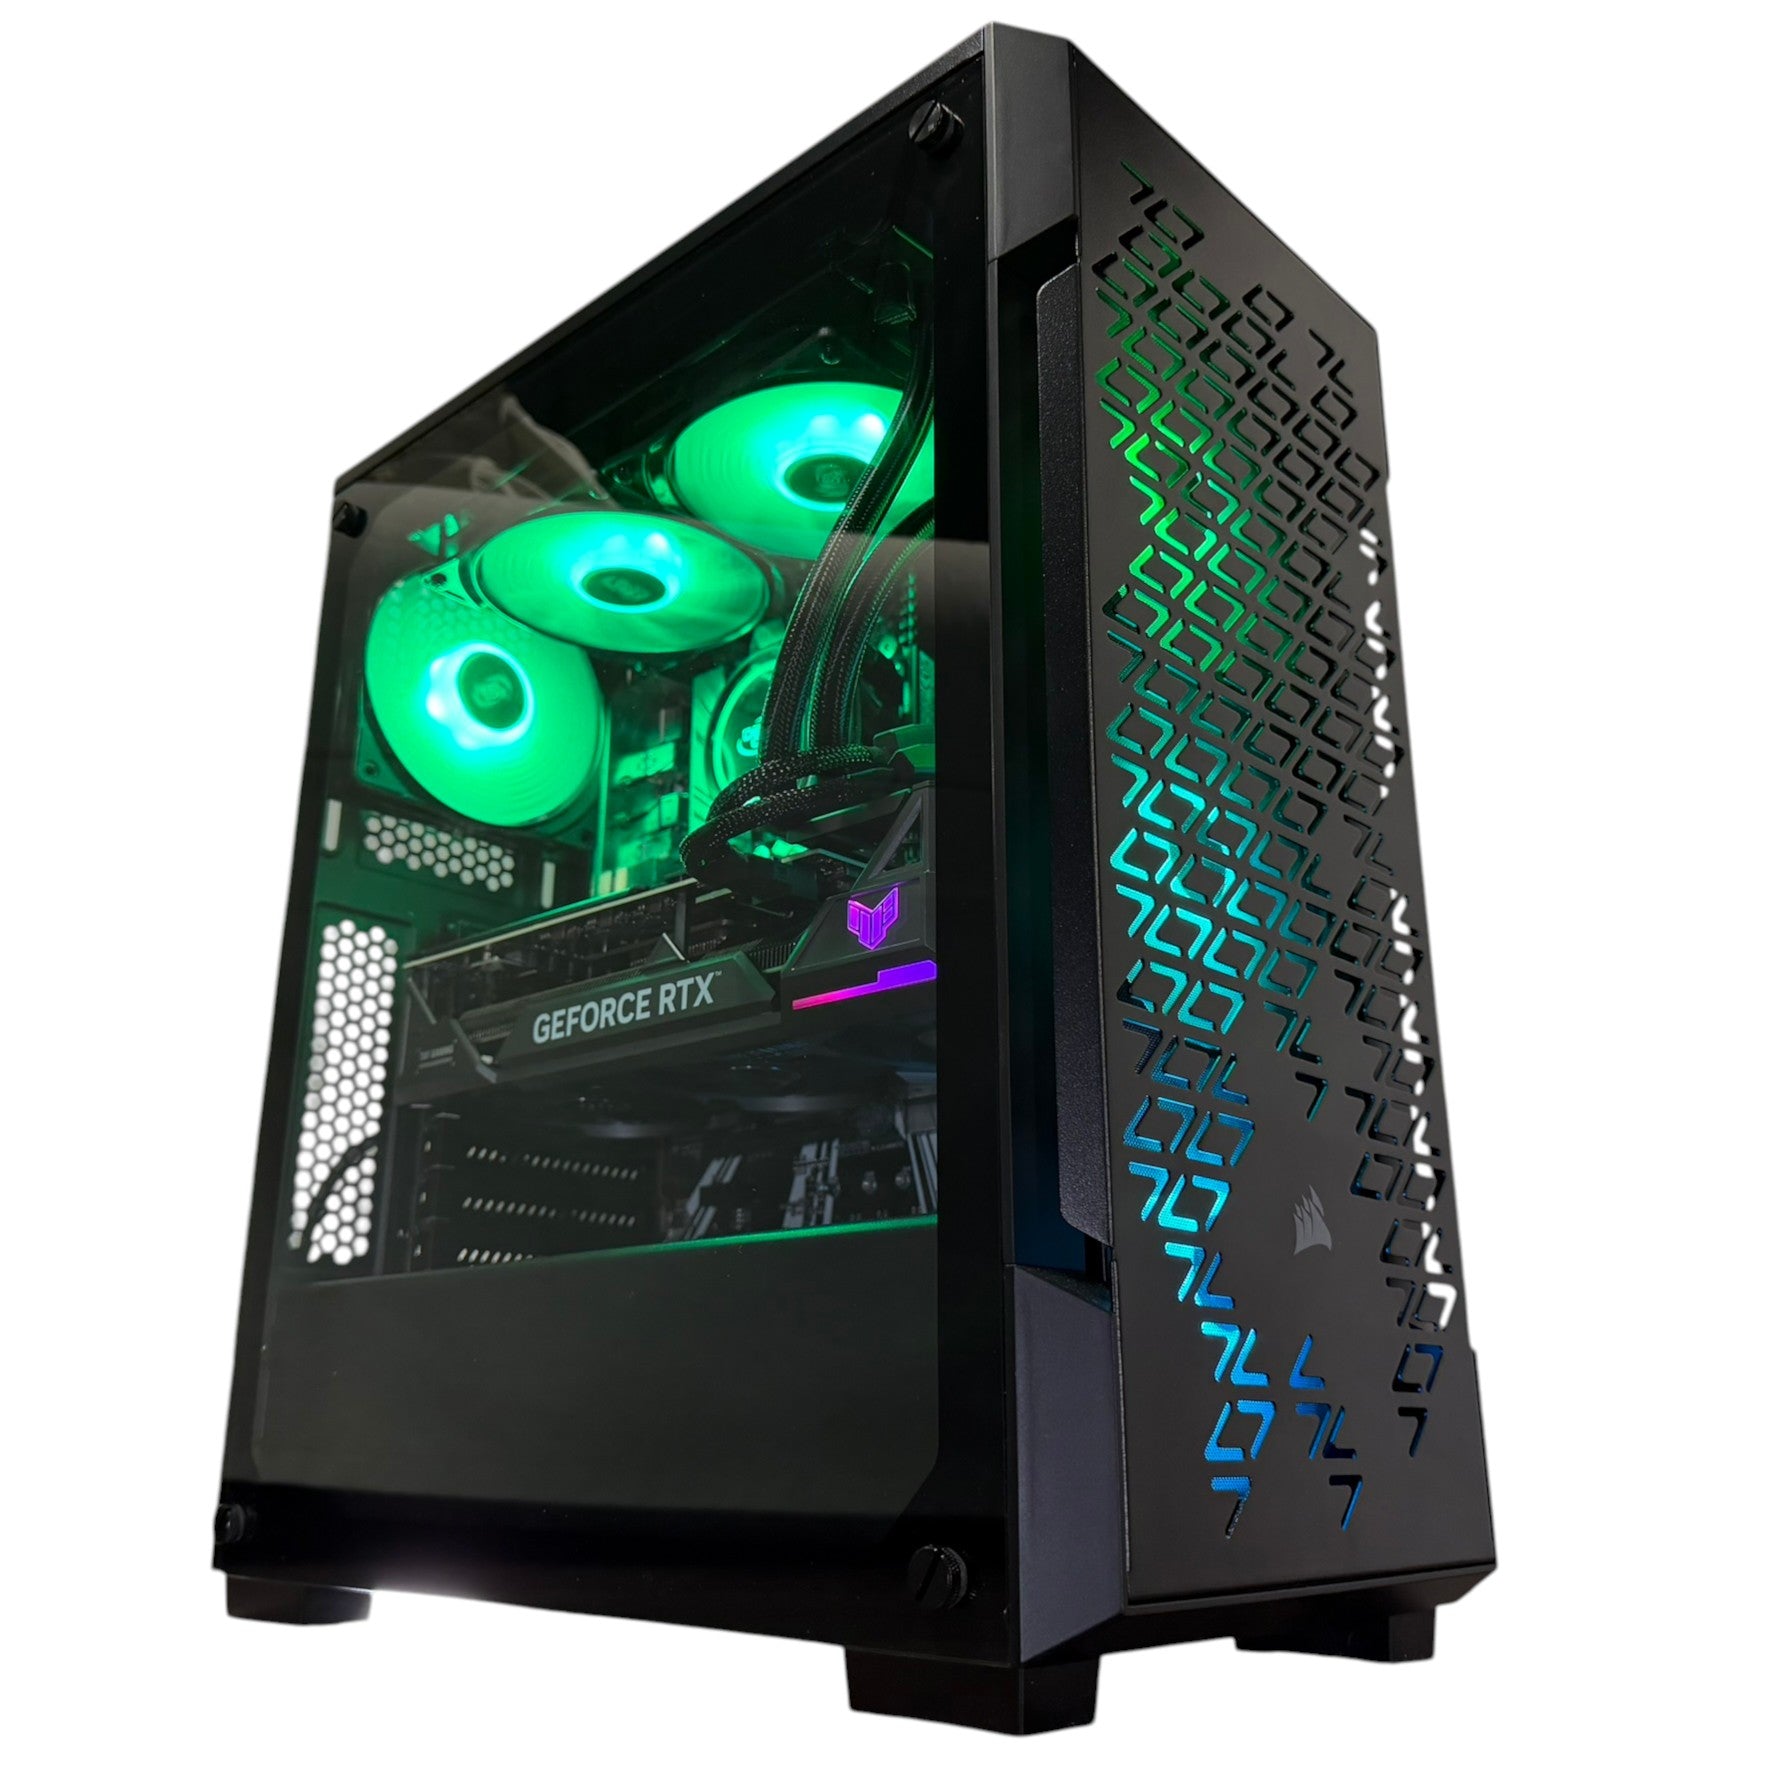
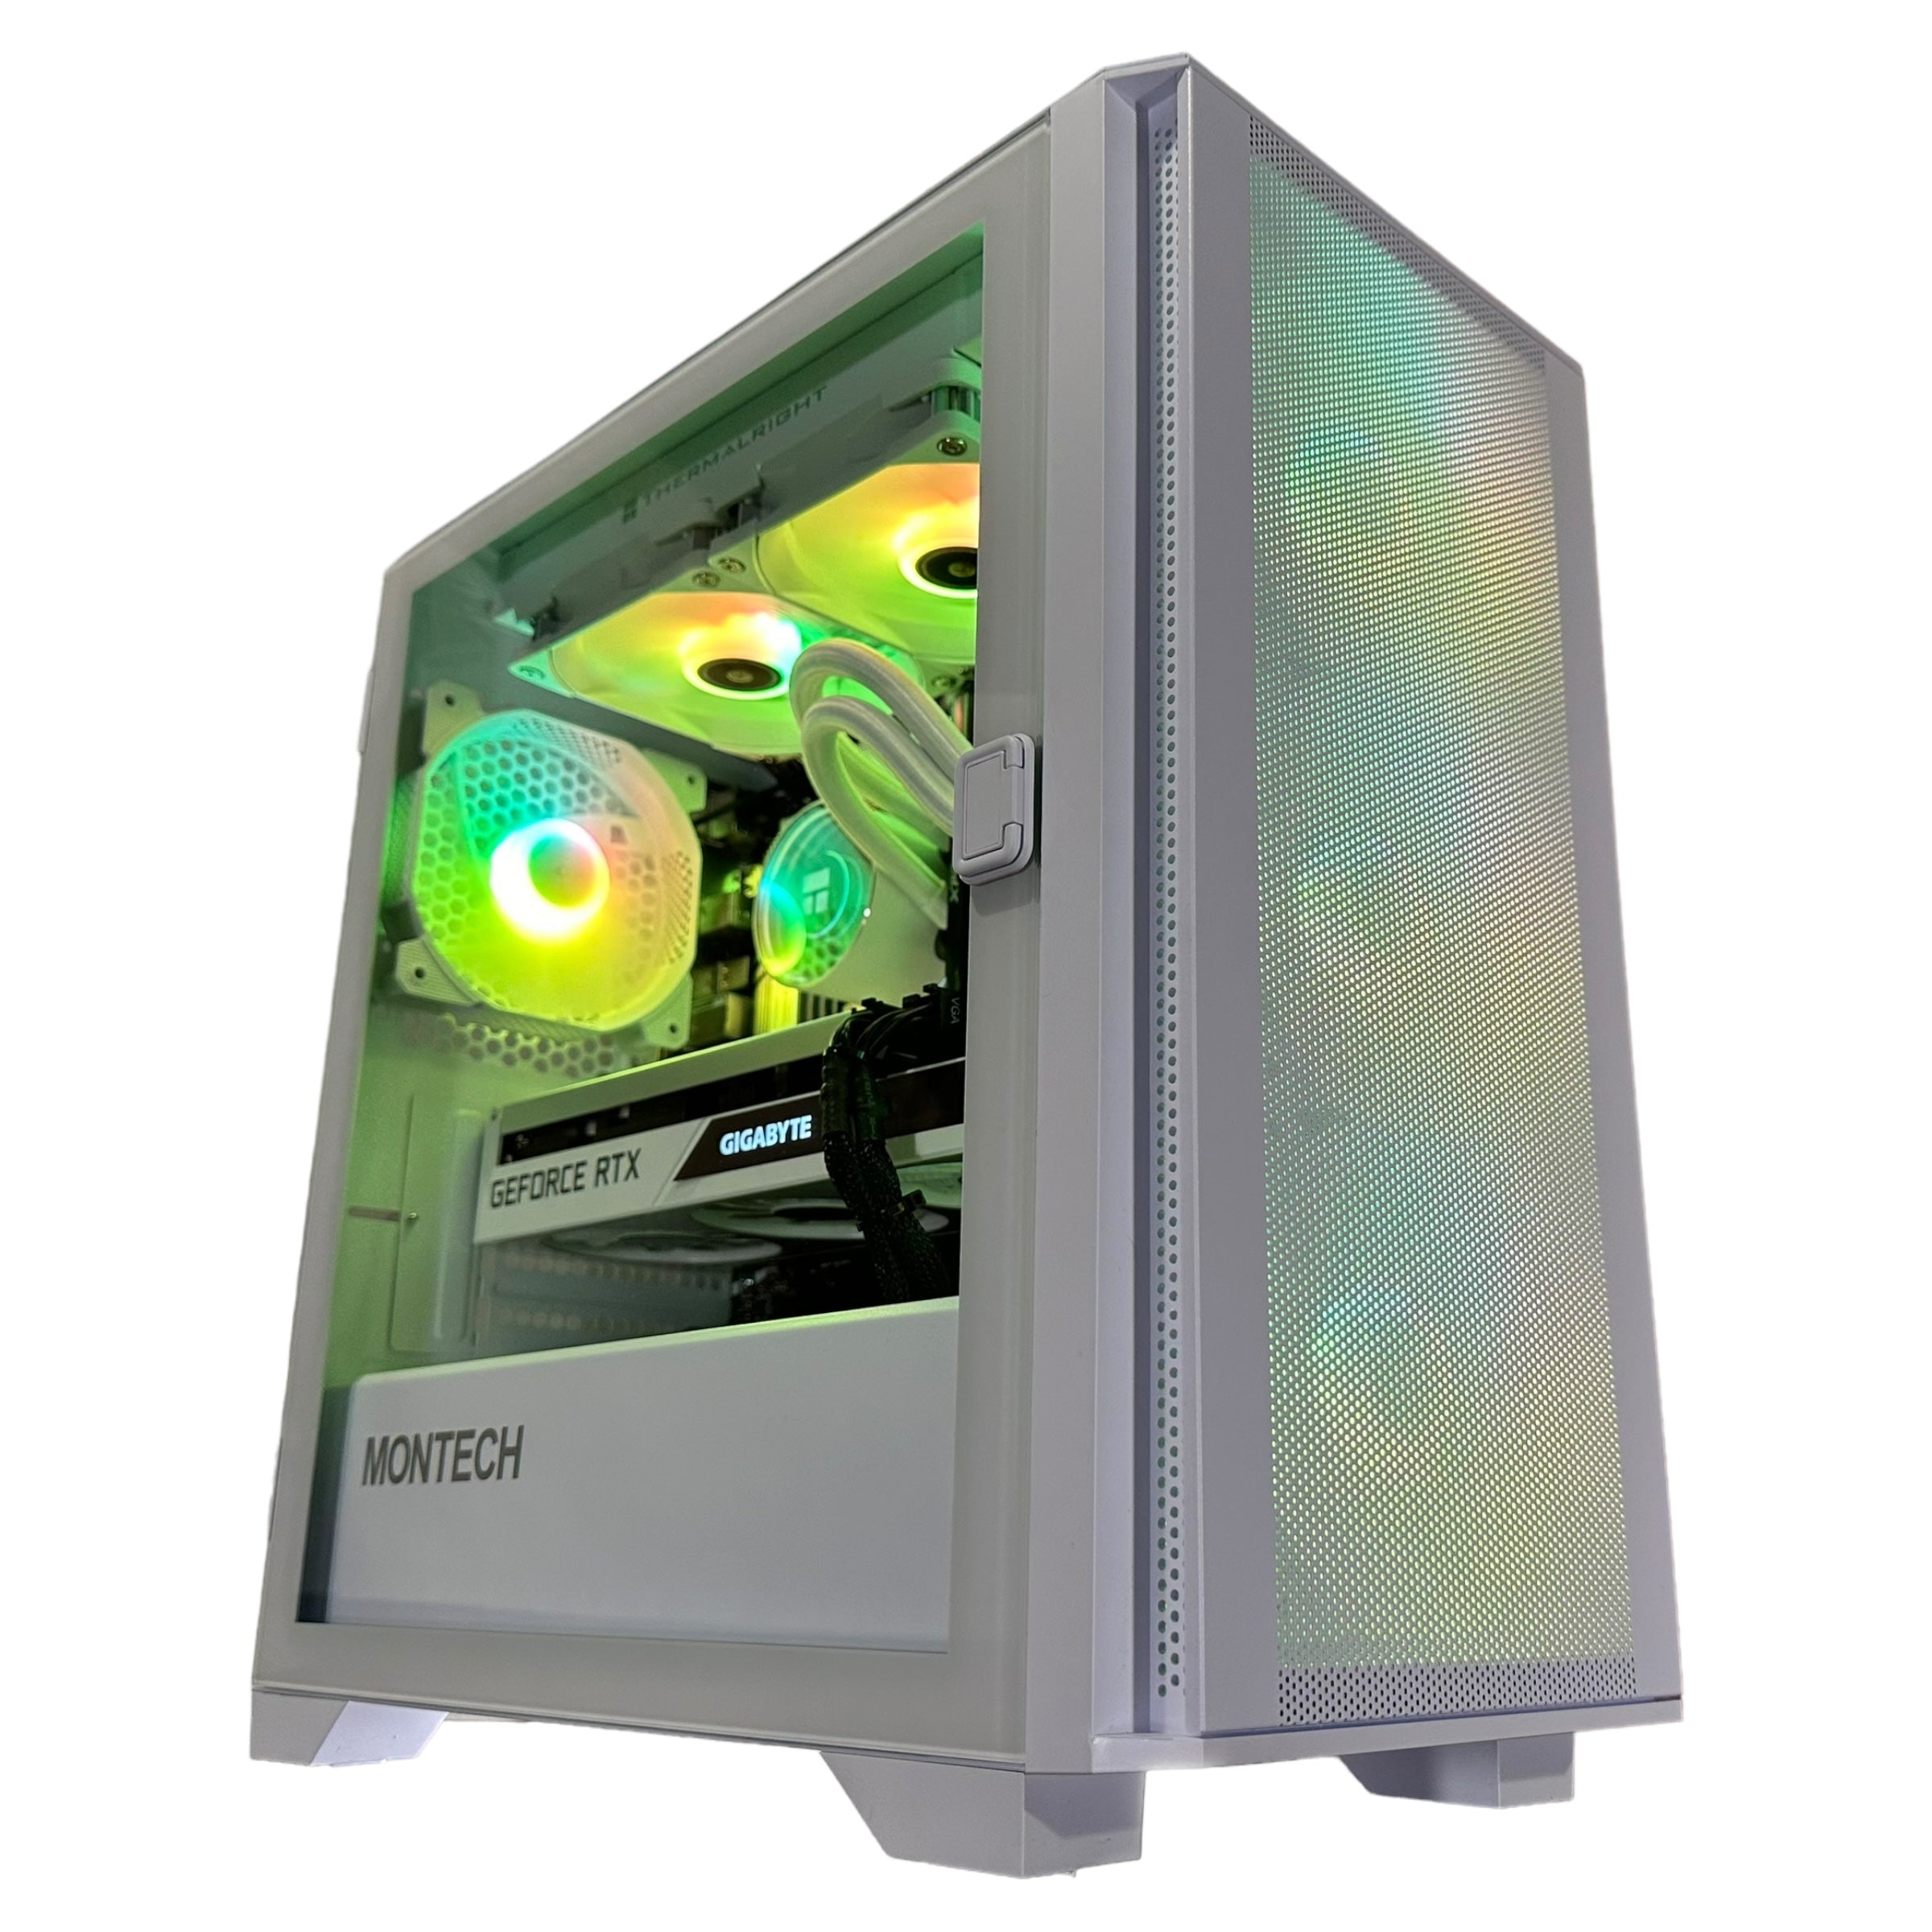
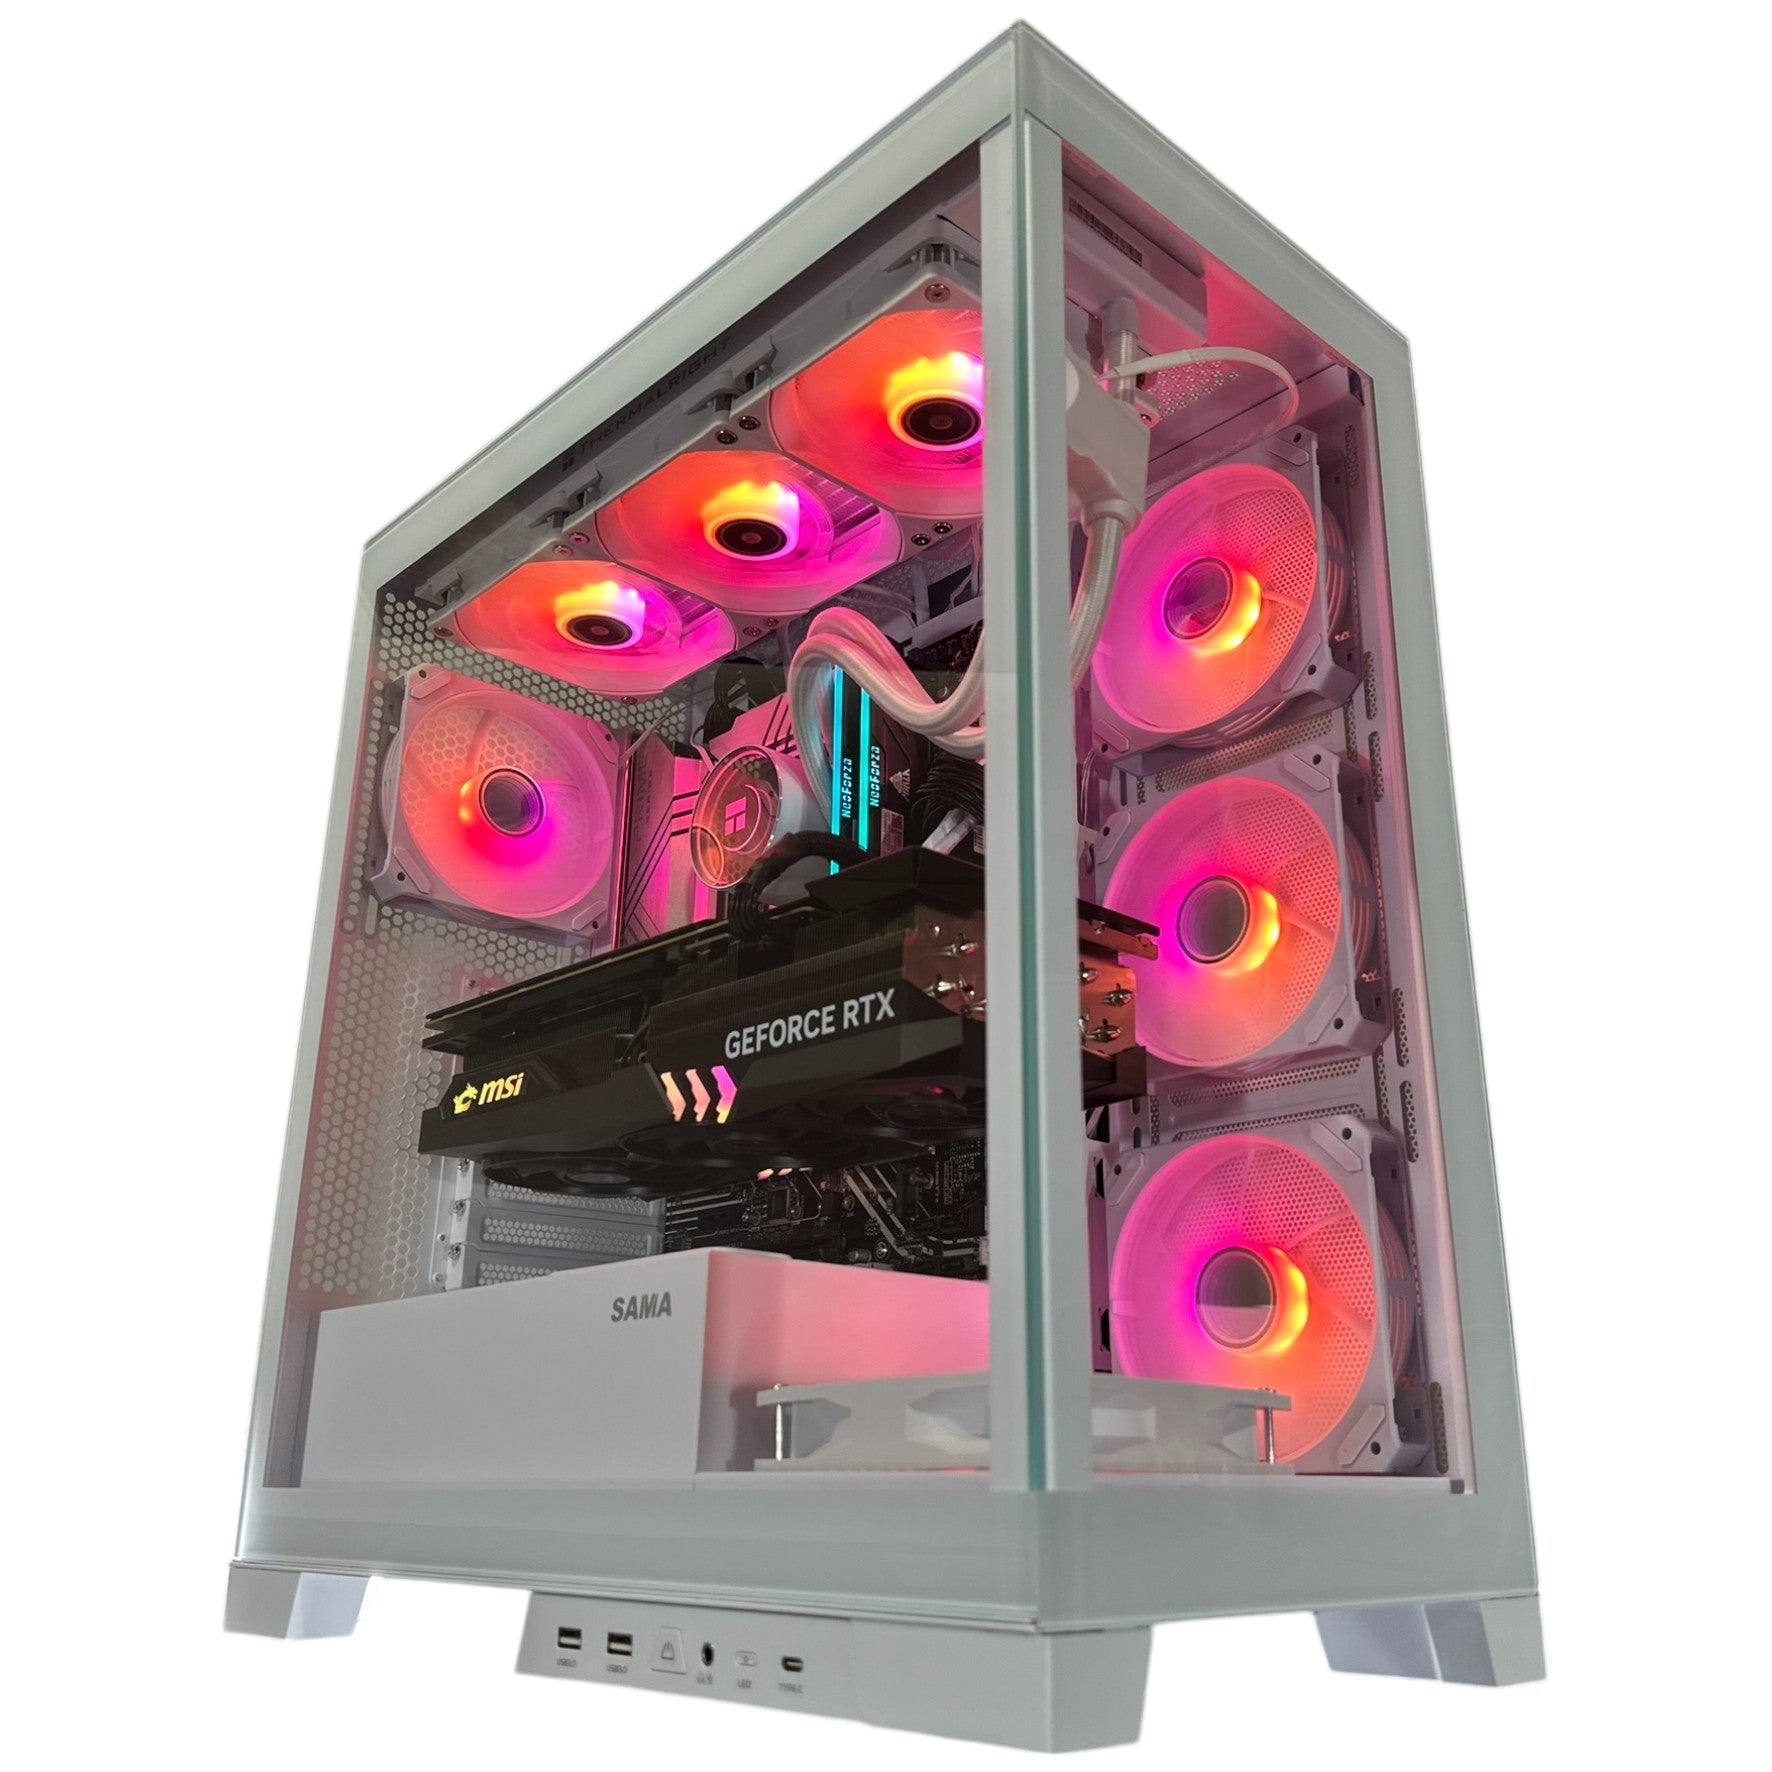
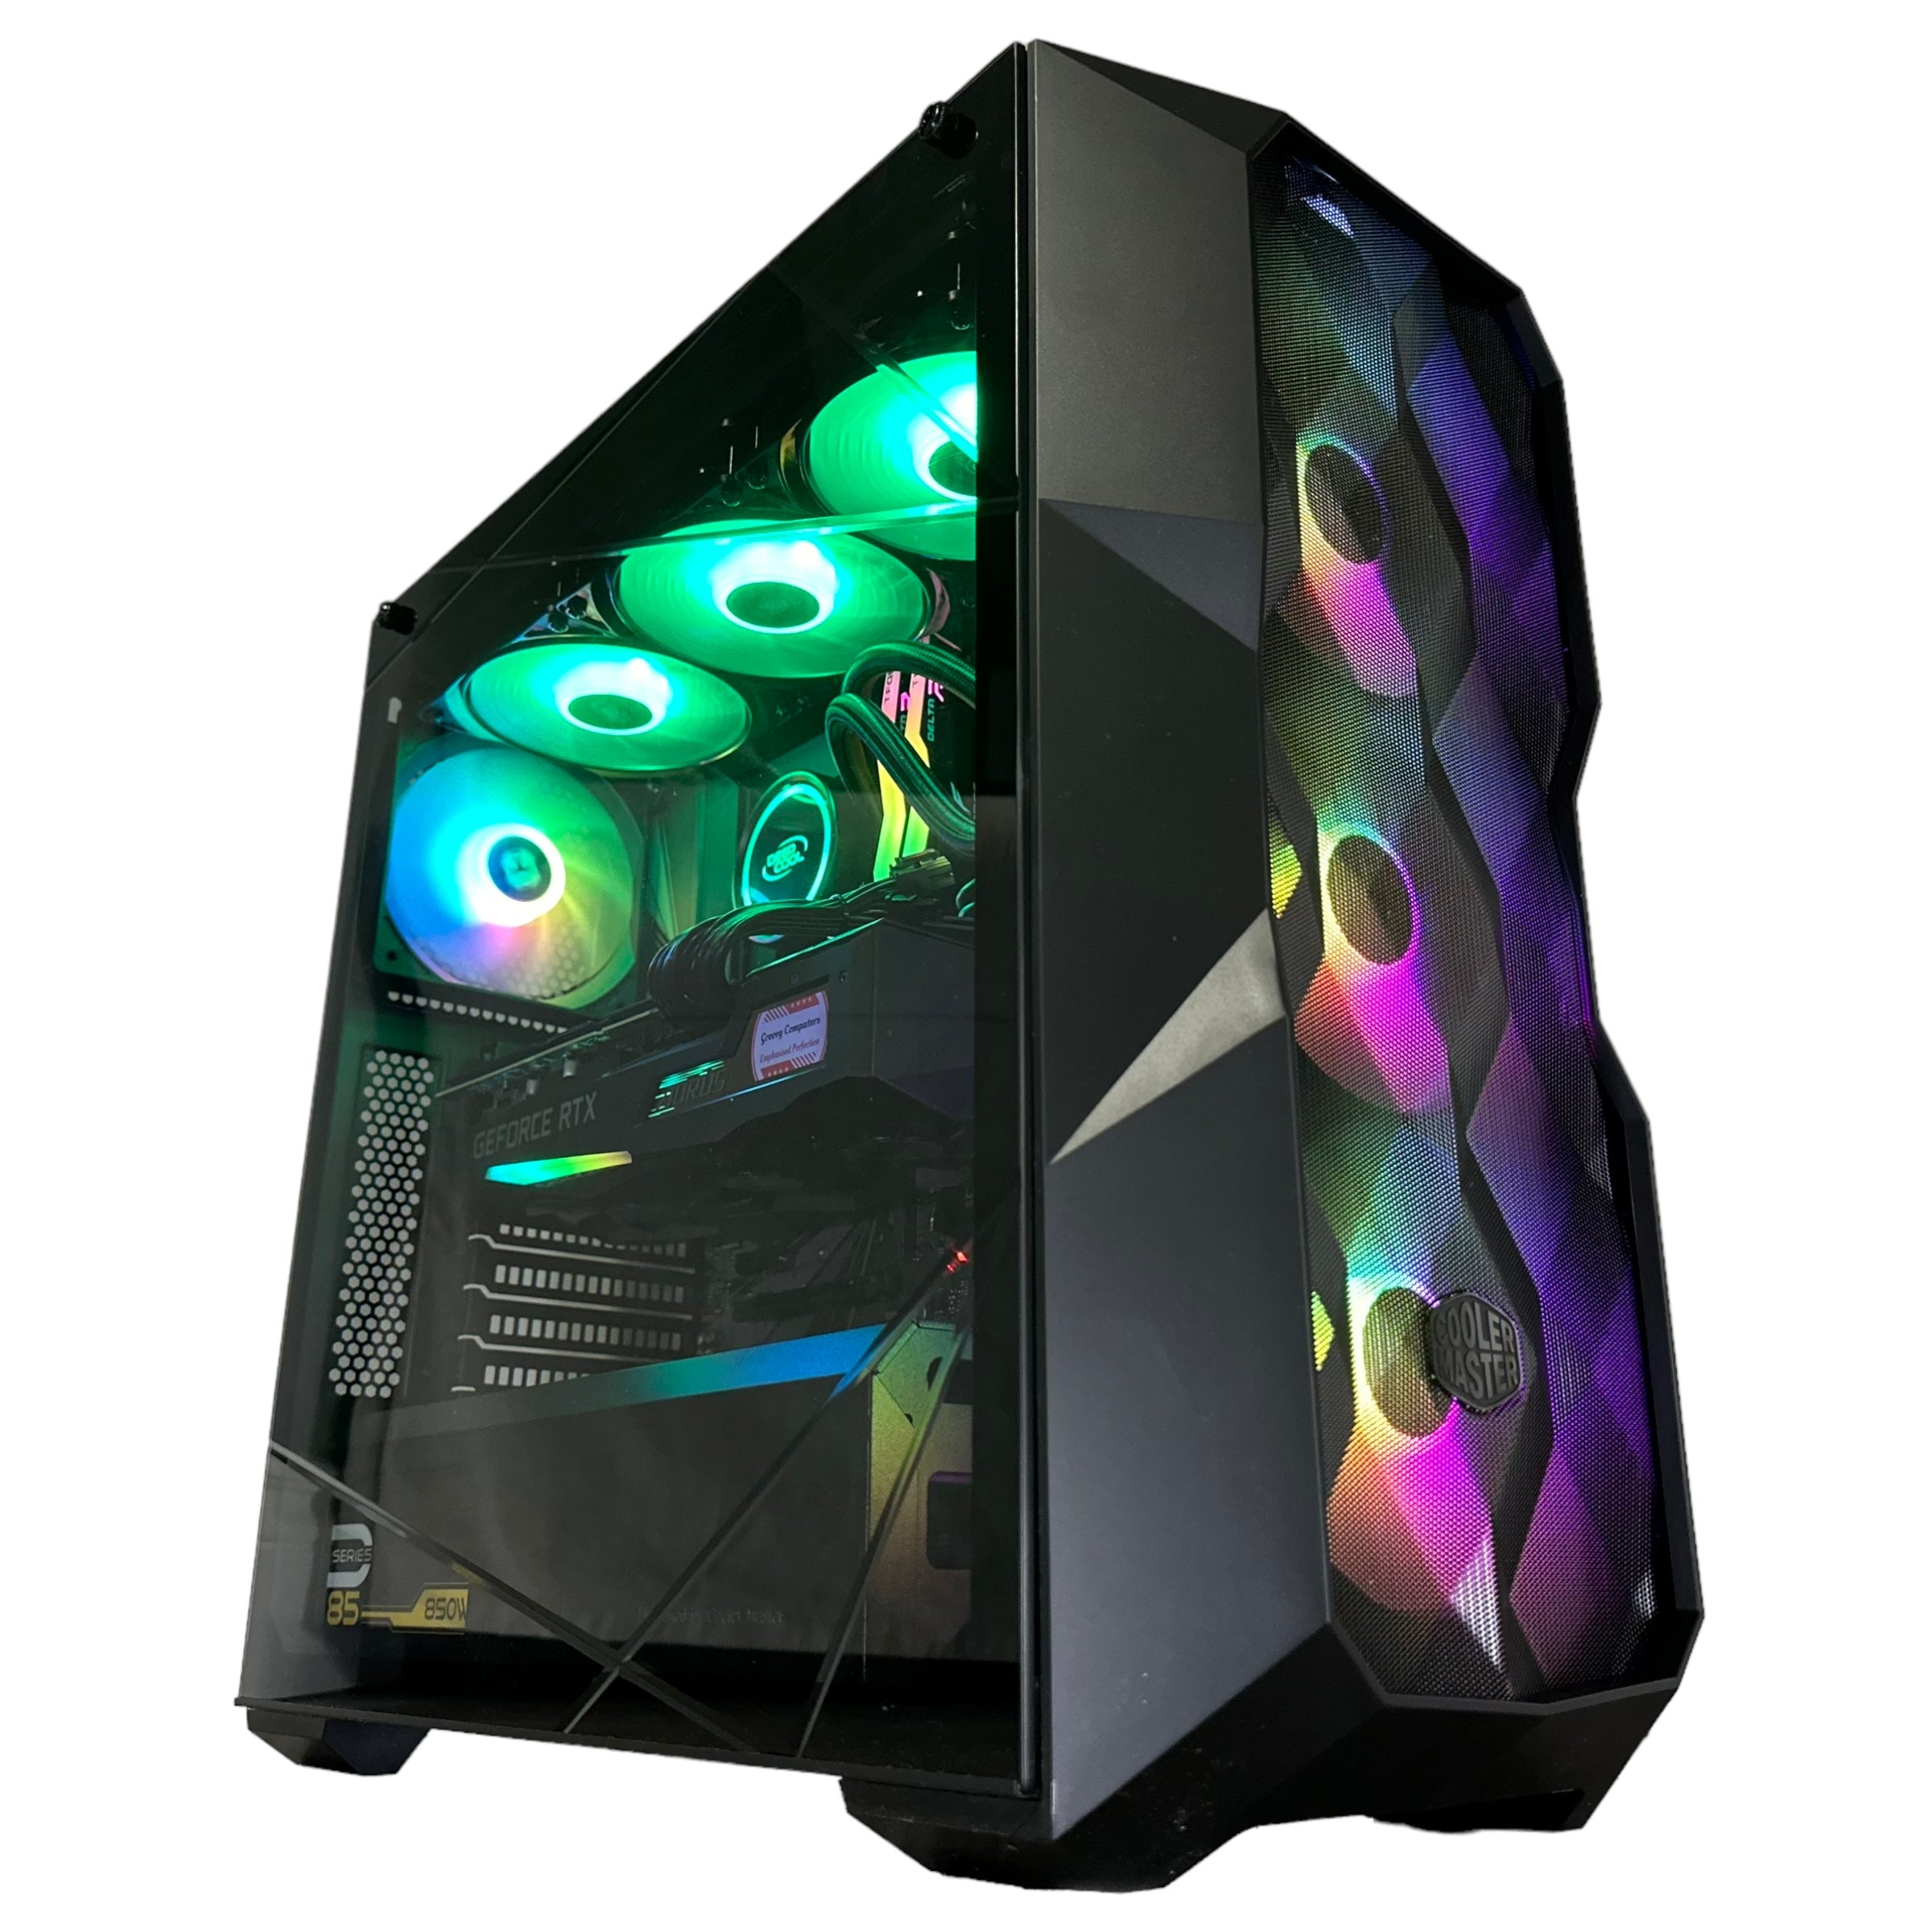
Case selection directly impacts cooling effectiveness. Airflow-focused designs with mesh front panels provide superior heat management compared to solid-front aesthetics-focused alternatives. The Cooler Master TD500 Mesh and similar cases prioritize cooling performance.
Thermal paste application matters more than you might think. Too much paste can actually insulate rather than conduct heat. A rice-grain sized amount in the center of the CPU is usually perfect. The pressure from mounting the cooler will spread it evenly.
Fan setup typically works best with front intake fans bringing cool air in and rear/top exhaust fans pushing hot air out. This creates positive air pressure and steady airflow through the case. A common setup is 2-3 intake fans and 1-2 exhaust fans.
Step-by-Step Assembly Process
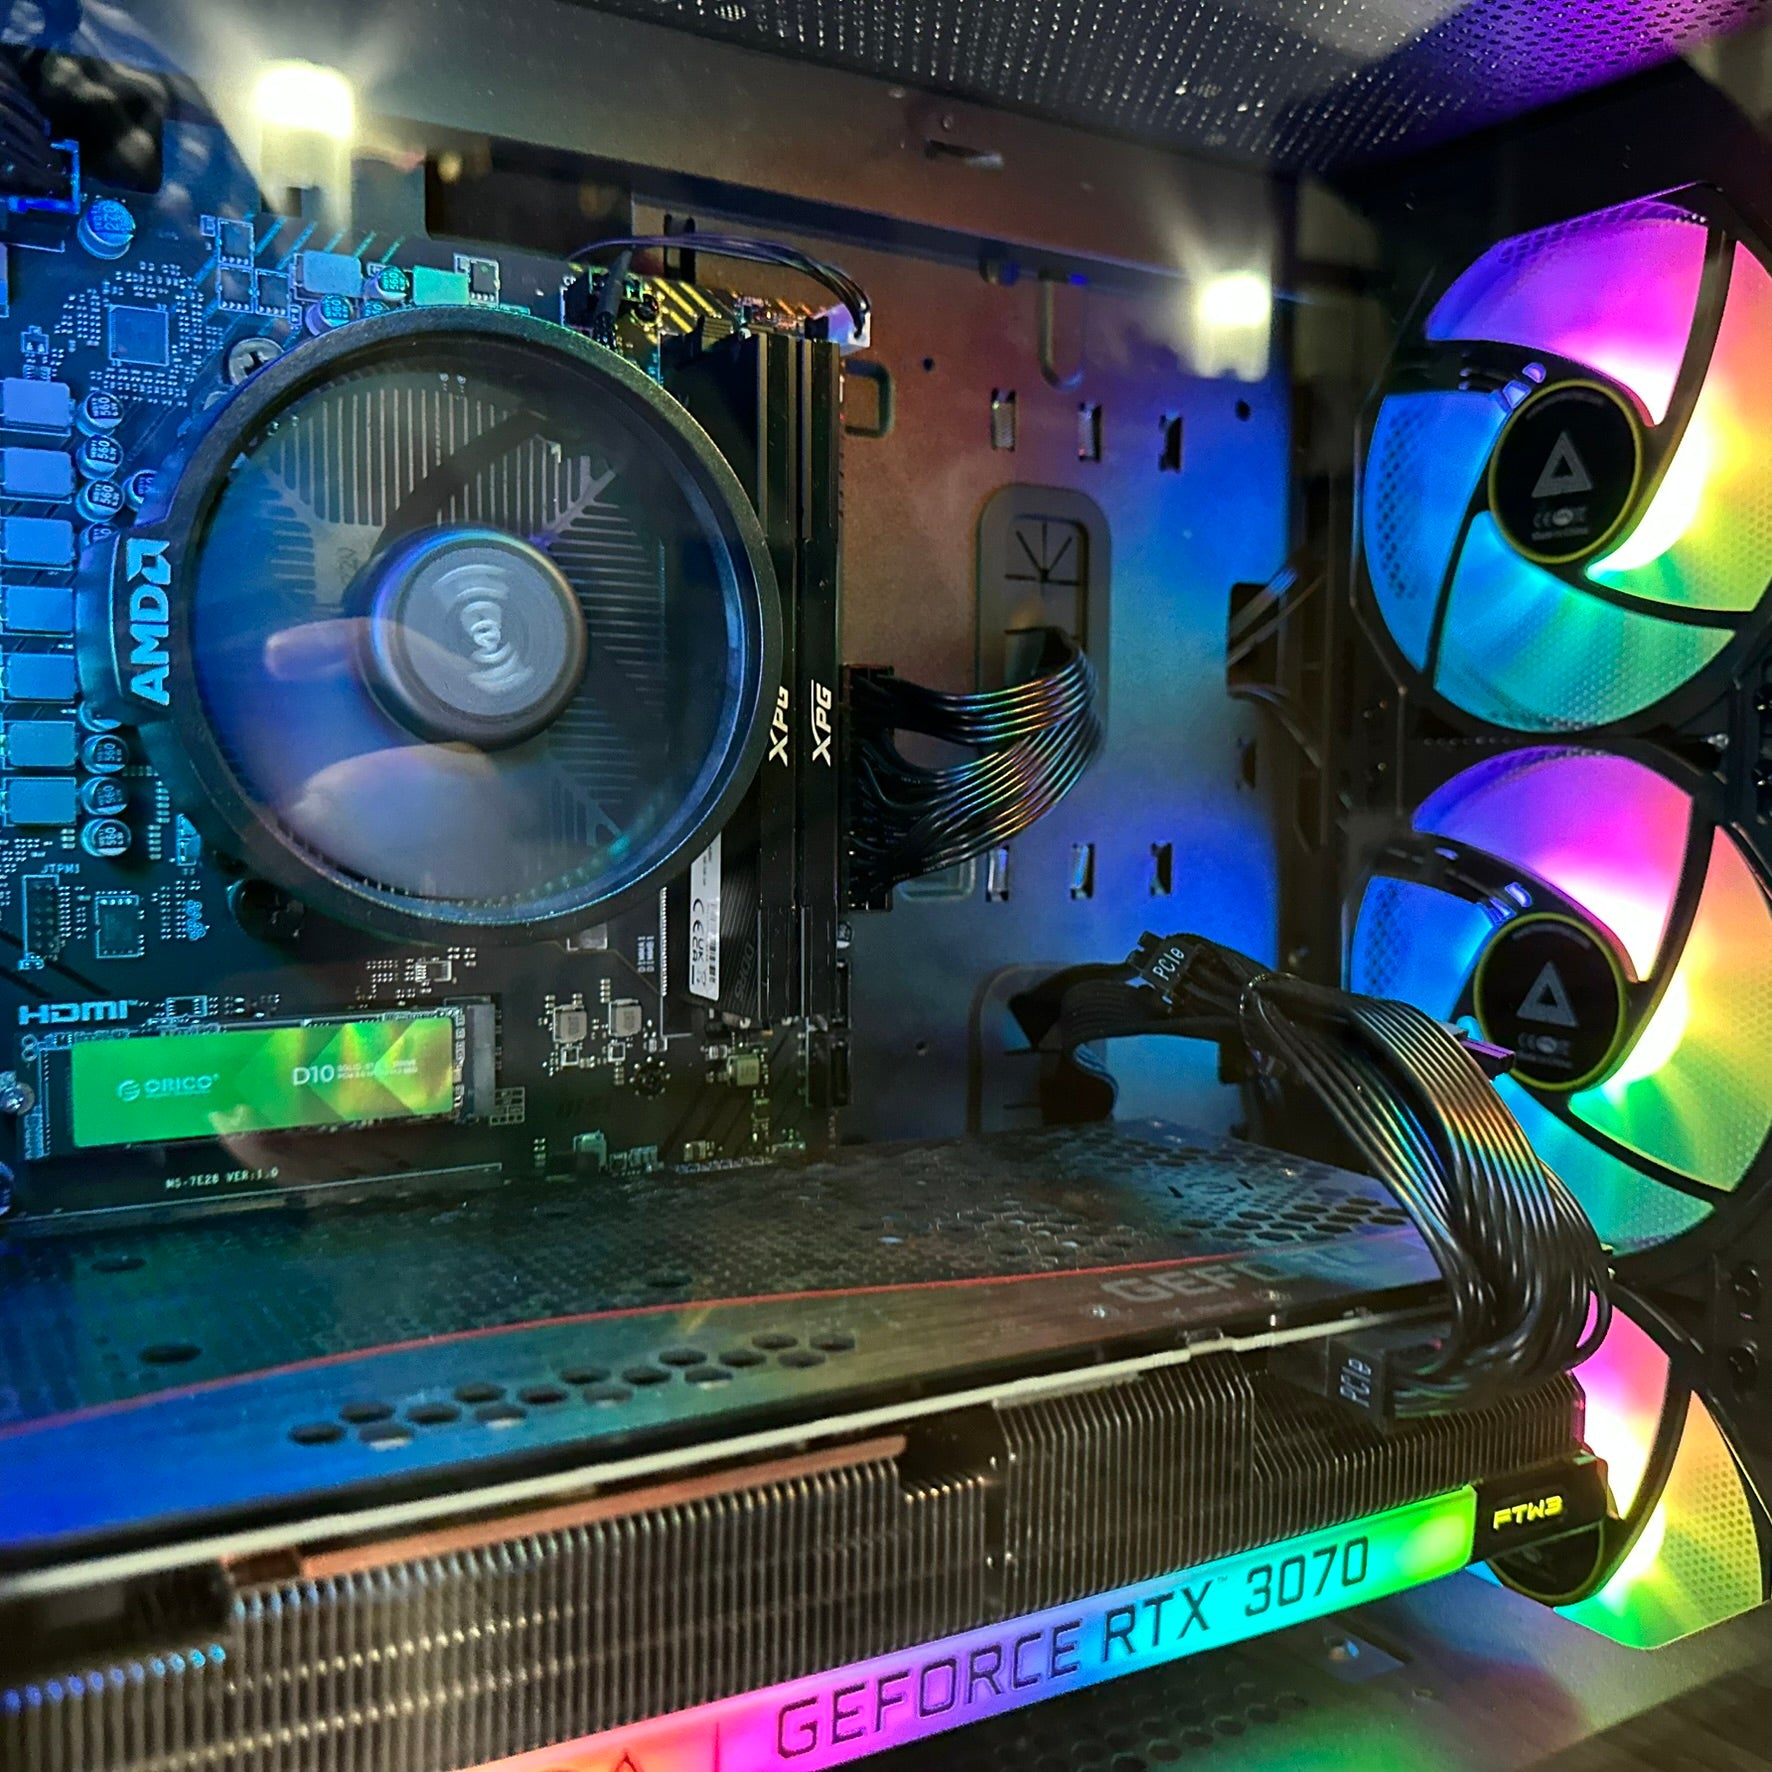
Building a PC is like adult Legos – everything clicks together in a specific way. We always start with motherboard preparation outside the case.
First, install your CPU:
- For AMD processors, lift the retention arm, align the gold triangle on the CPU with the triangle on the socket, and gently place it down. Lower the retention arm to secure it
- For Intel CPUs, lift the retention bracket, align the notches, place the CPU gently, and close the bracket
Apply thermal paste next. A small rice-grain sized amount in the center of the CPU is perfect. Don't spread it manually – the cooler's mounting pressure will do that for you.
Install your CPU cooler following the manufacturer's instructions. This varies significantly between models, but the key is ensuring all mounting points are secure and the cooler is making good contact with the CPU.
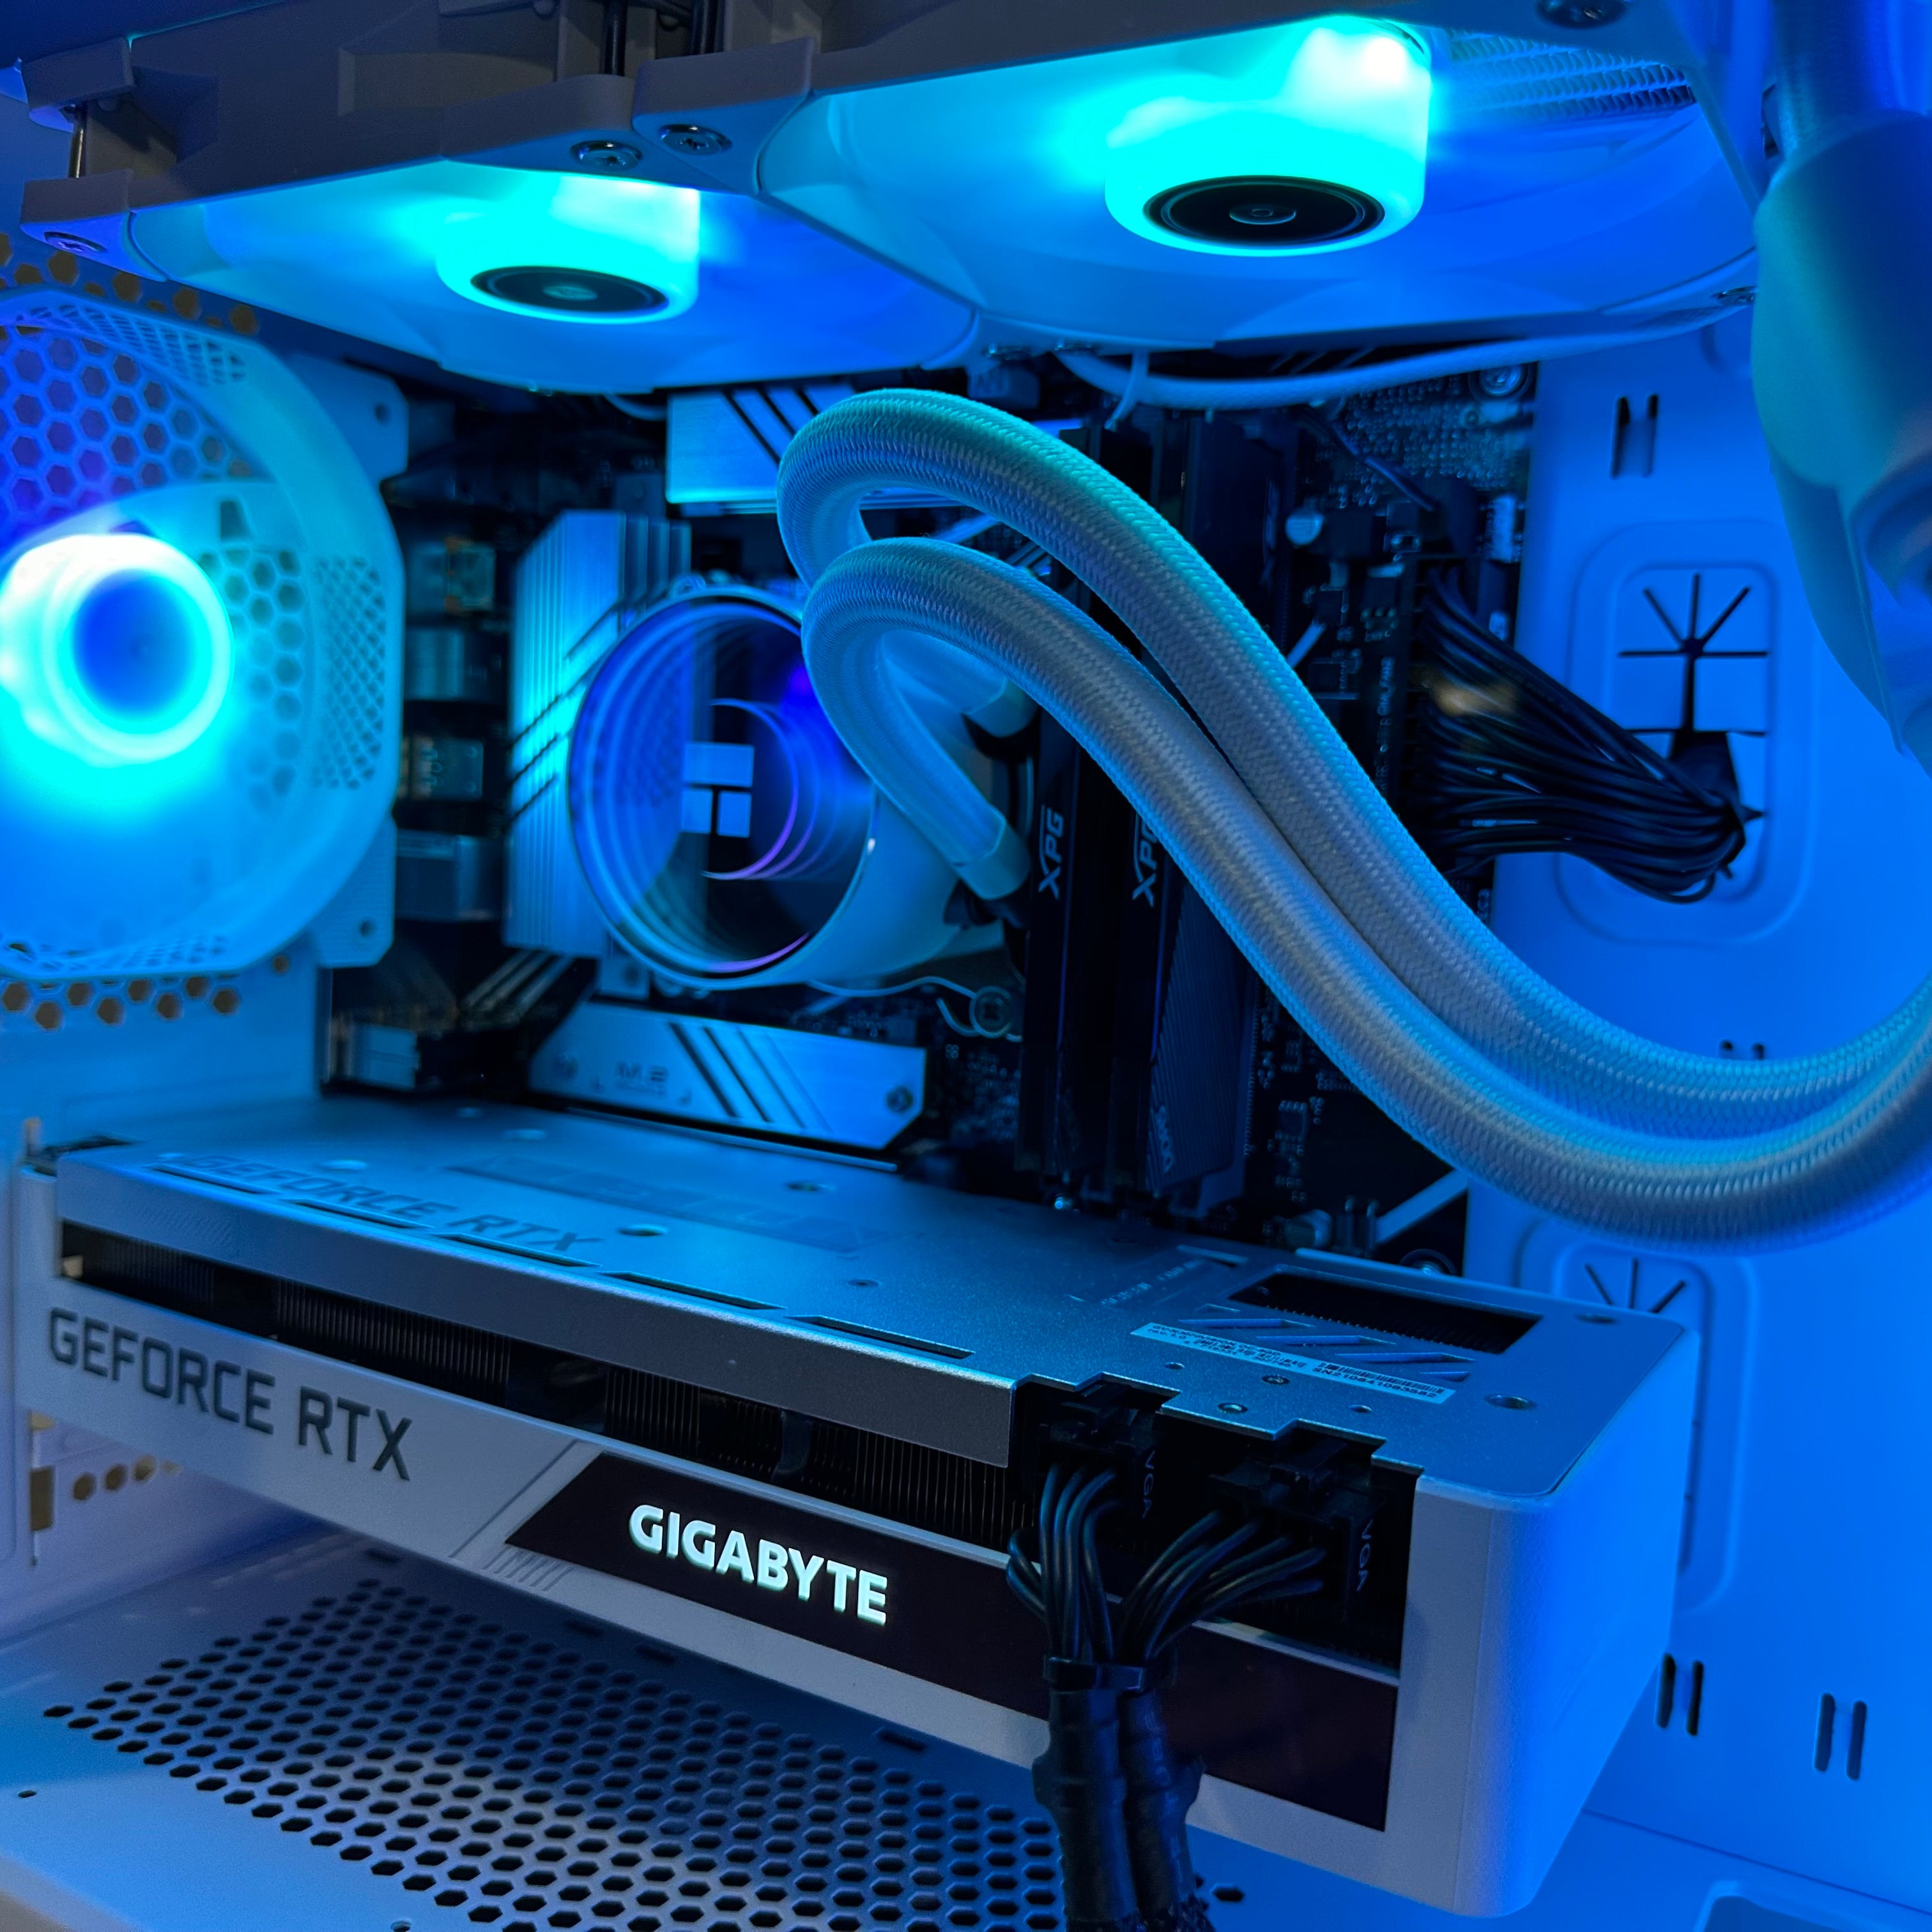
Install memory in slots 2 and 4 (counting from the CPU):
- Line up the notch in the RAM stick with the key in the slot
- Press down firmly on both ends until the clips snap into place
- It takes more force than you'd expect
Install M.2 NVMe drives now while you have easy access:
- Remove the M.2 slot screw
- Insert the drive at a 30-degree angle
- Press it down flat and secure it with the screw
- Some motherboards have heatsinks for M.2 drives – install those according to the manual
Now mount the motherboard in the case:
- Install the I/O shield first (it snaps into the rear of the case)
- Carefully align the motherboard with the standoffs and screw it down
- Don't overtighten – snug is enough
Install the power supply:
- Most modern cases mount it at the bottom with the fan facing down (assuming your case has ventilation there)
- Secure it with the four screws provided
Install your graphics card:
- Remove the appropriate slot covers from the rear of the case (usually 2-3 slots)
- Remove any PCIe slot covers from the motherboard
- Align the card with the slot and press down firmly until it clicks
- Secure it to the case with screws
- Connect the power cables from your PSU to the GPU
Connect all the cables:
- 24-pin ATX power to motherboard
- 8-pin CPU power to motherboard (usually top-left)
- GPU power cables
- SATA power to any SATA drives
- Front panel connectors (power button, reset, LEDs)
- USB headers
- Audio header
Cable management makes your build look clean and improves airflow. Use the cable routing holes in your case and zip ties to keep cables organized behind the motherboard tray.
Common Mistakes and How to Avoid Them
We've helped troubleshoot hundreds of builds at Groovy Computers, and the same mistakes come up constantly.
The memory slot mistake is number one. Installing RAM in slots 1 and 2 instead of 2 and 4 means your system runs in single-channel mode. You lose significant performance. Always check your motherboard manual for the correct slots.
Forgetting the I/O shield happens more often than it should. That metal plate on the back of your motherboard needs to snap into the case before you mount the motherboard. If you forget it, you have to unscrew the motherboard and start over. (I've done this myself – not fun.)
Not connecting CPU power is surprisingly common. The 8-pin (or 4+4 pin) CPU power connector is usually in the top-left of the motherboard. If it's not connected, your system won't POST (Power-On Self-Test).
Thermal paste errors go both ways. Too much paste acts as an insulator instead of a conductor. Too little means poor heat transfer. A rice-grain sized amount is right for most coolers.
PCIe power cables for graphics cards cause confusion because they look similar to CPU power cables. GPU cables are labeled VGA, PCIe, or GPU on the power supply. CPU cables are labeled CPU or EPS. Using the wrong cable can damage components.
Not updating BIOS before installing certain CPUs causes compatibility issues. Newer CPUs might need a BIOS update to work with older motherboards, even if they use the same socket. Check the motherboard manufacturer's website for compatibility information.
Overtightening screws can crack PCBs or strip threads. Screws should be snug but not cranked down hard. Hand-tight plus a quarter turn is usually perfect.
Testing and Troubleshooting Your New Build
Your build is complete, but before you celebrate, you need to verify everything works correctly.
First boot should happen with just essential components connected: CPU, one stick of RAM, GPU, and power connections. This minimizes variables if something goes wrong.
Press the power button. You should see lights, hear fans spinning, and get a display output. If the system beeps or shows diagnostic LEDs, check your motherboard manual for what those codes mean.
Enter BIOS by pressing Delete, F2, or F12 during boot (depends on your motherboard). Verify that:
- CPU is detected correctly
- All RAM is recognized
- Storage drives are detected
- Temperatures look normal (30-40°C at idle is typical)
Enable XMP or EXPO profile for your memory to run at its rated speed. Without this, your DDR5-6000 memory will only run at the default JEDEC speed of 4800MHz.
Install Windows and drivers:
- Create a Windows 11 installation USB using Microsoft's Media Creation Tool
- Boot from the USB and follow the installation process
- Install chipset drivers from AMD or Intel
- Install GPU drivers from NVIDIA or AMD
- Install any motherboard-specific drivers (audio, networking, etc.)
Run stress tests to verify stability:
- CPU stress test with Cinebench or Prime95 (monitor temperatures)
- GPU stress test with FurMark or 3DMark
- Memory test with MemTest86
Monitor temperatures during stress testing. CPUs should stay below 85°C under load, ideally in the 60-75°C range. GPUs should stay below 80°C under load, ideally in the 65-75°C range.
If you experience crashes, blue screens, or instability:
- Reseat RAM (remove and reinstall)
- Check all power connections
- Disable XMP/EXPO and test at default memory speeds
- Update BIOS to latest version
- Test with one RAM stick at a time to identify faulty modules
Performance Optimization and Fine-Tuning
Getting your PC running is one thing. Getting it running at its best is another.
Windows optimization should be your first step. Disable unnecessary startup programs, enable Game Mode, and ensure your display is running at its proper refresh rate in Windows settings. Many people don't realize their 144Hz monitor is running at 60Hz because Windows defaults to that.
GPU settings matter significantly. In NVIDIA Control Panel or AMD Adrenalin, ensure maximum performance mode is enabled. Set texture filtering quality to high performance. For competitive gaming, consider disabling VSync and enabling Low Latency Mode.
Monitor your system with MSI Afterburner or HWiNFO64. These tools show real-time CPU temperatures, GPU temperatures, clock speeds, and frame rates. You'll quickly learn what's normal for your system.
Fan curves can be adjusted for better balance between cooling and noise. Most motherboards let you customize fan speeds based on temperature. A good starting point is 30% speed at 40°C, ramping to 100% at 80°C.
Storage optimization includes enabling TRIM for SSDs and disabling automatic defragmentation (which can wear out SSDs unnecessarily). Windows usually handles this automatically, but it's worth verifying in the drive properties.
Future Upgrade Paths and Expandability
One of the biggest advantages of building your own PC is the ability to upgrade over time.
GPU upgrades deliver the most noticeable performance improvement for gaming. Your CPU, RAM, and storage typically last through 2-3 GPU generations. A system built with a Ryzen 7 processor today will handle GPU upgrades for 4-5 years easily.
CPU upgrades depend on socket compatibility. AM5 motherboards will support multiple future Ryzen generations, making them excellent for long-term value. Intel's LGA 1700 platform is nearing the end of its life cycle, so factor that into your decision.
Memory upgrades are simple. Most motherboards have 4 DIMM slots. If you start with 2x16GB, you can add another 2x16GB kit later for 64GB total. Just ensure you buy the same speed and timings for best compatibility.
Storage expansion is almost unlimited in modern systems. Most motherboards have 2-4 M.2 slots plus multiple SATA ports. You can easily add drives as your game library grows.
PCIe slots allow for expansion cards:
- WiFi/Bluetooth cards if your motherboard doesn't have them built-in
- Sound cards for audiophiles
- Capture cards for streaming
- Additional USB ports or other connectivity
Power supply headroom matters for future upgrades. If you buy a 750W power supply now, you have room to upgrade to a more powerful GPU later without replacing the PSU.
Frequently Asked Questions
Is building a PC really cheaper than buying pre-built? Yes, building your own PC typically saves 15-25% compared to equivalent pre-built systems. A $1,000 custom build offers performance comparable to $1,200-1,300 pre-built systems when accounting for similar components, though you'll need to invest time in research, assembly, and troubleshooting.
How long does it take to build a PC for the first time? Your first build usually takes 3-4 hours from start to finish, including cable management and initial setup. Experienced builders can complete a build in 1-2 hours, but there's no need to rush. Taking your time reduces mistakes and ensures everything is connected properly.
Do I need to buy Windows separately? Yes, Windows 11 licenses must be purchased separately and typically cost around $100-140 for a home license. You can install Windows without activating it initially, but you'll have limited customization options and a watermark until you enter a valid license key.
What happens if I damage a component during assembly? Component damage during assembly is rare if you follow proper handling procedures – avoid static electricity, don't force connections, and handle components by their edges. Most component warranties cover manufacturing defects but not user damage, so take your time and be gentle.
Can I upgrade my PC later or am I stuck with what I build? PCs are designed for upgradeability. You can easily upgrade your graphics card, add more RAM, install additional storage, or even replace your CPU and motherboard later. This flexibility is one of the biggest advantages of building your own system versus buying pre-built.
How do I know if all my parts are compatible? Use PCPartPicker or similar compatibility checkers that automatically verify socket types, power requirements, and physical dimensions. Also check your motherboard's QVL (Qualified Vendor List) for RAM compatibility, and ensure your case has clearance for your GPU and CPU cooler.
Do I really need 32GB of RAM for gaming? For most current games, 16GB is still adequate, but 32GB has become the recommended amount in 2025. Games like Star Citizen and Starfield can use over 16GB during gameplay, and having extra RAM ensures smooth multitasking when streaming or recording. DDR5 prices have also dropped enough that 32GB is affordable for most builds.
Should I wait for new components to release or build now? There will always be something new on the horizon. If current components meet your needs and budget, build now and enjoy your system. Waiting makes sense only if a specific component you want releases within 1-2 months. The PC market constantly evolves, and waiting forever means you'll never build. If you prefer a ready-to-go solution, check out our gaming PCs or explore our budget gaming systems to get started right away.
Leave a comment
This site is protected by hCaptcha and the hCaptcha Privacy Policy and Terms of Service apply.