

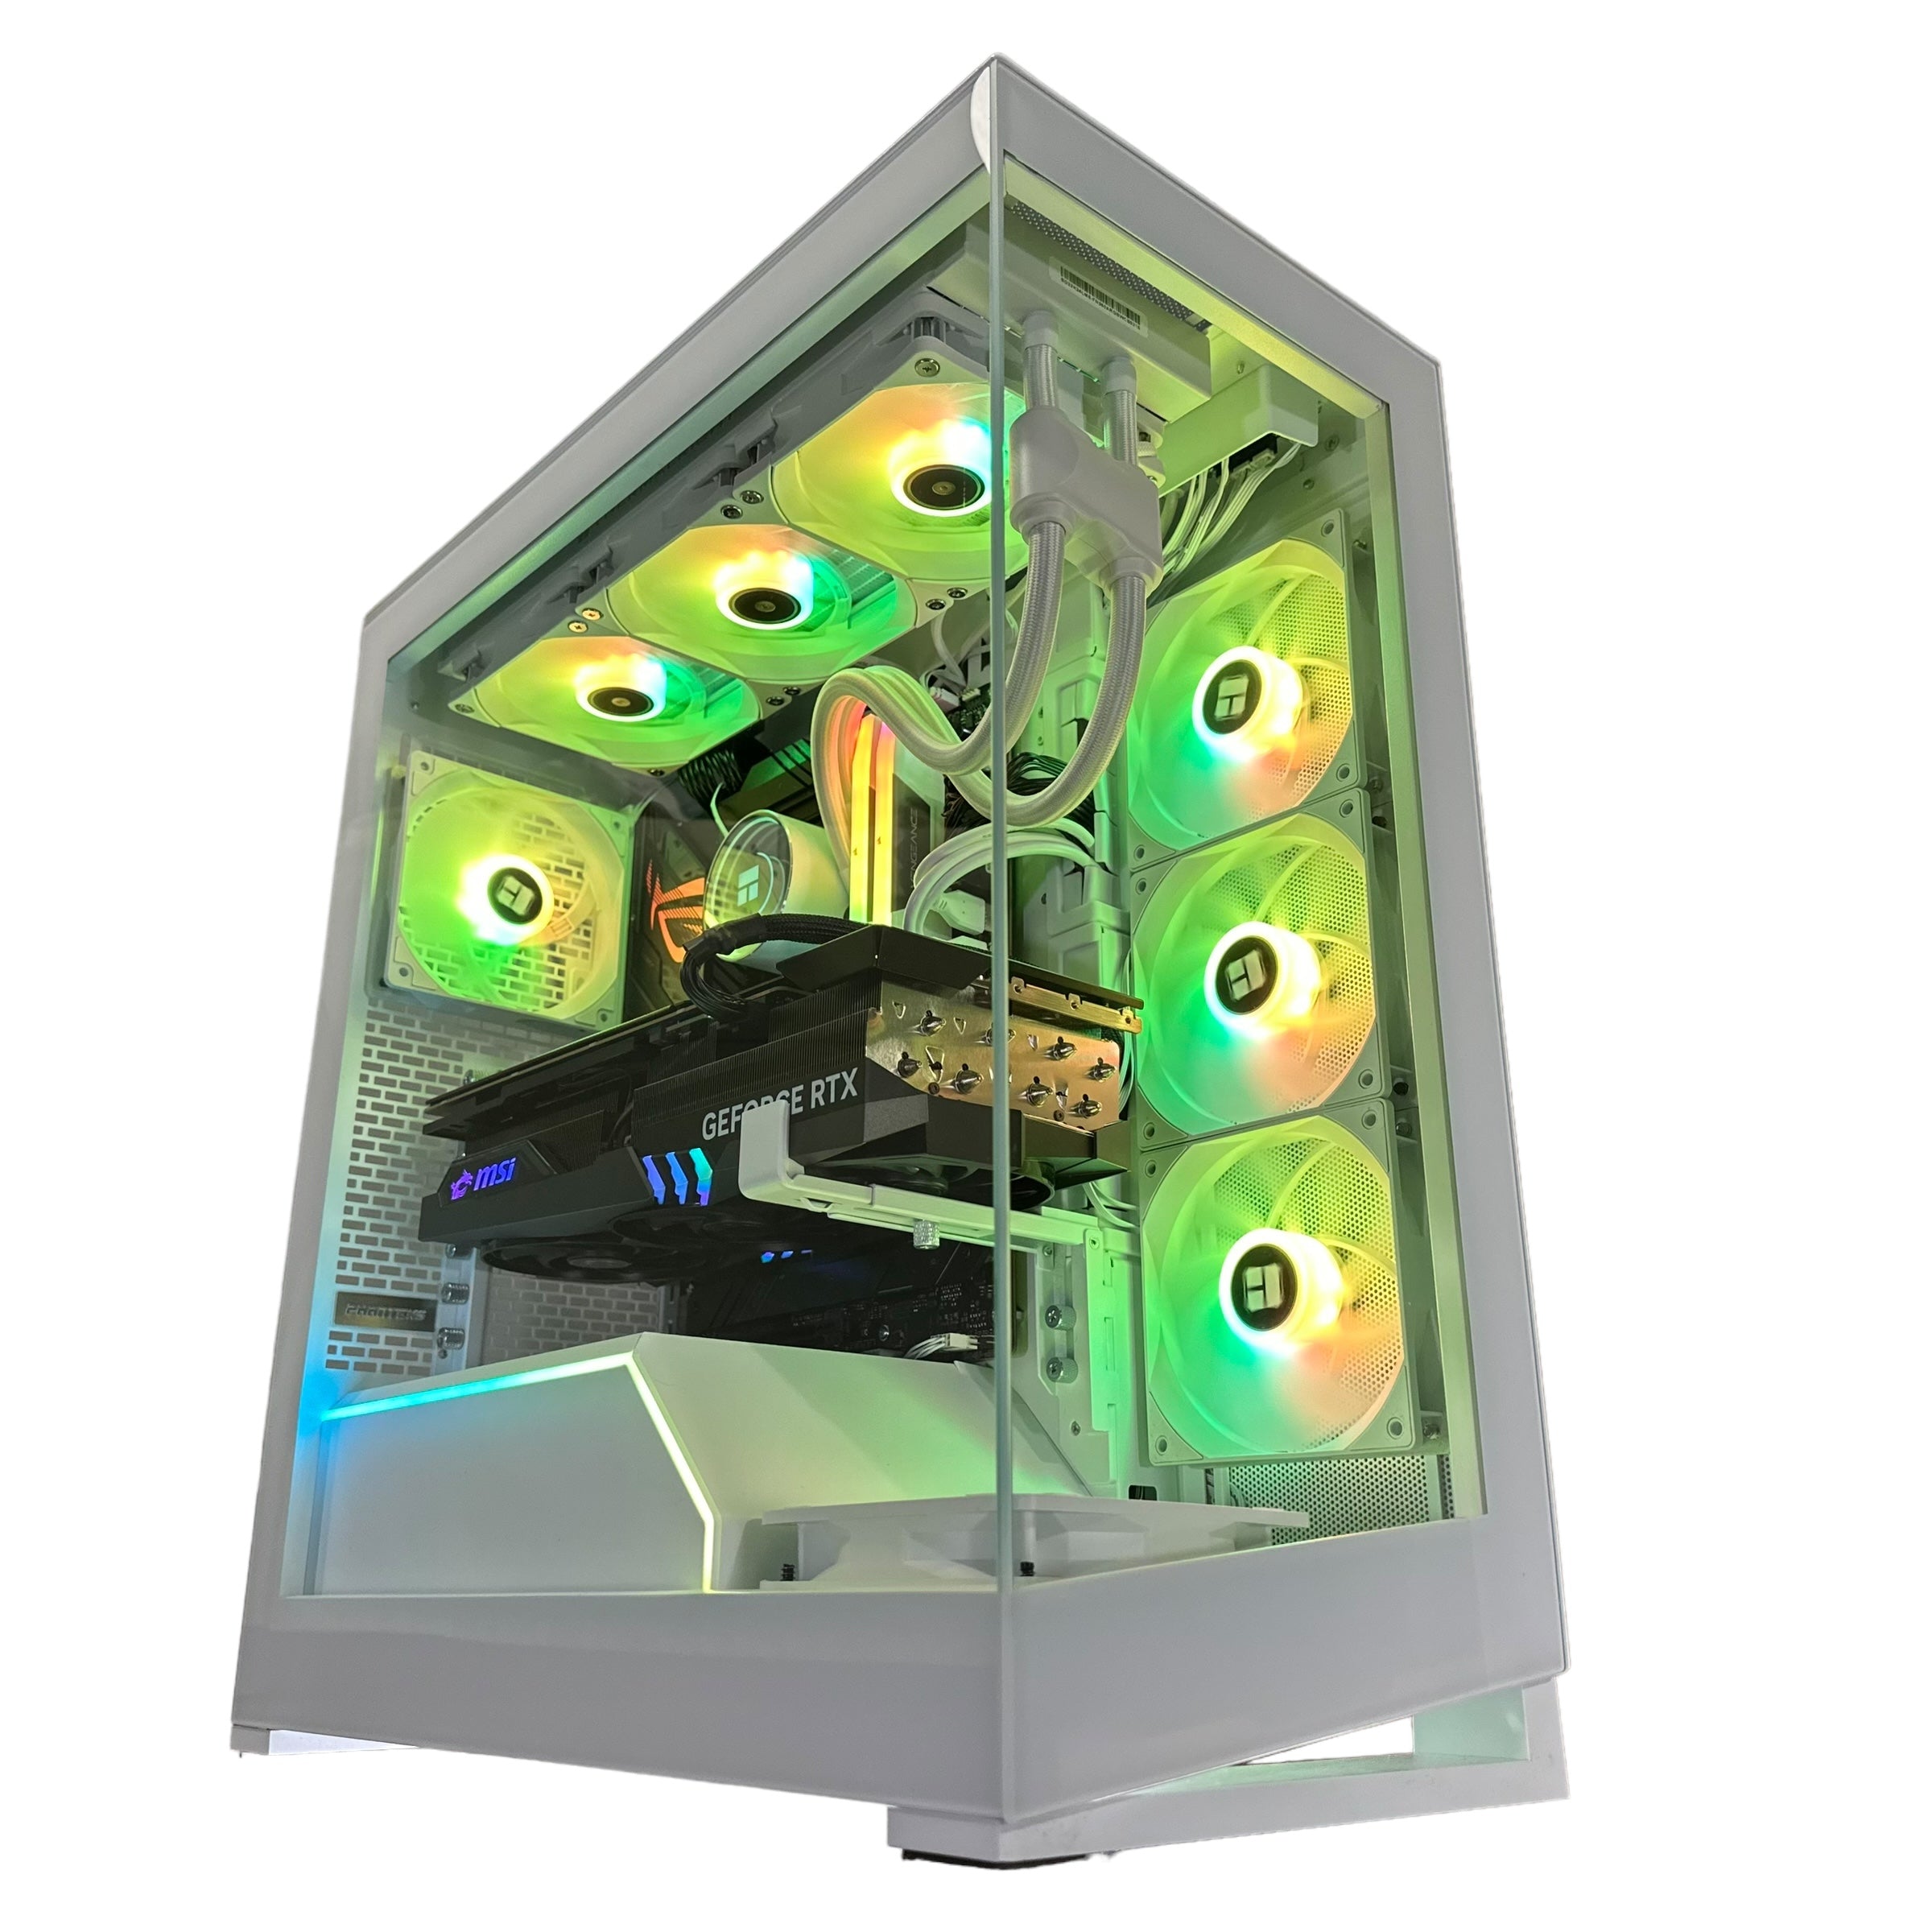

Why Your Custom PC Build Outperforms Pre-Built Options
Pre-built PCs offer a convenient, all-in-one solution. However, they often involve compromises on performance and upgradability. Building your own PC, on the other hand, allows you to choose each component, creating a system optimized for your specific needs and budget. This results in better performance, easier upgrades, and greater value over time.
Performance Advantages of a Custom Build
A custom build puts you in control of your components. If you’re a gamer looking for high frame rates, you can select a powerful graphics card (GPU) and a high-refresh-rate monitor. Content creators can prioritize a high-core-count processor (CPU) and plenty of RAM for seamless multitasking. This targeted approach maximizes your price-to-performance ratio, ensuring you don’t pay for features you won’t use.
Pre-built systems sometimes use generic or proprietary parts to reduce costs. These parts can limit performance and make future upgrades difficult. Custom builds give you access to a broader selection of high-quality components known for reliability and performance headroom. This flexibility ensures your PC can adapt to future demands as new technologies emerge.
Cost-Effectiveness and Long-Term Value
The initial cost of a custom-built PC might seem higher than a pre-built option. But, the long-term value is significant. Pre-built systems depreciate quickly, often becoming outdated in just a few years. With a custom build, you can upgrade individual components as needed, significantly extending the lifespan of your machine. Instead of replacing the entire system, you could upgrade your GPU every few years, for example.
Custom PC builds are increasingly popular in Canada due to their cost-effectiveness and customization potential. As of 2024, building a PC in Canada typically costs between $1,500 and $4,000, depending on the desired performance level. A high-end 4K gaming setup might include components like the AMD Ryzen 7 7800X and an Nvidia GeForce RTX 4080. This combination delivers superior performance for both gaming and productivity. Canadians can truly tailor their systems to their needs, ensuring optimal functionality and performance. Find more detailed statistics here.
The Satisfaction of Building Your Own Machine
Beyond performance and value, building a PC offers a unique sense of accomplishment. It's a testament to your technical skills and understanding. Like assembling a high-performance engine, you're creating something powerful and personalized. The ability to troubleshoot and maintain your system empowers you to take control of your technology. Ultimately, this personalized approach to PC building creates a more rewarding and enjoyable computing experience.
Selecting Components That Work Together Perfectly
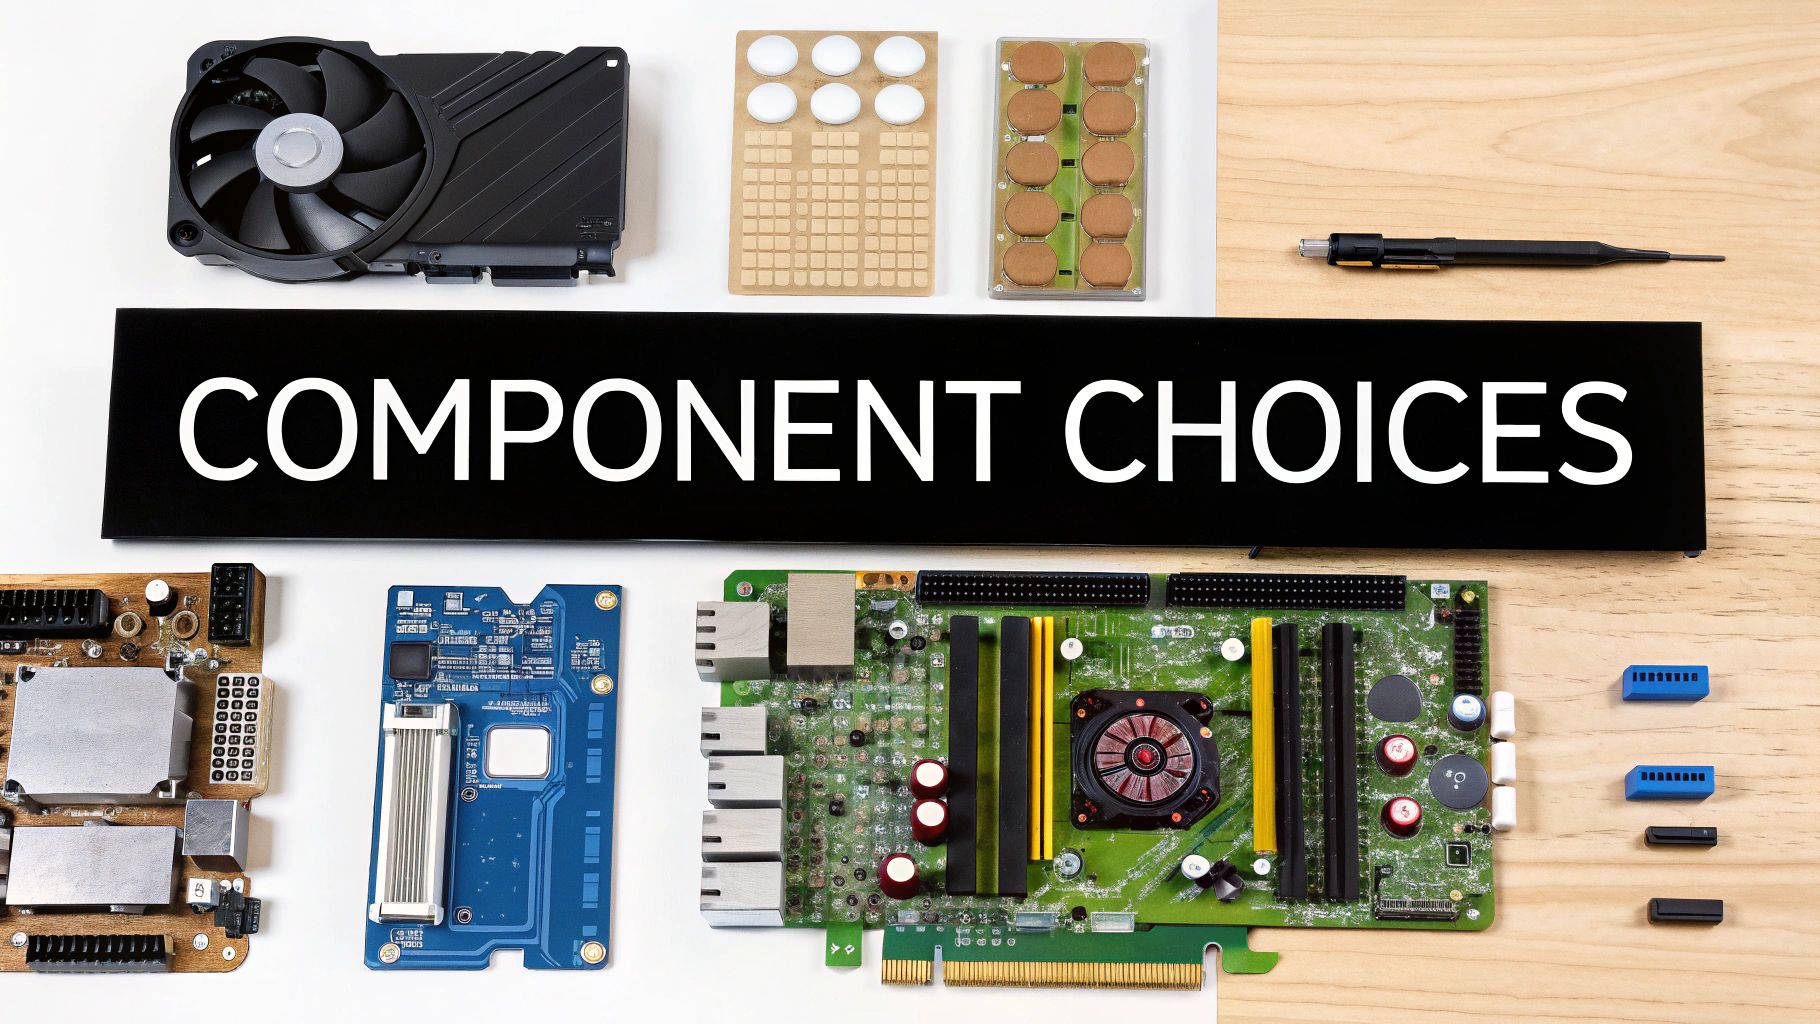
Building a custom PC is often compared to assembling a high-performance machine. Just as you wouldn't mismatch parts in a car, choosing PC components requires careful consideration of their interaction. This section explores these crucial relationships, turning individual hardware into a powerful, unified system.
Understanding Component Compatibility
The motherboard serves as the foundation of your PC build. It determines compatibility with CPUs, RAM, and other components. A motherboard with an AM5 socket, for example, works exclusively with AMD Ryzen 7000 series CPUs. Conversely, the LGA 1700 socket supports Intel 12th and 13th generation processors. This ensures effective communication between components.
Memory speed is also critical. Faster RAM isn't always better; its effectiveness depends on CPU and motherboard support. If these components don't support the higher speeds, you're paying for unused potential. Researching component specifications and ensuring alignment is key. For a deeper dive, check out How to master... for more on component compatibility.
Avoiding Bottlenecks and Maximizing Performance
A bottleneck occurs when a single component restricts the performance of others. Imagine a multi-lane highway narrowing to one lane. A powerful GPU paired with a weak CPU limits overall system performance. The same applies to a fast NVMe SSD connected to an older SATA II port.
Choosing components strategically helps eliminate bottlenecks. Balance is key. A high-end gaming build needs both a powerful GPU and a CPU that can keep pace. Content creation, however, might prioritize a high-core-count CPU and ample RAM, while a less powerful GPU might suffice.
To help illustrate the differences between builds for varying budgets and needs, let's take a look at the table below. It outlines component choices for budget, mid-range, and high-end systems.
Core Components Comparison: Comparison of essential PC components across entry-level, mid-range, and high-end custom builds
| Component | Budget Build ($800-1000) | Mid-Range ($1500-2000) | High-End ($3000+) |
|---|---|---|---|
| CPU | Intel Core i5-13400F or AMD Ryzen 5 7600 | Intel Core i7-13700K or AMD Ryzen 7 7700X | Intel Core i9-13900K or AMD Ryzen 9 7950X |
| GPU | NVIDIA GeForce RTX 3060 or AMD Radeon RX 6700 XT | NVIDIA GeForce RTX 4070 or AMD Radeon RX 7800 XT | NVIDIA GeForce RTX 4080 or AMD Radeon RX 7900 XTX |
| RAM | 16GB DDR4 3200MHz | 32GB DDR5 5200MHz | 32GB DDR5 6000MHz |
| Storage | 1TB NVMe SSD | 2TB NVMe SSD | 2TB NVMe SSD + 2TB HDD |
| Motherboard | B660 or B760 (Intel) / B550 or B650 (AMD) | Z690 or Z790 (Intel) / X670 or X670E (AMD) | Z790 (Intel) / X670E (AMD) |
As you can see, the budget build prioritizes affordability, while the high-end system emphasizes top-tier performance. The mid-range build strikes a balance between the two.
Future-Proofing Your Custom PC Build
Technology changes quickly. Future-proofing your build means choosing components that remain relevant for years to come. This doesn't necessitate buying the most expensive parts. Instead, it involves smart choices for scalability and upgradability.
A motherboard with multiple M.2 slots allows for future storage expansion. Choosing a power supply with higher wattage than currently needed accommodates future upgrades without complete replacement. These choices extend your build’s life without unnecessary initial expense.
Planning For the Future: Expansion and Upgrades
Thinking ahead about expansion and upgrades saves headaches later. Choose a case with room for extra drives or larger graphics cards. Consider available PCI-e slots on your motherboard for future add-in cards.
A modular power supply with detachable cables simplifies future upgrades and improves cable management. Planning strategically ensures your custom PC remains a powerful, adaptable platform for years to come.
Budget Optimization for Maximum Performance

Building a custom PC is all about achieving the best possible performance within the boundaries of your budget. It's not about blindly spending on the priciest components. Instead, it's about understanding where each dollar will have the most impact. This section explores how to strategically allocate your budget for maximum gains depending on how you intend to use your PC.
Identifying Diminishing Returns
Just like most things in life, PC components are subject to diminishing returns. This simply means that after a certain point, spending more doesn't translate to a proportional increase in performance. For instance, a high-end CPU may offer only a slight edge over a mid-range CPU for gaming, especially if your GPU is the bottleneck.
Recognizing these points of diminishing return is key to effective budget allocation. A practical approach involves understanding your specific needs. If you primarily game at 1080p, investing heavily in a 4K-capable GPU won't provide much benefit. That budget could be better used on a faster CPU or additional RAM.
Prioritizing Components Based on Usage
Different tasks require different component priorities. For gamers, the GPU reigns supreme. A powerful graphics card will provide smooth frame rates and breathtaking visuals. Content creators, however, prioritize a robust CPU and plenty of RAM for rendering and multitasking.
A video editor, for example, greatly benefits from a CPU with a high core count and clock speed for faster video processing. A gamer, on the other hand, will prioritize a powerful GPU for higher frame rates and improved visuals. Understanding these differences helps direct your budget where it truly matters. Canadian companies like Quoted Tech specialize in custom builds, with gaming PCs starting at $1,249 CAD, demonstrating the range of options available.
Smart Purchasing Strategies: Timing, Bundles, and Compromises
Timing your purchases strategically can result in significant savings. Component prices can fluctuate, especially around new product launches. Waiting for sales or rebates can stretch your budget considerably.
Also, look for bundle deals. Retailers often offer discounts when you buy multiple components together, such as a CPU and motherboard combo. These bundles can be more economical than buying each item individually. Just make sure the bundled components align with your build plan.
Strategic compromises can also be beneficial. A slightly older generation GPU might offer comparable performance to the latest model at a reduced price. This frees up funds for other important areas like storage or a higher-quality power supply. The goal is to make smart decisions that maximize your system's performance without overspending.
Developing Your Personalized Budget Blueprint
Ultimately, a successful custom PC build comes down to personalization. There's no one-size-fits-all solution. Your individual needs and budget will dictate the ideal component choices.
Start by defining your primary use case. Are you primarily a gamer, a content creator, or a general user? This will determine your priorities. Next, set a realistic budget. Research components within your price range, focusing on the areas most important for your usage.
By carefully considering your needs and making smart spending decisions, you can build a custom PC that delivers exceptional performance without unnecessary extras. This optimized approach ensures every dollar contributes to a system perfectly tailored to your specific requirements.
Assembly Mastery: Building With Confidence
This section breaks down the process of assembling a custom PC into manageable steps. We'll simplify potentially challenging procedures, providing clear guidance on everything from installing the CPU to organizing cables. This will give you the confidence to tackle your own custom PC build.
Preparing Your Workspace and Gathering Tools
A clean, organized workspace is key for a successful build. It minimizes static discharge risks and helps you keep track of small parts. A large, flat surface like a table works best. Gather your tools in advance. Essential tools include a Phillips head screwdriver, an anti-static wrist strap, zip ties, and thermal paste.
Before we dive into the assembly process, let's review the essential tools and workspace preparations. The following table outlines everything you'll need for a smooth build.
Custom PC Build Tools and Preparation: Essential tools, workspace requirements, and preparation steps for a smooth build process
| Item | Purpose | Must-Have/Optional | Notes |
|---|---|---|---|
| Phillips Head Screwdriver | Securing screws | Must-Have | Magnetic tip recommended |
| Anti-Static Wrist Strap | Preventing static discharge | Must-Have | Protects components |
| Zip Ties | Cable management | Must-Have | Keeps build tidy and improves airflow |
| Thermal Paste | Improving heat transfer between CPU and cooler | Must-Have | Apply a pea-sized amount |
| Anti-Static Mat | Provides a static-free surface | Optional | Extra protection for components |
| Parts Organizer | Keeps screws and small parts organized | Optional | Prevents loss and confusion |
Having the correct tools and a well-prepared workspace simplifies the process and minimizes errors, setting you up for a successful build.
Key Assembly Steps and Techniques
Start by installing the CPU onto the motherboard. This requires careful alignment. Next, apply thermal paste to the CPU before attaching the cooler. Make sure the RAM modules are firmly seated in their slots until they click.
Mount the motherboard inside the case. Install the GPU in the PCI-e slot (typically the longest slot). Connect the power supply to the motherboard and other components. For detailed instructions, check out this resource: How to master....
Cable Management and System Verification
Good cable management is essential. It improves airflow and makes your build look better. Bundle cables with zip ties and route them neatly to keep the inside of your case organized.
Double-check all connections once everything is installed. Ensure power cables are secure and data cables are properly routed. Verify all standoffs are correctly installed and that no components are touching the case before powering on. This final check prevents potential short circuits.
Troubleshooting and Post-Build Validation
After booting up, install your operating system and drivers. Run benchmark tests to check system performance and stability. This confirms all components function correctly. Consult your motherboard manual for troubleshooting if you encounter any problems. This helps identify and address issues early.
Completing your custom PC build is rewarding. It showcases your technical skills and provides the satisfaction of powering on your self-assembled machine.
Tailoring Your Custom PC Build for Specific Needs
Building a custom PC offers the significant advantage of adapting to your specific requirements. Whether your focus is gaming, content creation, or professional applications, understanding component priorities is key. This targeted approach ensures your system excels in its intended role.
Optimizing For Gaming
For a gaming PC, a balanced GPU and CPU pairing is essential. The GPU renders visuals, while the CPU handles game logic and background tasks. Pairing a powerful GPU like the RTX 4080 with a capable CPU like the Ryzen 7 7700X ensures smooth frame rates and a responsive experience.
For high refresh rate gaming at 1440p or 4K, the GPU becomes even more important. Investing in a high-end GPU provides the necessary graphical horsepower for demanding games. However, the CPU still plays a vital role. A balanced configuration prevents bottlenecks and maximizes performance.
Powering Content Creation
Content creation, including video editing and 3D modeling, shifts the focus to the CPU and RAM. Multi-core processors, such as the Ryzen 9 7900X, excel at the complex calculations involved. Ample RAM, ideally 32GB or more, ensures smooth multitasking and prevents slowdowns when working with large files.
While a powerful GPU can accelerate certain content creation tasks, it’s not the primary concern. A mid-range GPU often suffices, allowing you to prioritize a stronger CPU and more RAM.
Balancing Hybrid Use Cases
Many users need a system that performs well across various tasks. A hybrid build balances gaming and productivity, requiring careful component selection. This approach avoids compromising primary functions while maintaining flexibility.
A mid-range GPU, a strong CPU, and a good amount of RAM can offer an effective balance. This allows for smooth gaming at reasonable settings and efficient handling of productivity tasks. Consider processors like the Intel Core i7-13700K or AMD Ryzen 7 7800X3D for these builds.
Considering Pre-Built Alternatives
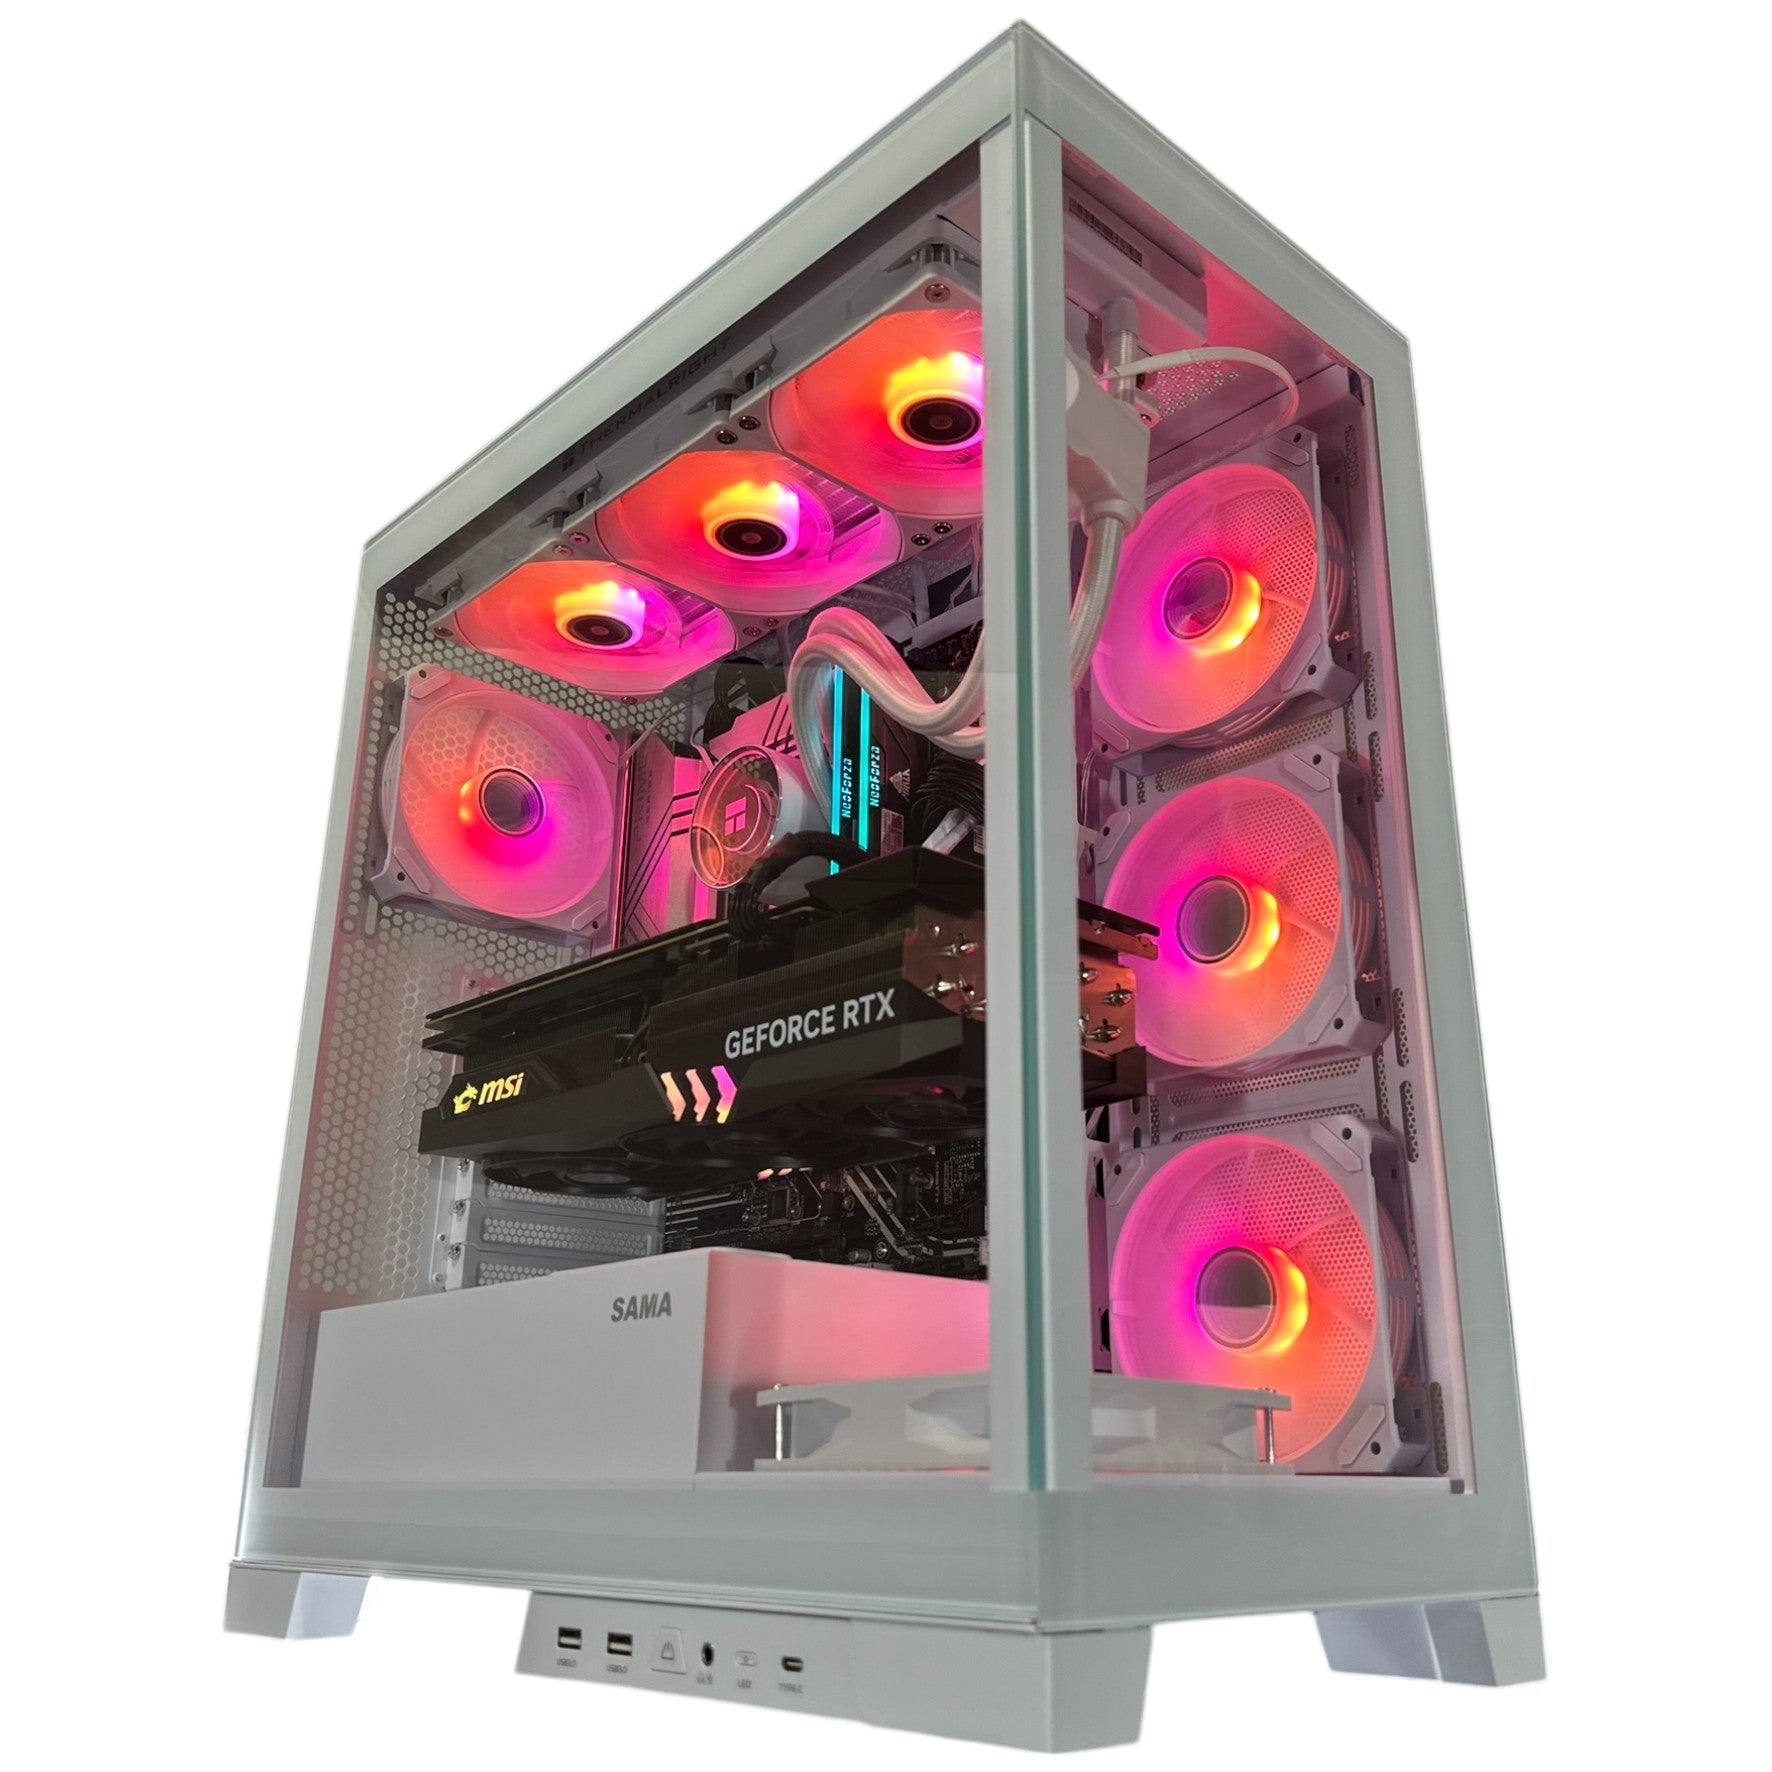
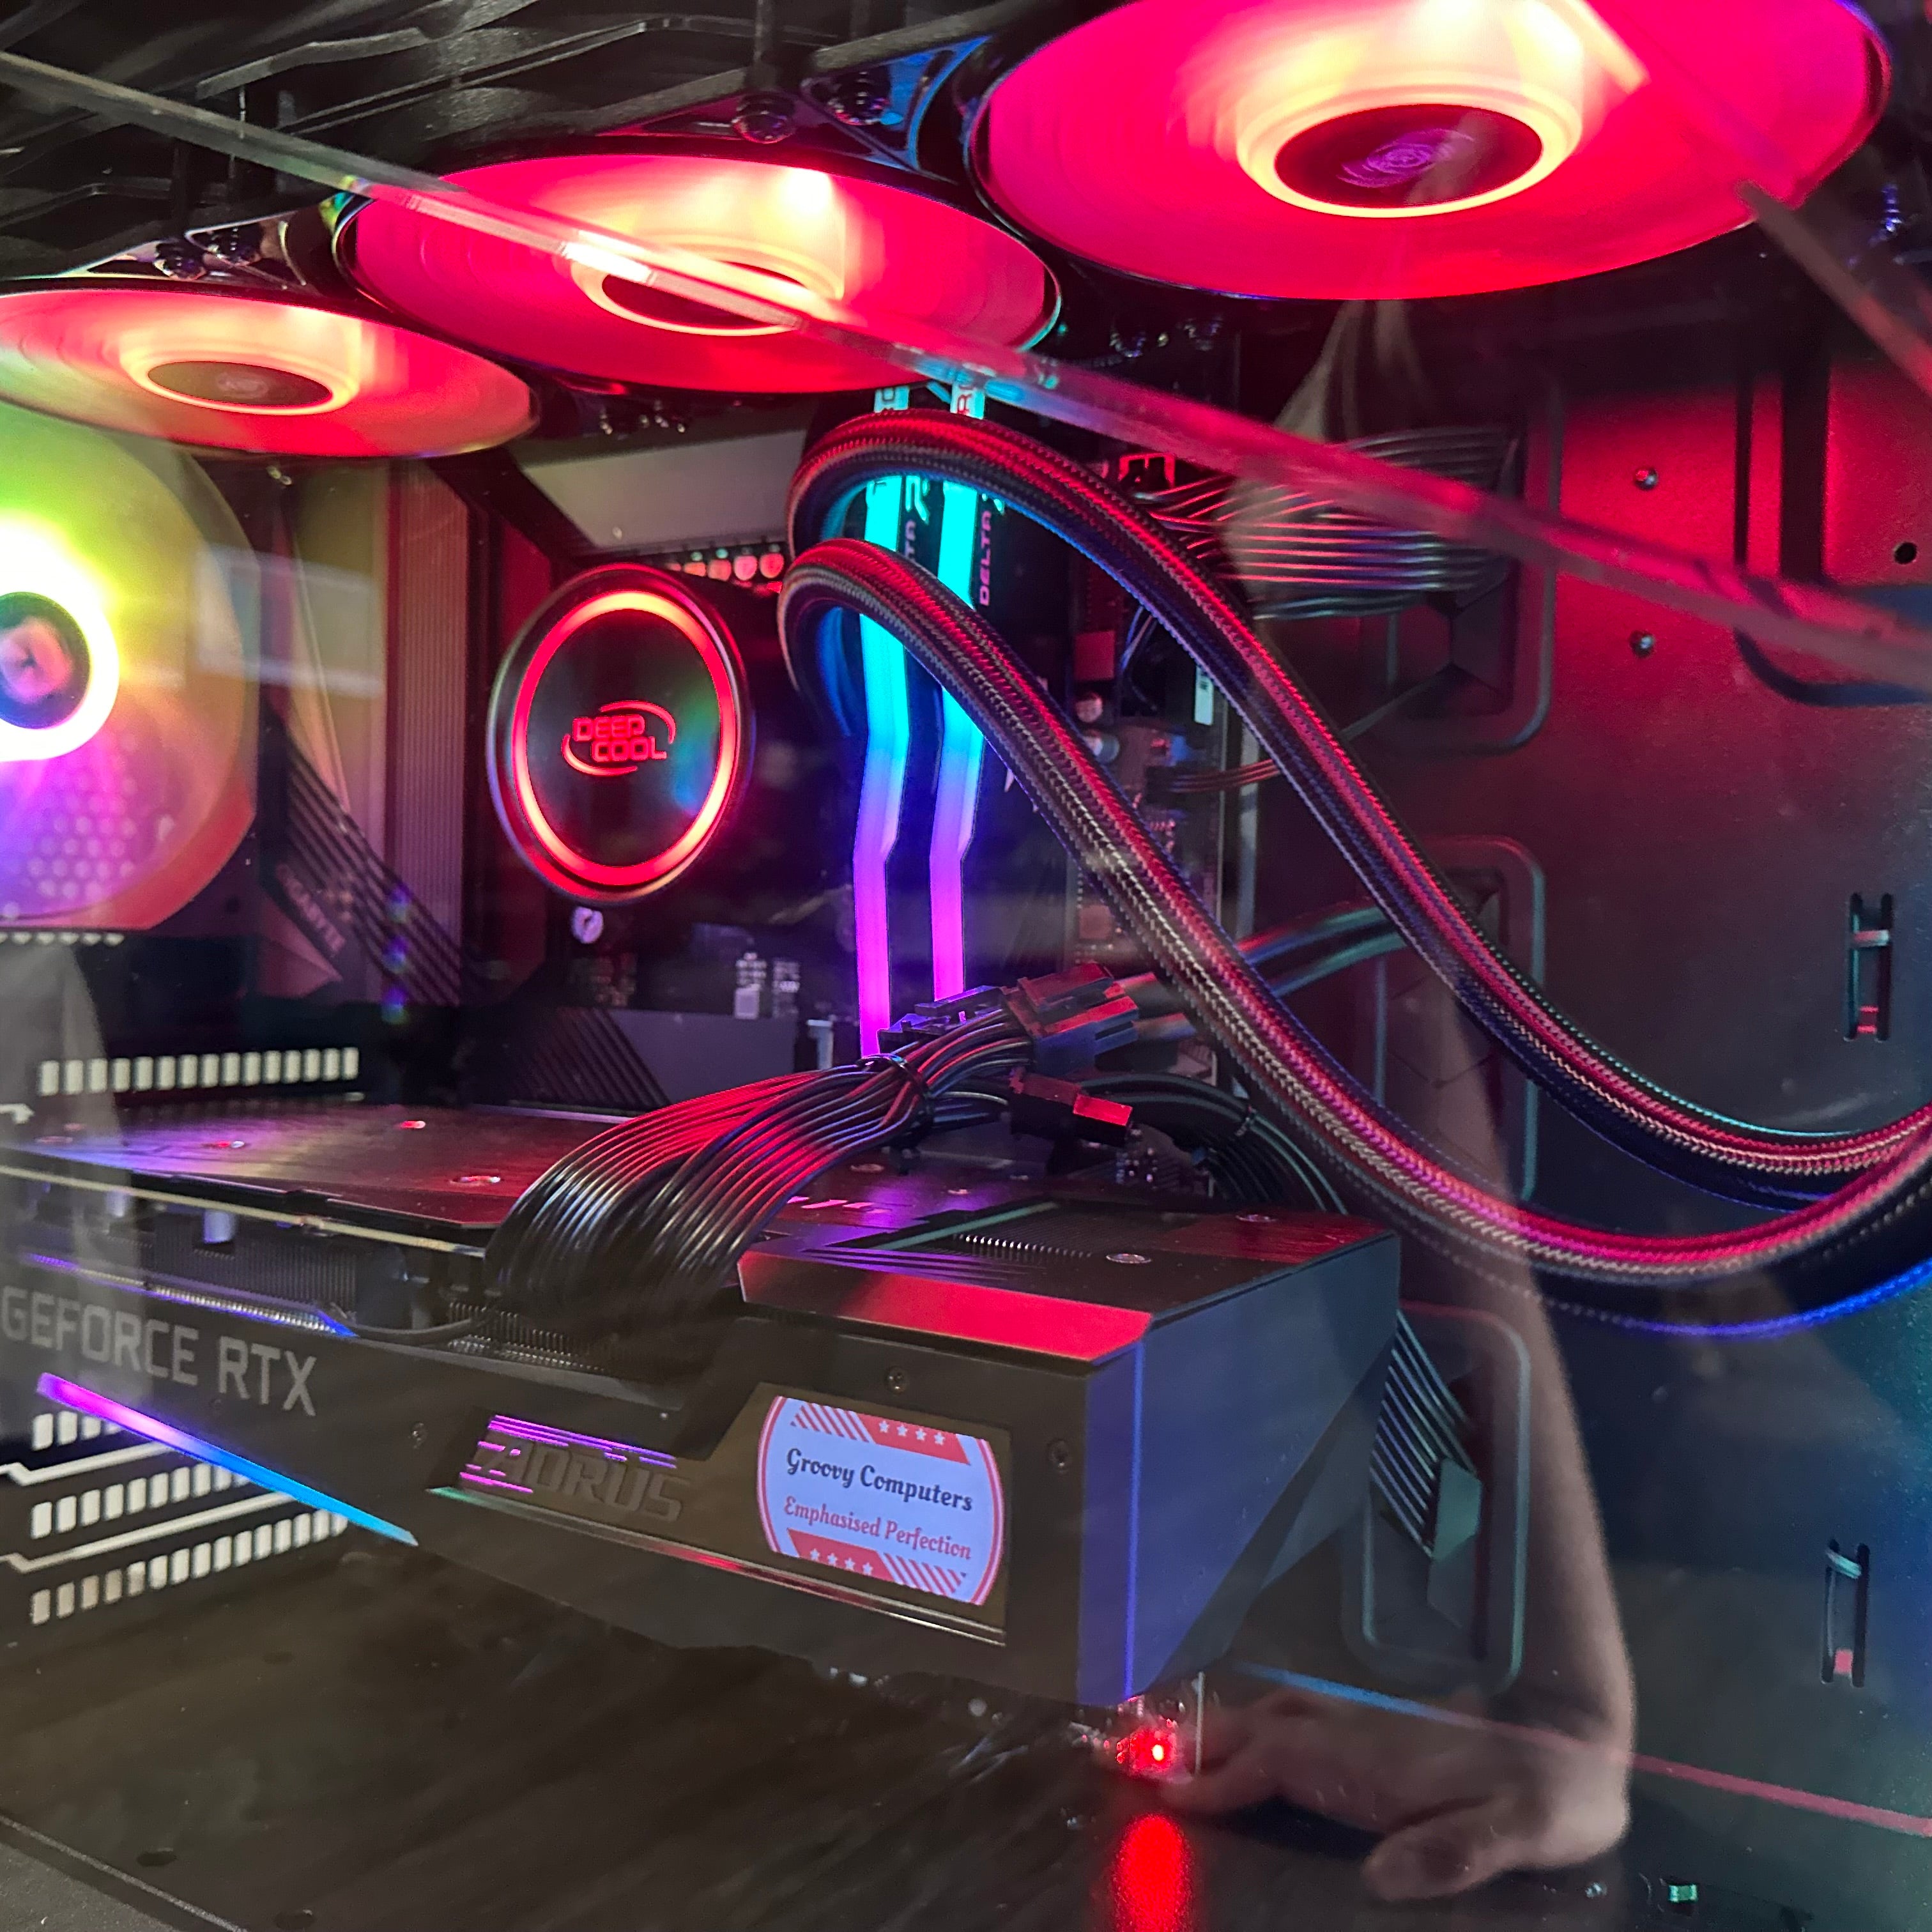
If building your own system isn't appealing, some companies offer custom PC services. Canada Computers is known for competitive pricing and a wide component selection. However, customer experiences with their custom PC services vary. Explore this topic further. You might also want to check out Groovy Computers for a wide selection of custom PC components.
Troubleshooting Like a Pro Builder
Building a custom PC is incredibly rewarding. But even with the best planning, sometimes things don't go quite as expected. This section will give you the troubleshooting skills of a seasoned PC builder, so you can diagnose and fix common problems effectively.
Systematic Approaches to Isolating Problems
Troubleshooting your custom build requires a systematic approach. First, identify the specific issue. Is your system not booting at all? Are you experiencing slow performance? Or is a specific component acting up? Clearly defining the problem is the first step to finding a solution.
Next, try to isolate the potential cause. Start with the simple stuff – are all the cables securely connected? Is the power supply working correctly? Sometimes, a loose connection is all it takes. If the problem continues, test individual components one by one to pinpoint the source.
Interpreting Error Codes and Boot Sequences
Often, your PC will tell you what's wrong through error codes or specific boot sequences. BIOS beep codes, for instance, can indicate problems with your RAM, graphics card, or other hardware. Check your motherboard manual to understand what these beep codes mean.
Watching the boot sequence can also offer clues. If the system powers on, but nothing shows up on your monitor, the problem might be with the graphics card or the monitor itself. Careful observation and a little research can help you decode these signals and find the root of the problem.
Differentiating Hardware and Software Issues
Another important part of troubleshooting is figuring out if the problem is hardware or software related. A blue screen of death (BSOD) in Windows could point to a driver issue, a failing hard drive, or even bad RAM.
Hardware problems are usually consistent, no matter what software you're running. Software problems, however, can come and go and might be fixed by reinstalling drivers or updating your operating system. Knowing the difference will help you focus your troubleshooting efforts.
Diagnostic Tools and Component Testing
There are several diagnostic tools that can help with troubleshooting. Software like Memtest86 can check for RAM issues. Monitoring software can track your CPU and GPU temperatures to see if anything is overheating. These tools can give you valuable information about your system's performance and identify potential hardware malfunctions.
Component testing is a great way to isolate hardware problems. If you think your graphics card is faulty, try swapping it with one you know works. This process of elimination helps you narrow down the possibilities until you find the problematic component. It’s also important to know when to ask for professional help. If you've tried everything and still can't solve the problem, getting expert advice can save you time and frustration.
Building a custom PC is a journey that involves ongoing maintenance. Keeping your drivers updated, regularly cleaning dust from your components, and monitoring temperatures will help keep your system running smoothly for years to come. Learning these troubleshooting skills lets you take charge of your custom build and maintain it with confidence.
Ready to build your dream gaming PC? Groovy Computers offers a wide selection of high-performance components and custom-built systems. Start your build today!
Article created using Outrank
Leave a comment
This site is protected by hCaptcha and the hCaptcha Privacy Policy and Terms of Service apply.