

Building a gaming PC might seem scary at first, but it's easier than you think. Over the past few years, PC building has become way more beginner-friendly. Parts only fit one way, and there are tools to check if everything works together.
Whether this is your first gaming rig or you're upgrading from a prebuilt system, this guide will show you everything you need to know.
Key Takeaway
- Building a gaming PC is like adult Legos - parts only fit one way and the process is simpler than it looks
- Your graphics card should get 30-40% of your total budget since it has the biggest impact on gaming performance
- You'll need 7 core parts: CPU, motherboard, RAM, storage, graphics card, power supply, and case
- Most builds take 2-3 hours for first-timers, and you only need a screwdriver
- 32GB of RAM is now the recommended standard for gaming in 2025, as many new games stutter with only 16GB
Why Build Your Own Gaming PC
People ask us all the time whether building a PC is worth the effort compared to buying prebuilt. Here's my take.
When you build your own gaming desktop, you're in complete control. You pick every single part based on what matters to you. Maybe that's raw performance, quiet operation, or RGB lighting that matches your setup. No compromises, no mystery parts.
The gaming PC hardware market hit $44.5 billion in 2025, with most people buying prebuilt systems. But here's what they're missing: building yourself usually saves you 15-20% compared to prebuilt options. That's real money you can put toward a better graphics card or more storage.
Beyond the cost savings, you'll actually understand your system. When something needs upgrading down the road, you'll know exactly what to do. No waiting on manufacturer support or dealing with special parts that can't be replaced.
There's something satisfying about pressing the power button for the first time and watching a PC you built with your own hands come to life.
Understanding Your Budget and Performance Goals
Before you start picking parts, you need to know what you're building toward. Your budget determines everything else.
Let me break down the realistic budget tiers for 2025. Entry-level builds start around $800-900 and handle 1080p gaming well for esports titles and less demanding games. You're looking at parts like an Intel Core i5 or AMD Ryzen 5 CPU paired with something like an RTX 4060 or Arc B570 graphics card.
Mid-range builds in the $1,200-1,800 range are the sweet spot right now. These systems handle 1440p gaming at high refresh rates. You're talking about Ryzen 7 or Intel i7 processors matched with RTX 5070 or RX 9070 class graphics cards. This tier gives you serious performance without breaking the bank.
High-end builds start at $1,900 and can go way up from there. These are for 4K gaming or super high frame rates at lower resolutions. The AMD Ryzen 9 9800X3D at $480 is currently the fastest gaming CPU available, delivering 30% better performance than Intel's competing chips in gaming.
Here's the important part about budget: your GPU and CPU combined should eat up 40-55% of your total budget. These two parts have the biggest impact on gaming performance.
The graphics card specifically deserves 30-40% of your budget since it's the single most important part for gaming. Your processor should get 20-30%, though most games run nearly the same on a mid-range CPU versus a top-tier one.
Storage gets 10-15% of the budget. A 1TB NVMe SSD is the bare minimum now, with 2TB being more comfortable since modern games routinely exceed 100GB.
Your motherboard also needs 10-15%. Don't cheap out here, but you don't need the most expensive board either. Look for one that supports your CPU socket, has enough M.2 slots for storage, and includes features you'll actually use like Wi-Fi if you need it.
Memory should be around 10-15% of your budget, which typically gets you 32GB of DDR5. Some people still try to get by with 16GB, but several new AAA titles have shown stuttering issues when limited to 16GB of system memory.
The power supply deserves 5-10%. This isn't where you want to cut corners since a quality PSU protects all your other parts.
Your case and cooling round out the remaining 5-10% each. Many AMD processors include decent stock coolers, which can help budget builds.
The key is matching your parts to your actual gaming goals. If you're only playing at 1080p, don't blow your budget on a 4K-capable GPU. If you want high refresh rate gaming at 1440p, that's where you put more resources.
Choosing Your Components
This is where building a gaming rig gets real. Every part needs to work together, and one wrong choice can slow down your entire system.
CPU: The Brain of Your Build
Your processor choice sets the foundation for everything else. Right now, AMD generally offers better gaming performance in most price ranges, while Intel stays competitive across their lineup.
For budget builds under $900, the Intel Core i5-14400F at around $150-200 or AMD Ryzen 5 7600 give you solid gaming performance. These six-core chips handle modern games without breaking a sweat.
The mid-range segment is where things get interesting. AMD's Ryzen 5 7600X and Intel's Core i5-14600K both deliver strong gaming performance. The Intel chip has 6 performance cores, 8 efficiency cores, 20 threads, and a 5.3 GHz boost clock, giving you extra multitasking ability.
But if you want the absolute best gaming performance, AMD's 3D V-Cache processors are where it's at. The Ryzen 7 7800X3D at $449 and the newer Ryzen 9 9800X3D at $480 use stacked SRAM chiplets to pack in 96MB of L3 cache. This delivers amazing gaming performance that Intel simply can't match right now.
The 9800X3D is particularly impressive because AMD placed the 3D-stacked cache beneath the compute die instead of on top. This lets heat escape better, allowing the chip to maintain higher clock speeds while using much less power than competing Intel processors.
Motherboard: Your Component Hub
Your motherboard needs to match your CPU socket. For AMD builds in 2025, the AM5 platform supports both Ryzen 7000 and 9000 series processors with DDR5 memory only. AMD has promised to support AM5 through at least 2025 and probably beyond, which is great for future upgrades.
Intel's situation is trickier. The company shifted to the LGA 1851 socket for Arrow Lake processors, with unclear future compatibility. If you're going Intel, 13th and 14th gen chips on the LGA 1700 socket remain solid options. Some motherboards for these can use either DDR4 or DDR5 memory, giving you flexibility.
For most AMD AM5 builds, B650 chipset motherboards priced $120-180 give you everything you need. You get PCIe 5.0 GPU slot support, enough USB ports, and often built-in Wi-Fi.
Premium X670 or X870 boards cost $200+ but mainly benefit people who need tons of PCIe lanes, multiple M.2 slots, or advanced overclocking features.
Graphics Card: Your Gaming Powerhouse
This is the big one. Your GPU determines what resolution and frame rates you can actually play at.
For 1080p gaming, the RTX 4060 or Arc B570 class cards at $200-300 consistently deliver 60+ fps in modern AAA titles at high settings. Intel's Arc B580 at $260 is particularly interesting because it comes with 12GB of video memory, which helps in memory-heavy titles compared to competing 8GB cards.
Moving to 1440p high refresh rate gaming means investing $500-600 in RTX 5070 or RX 9070 class cards. AMD's RDNA 4 architecture in the RX 9070 series has finally fixed their old weaknesses in ray tracing and AI acceleration. The RX 9070 XT delivers performance close to the RTX 5070 Ti at much lower pricing, though it's been hard to find.
For 4K gaming, you're looking at $750+ for cards like the RTX 5070 Ti or RX 9070 XT and up. The flagship RTX 5090 with its Blackwell architecture and 32GB of GDDR7 VRAM averaged 90.2 fps in 4K gaming with ultra settings and ray tracing enabled. That's a full 20 fps improvement over the RTX 4090, but it also costs a fortune.
Memory: Speed and Capacity Matter
32GB is the recommended standard for gaming in 2025. I can't stress this enough. Several recent AAA titles show stuttering and performance issues when limited to 16GB.
For AMD Ryzen 7000 and 9000 series processors, DDR5-6000 CL30 memory hits the sweet spot for best performance. Intel platforms can use slightly faster DDR5-6400 to DDR5-6800, though returns shrink beyond that.
Budget DDR5 kits without RGB lighting from brands like Silicon Power and Patriot Viper offer similar performance at lower prices compared to premium brands. You don't need fancy heat spreaders or RGB to get good performance.
If you're building on an extremely tight budget with older platforms, 16GB can still work for esports titles and less demanding games. Just know you'll probably need to upgrade soon.
Storage: Fast and Spacious
PCIe 4.0 NVMe M.2 drives are the best choice for 2025. They offer the best balance between performance and cost. PCIe 5.0 drives exist but cost way more without delivering real-world gaming benefits.
A 1TB drive is the absolute minimum. Modern games routinely exceed 100GB installation sizes, so you'll be constantly managing space. 2TB setups are more comfortable and only cost about $120-150.
The WD Black SN580 is a solid example of current gen PCIe 4.0 drives, offering sequential read speeds of 4,150 MB/s at good pricing. Samsung's 990 Pro is faster but costs more.
Some people still add traditional 3.5-inch hard drives for mass storage of less used files, but this is becoming less common as SSD pricing improves.
Power Supply: Don't Cheap Out Here
Your PSU wattage needs to handle all your parts with room for peak loads. A good rule is to multiply your estimated power draw by 1.5.
Budget gaming systems with entry-level parts work fine with 500-600 watt supplies. Mid-range builds with modern graphics cards benefit from 750-850 watt units. High-end systems with flagship GPUs need 1000 watt or greater supplies.
The 80 PLUS certification tells you efficiency. Bronze is entry level at about 85% efficiency, Gold hits around 90% efficiency at typical loads, and Platinum or Titanium achieve 92-94% efficiency.
Modular cabling makes your life easier. Fully modular units let you detach all cables including the 24-pin motherboard and 8-pin CPU power. Semi-modular designs keep those essential cables attached but let you remove extra power cables.
Don't buy cheap power supplies from unknown manufacturers. They can damage your parts or create weird stability issues. Stick with trusted brands like Corsair, Seasonic, EVGA, and Be Quiet.
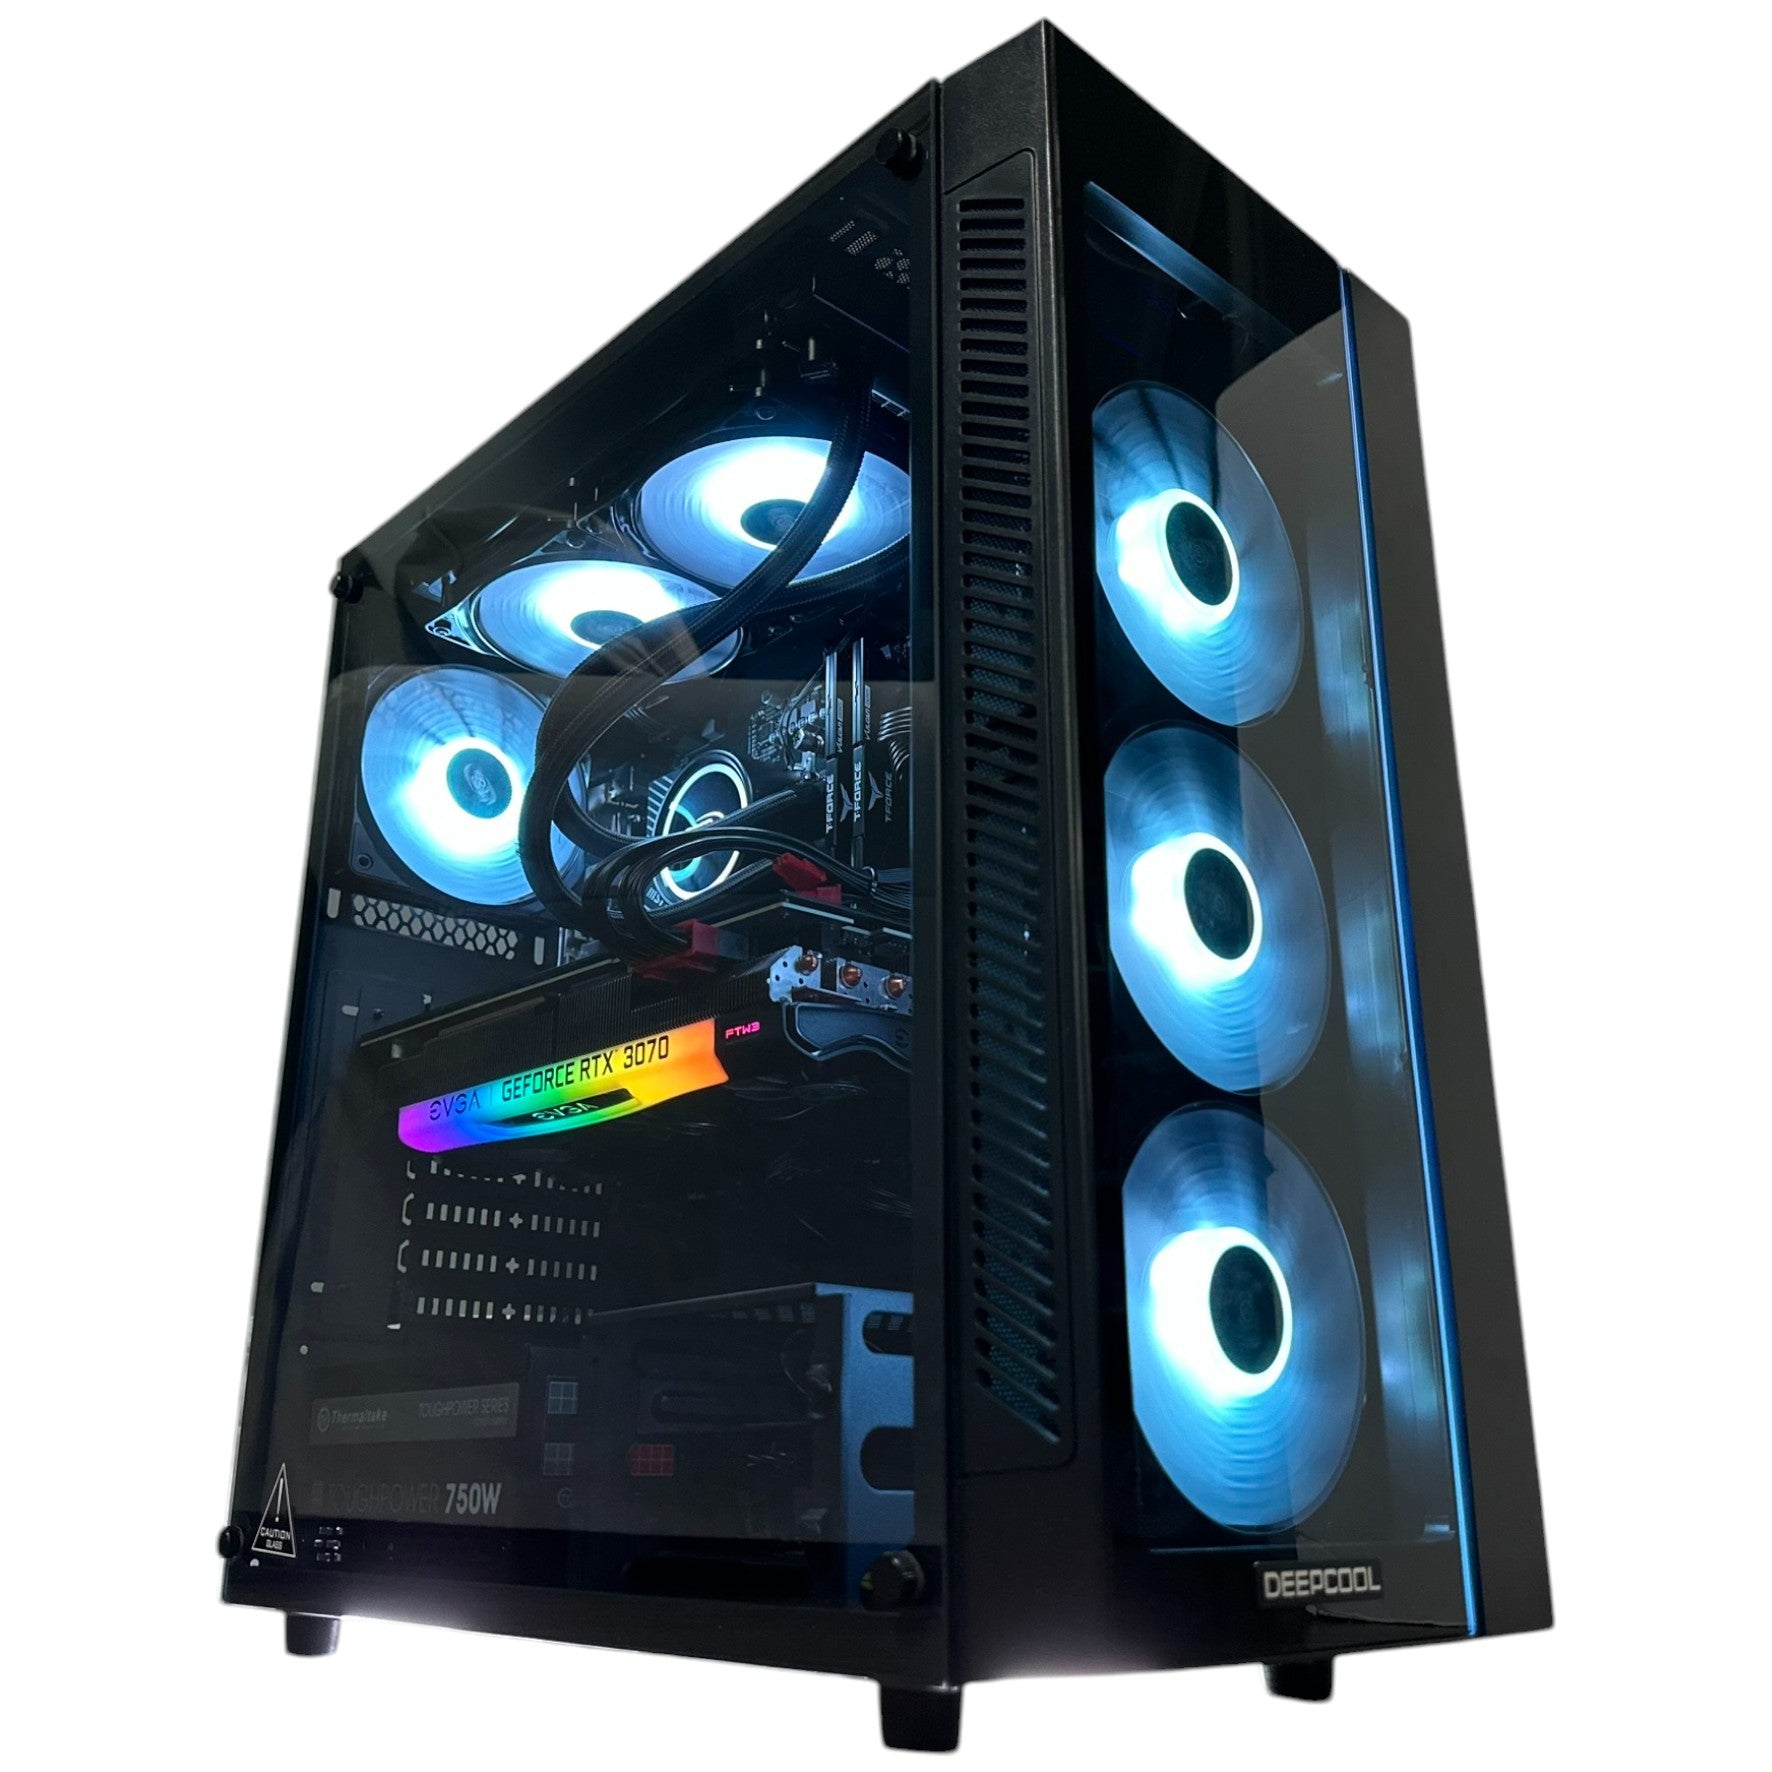
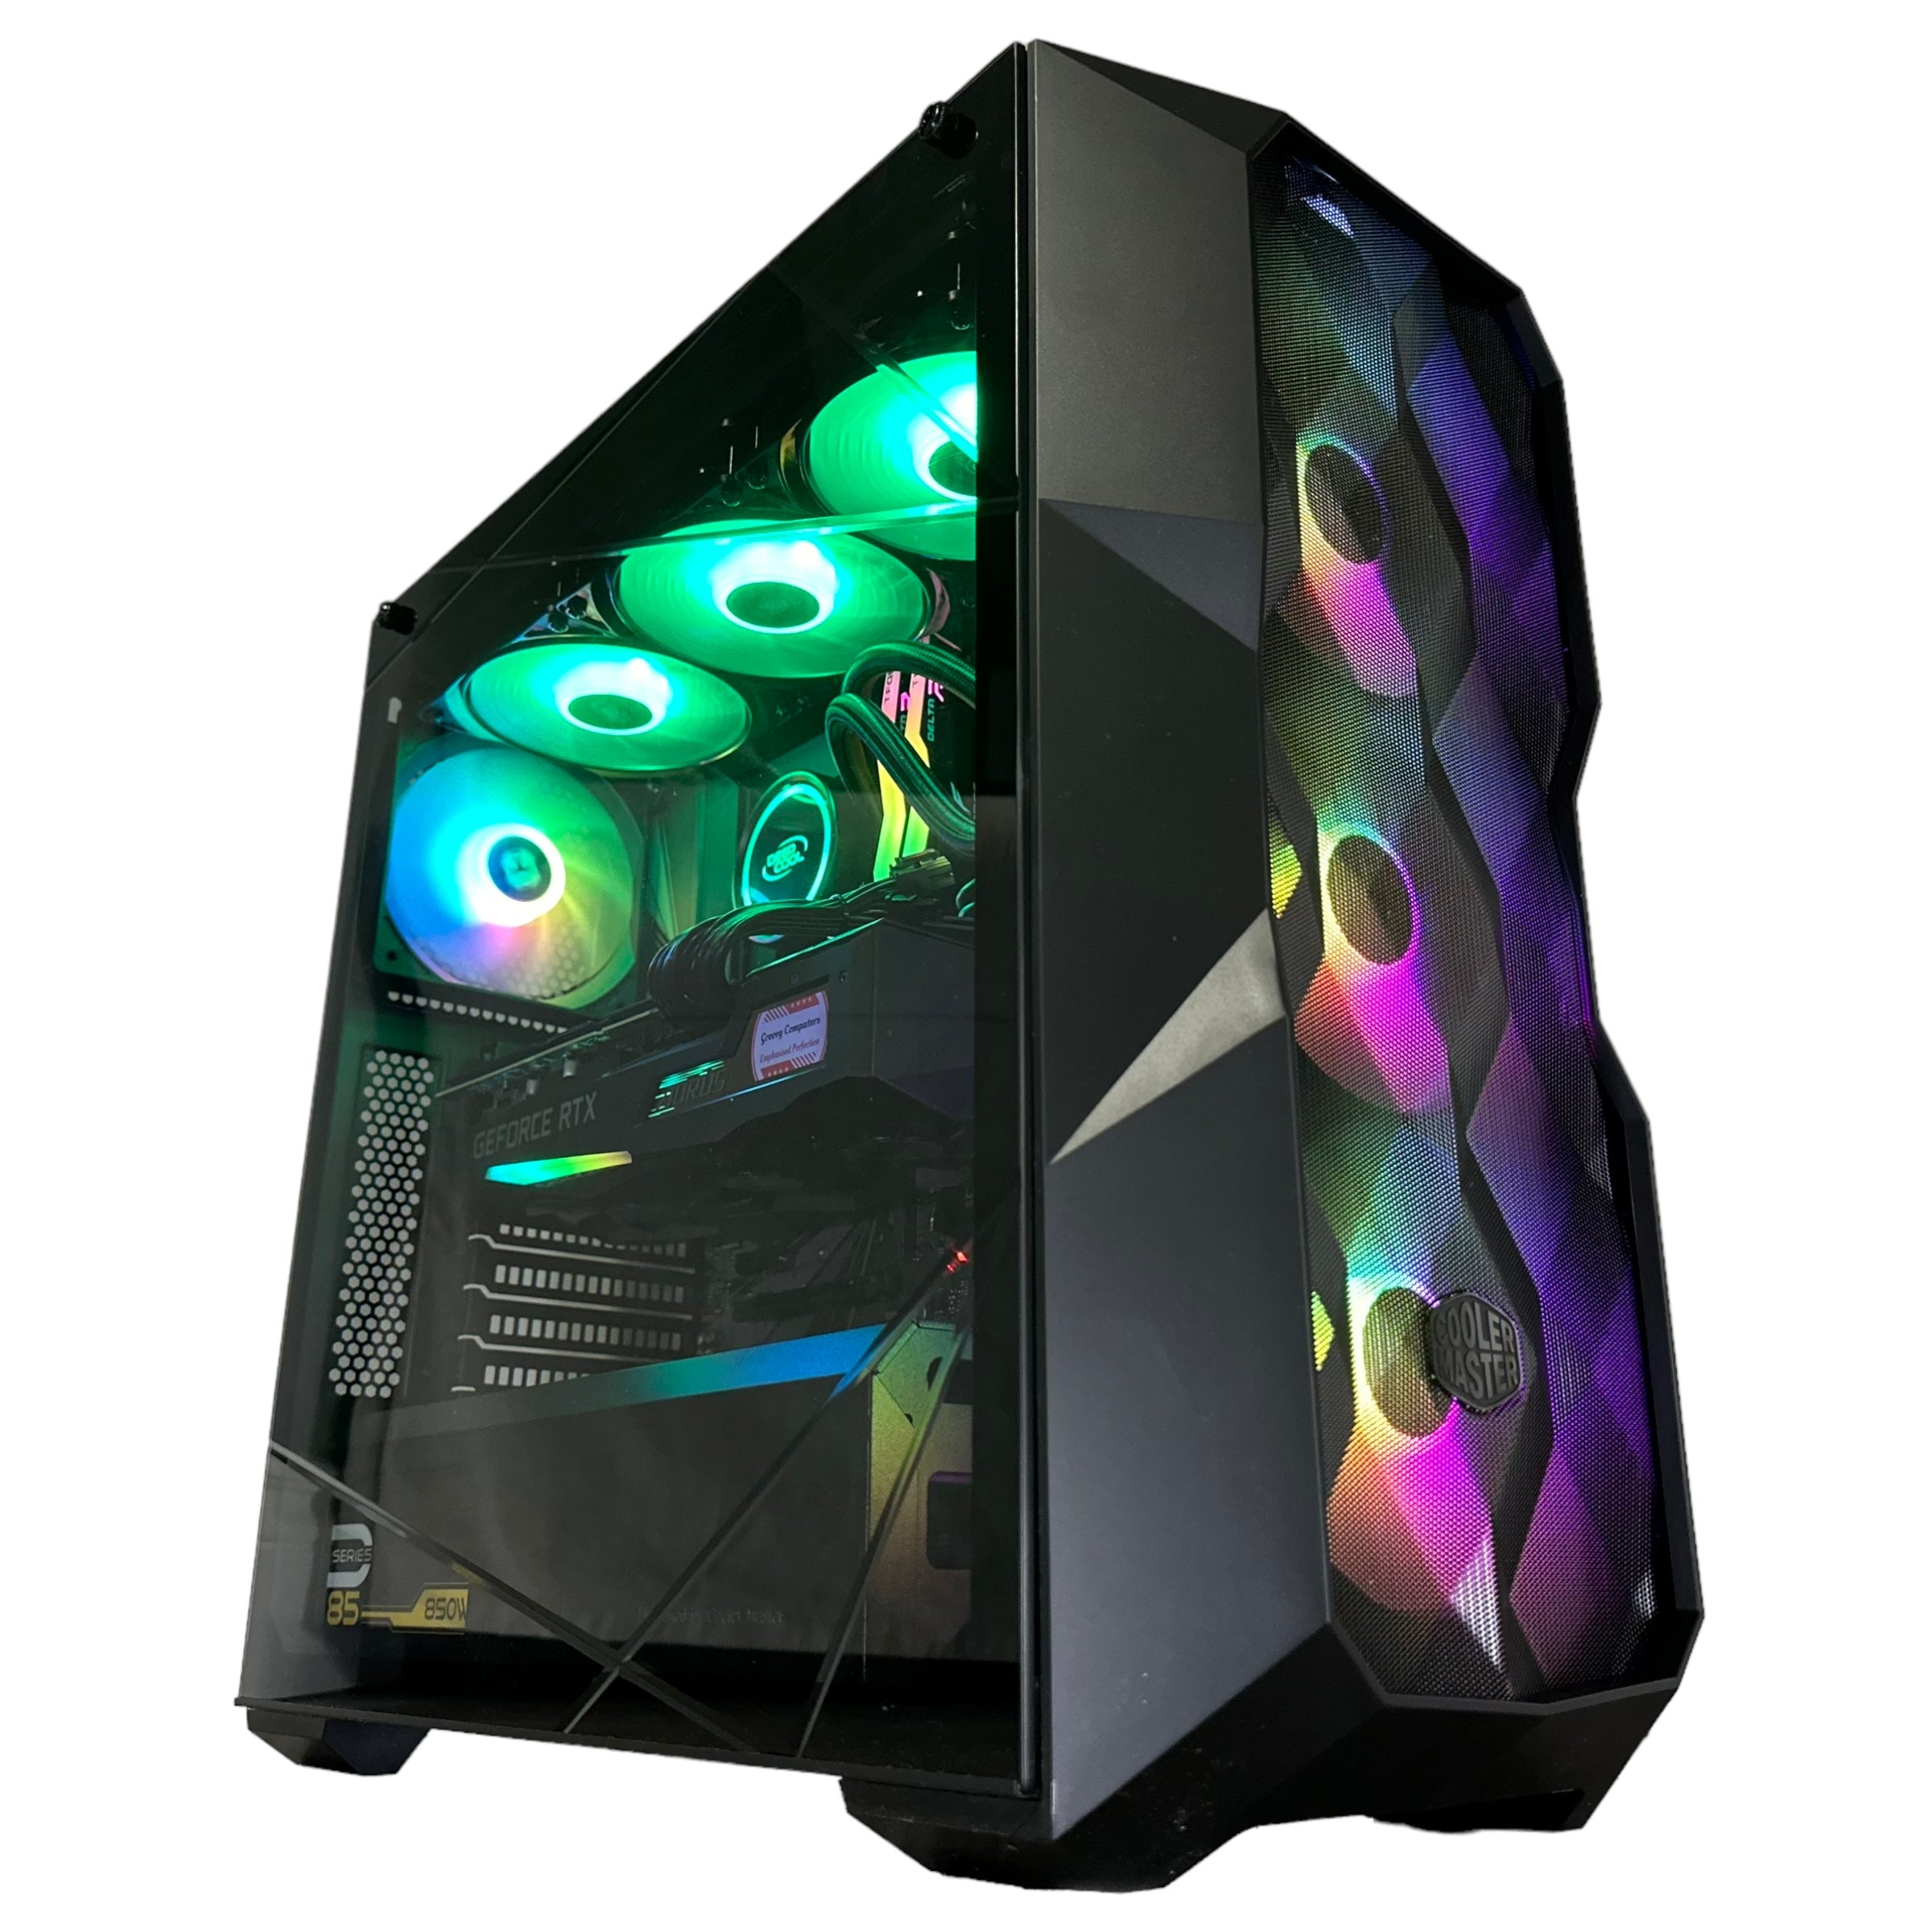
Case: Your PC's Home
Mid-tower ATX cases offer the best balance between part compatibility and desk space. They fit standard ATX motherboards and have room for most builds.
Make sure your case fits your motherboard form factor, has clearance for your CPU cooler height, supports your graphics card length, and offers good airflow. Mesh front panels generally provide better cooling than solid fronts.
The Phanteks XT Pro is a well-designed modern case with mesh construction, support for 360mm liquid coolers, and compatibility with emerging back-connecting motherboard designs.
Smaller form factors like Micro-ATX and Mini-ITX make more compact builds but generally cost more due to design challenges. They also make building trickier.
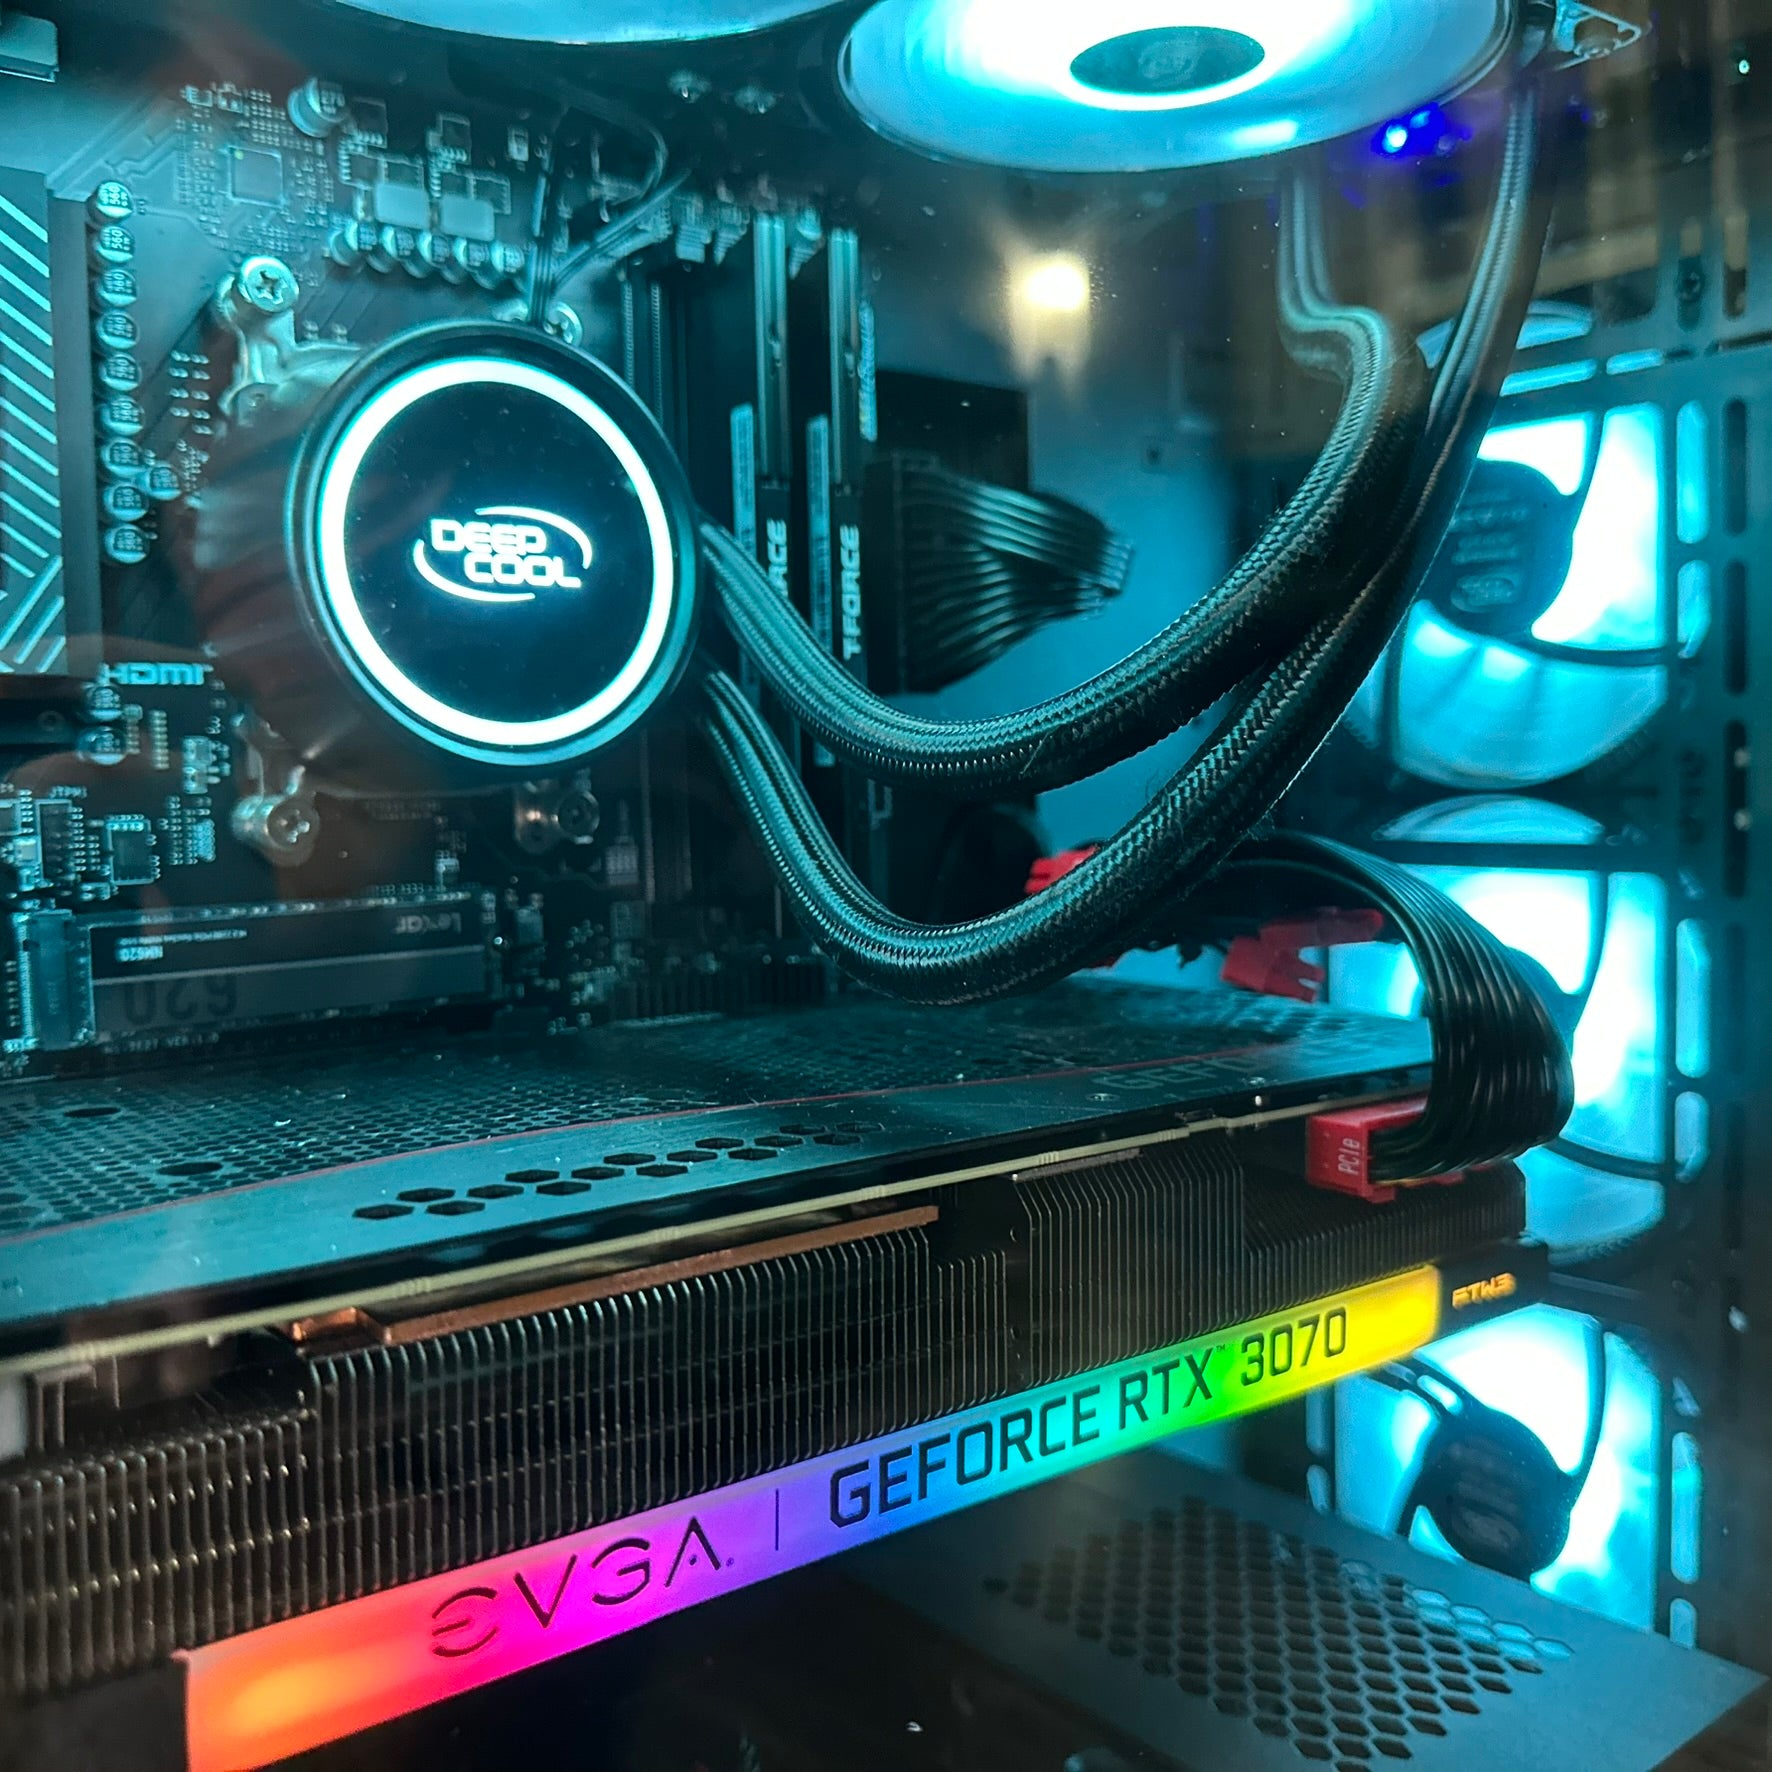
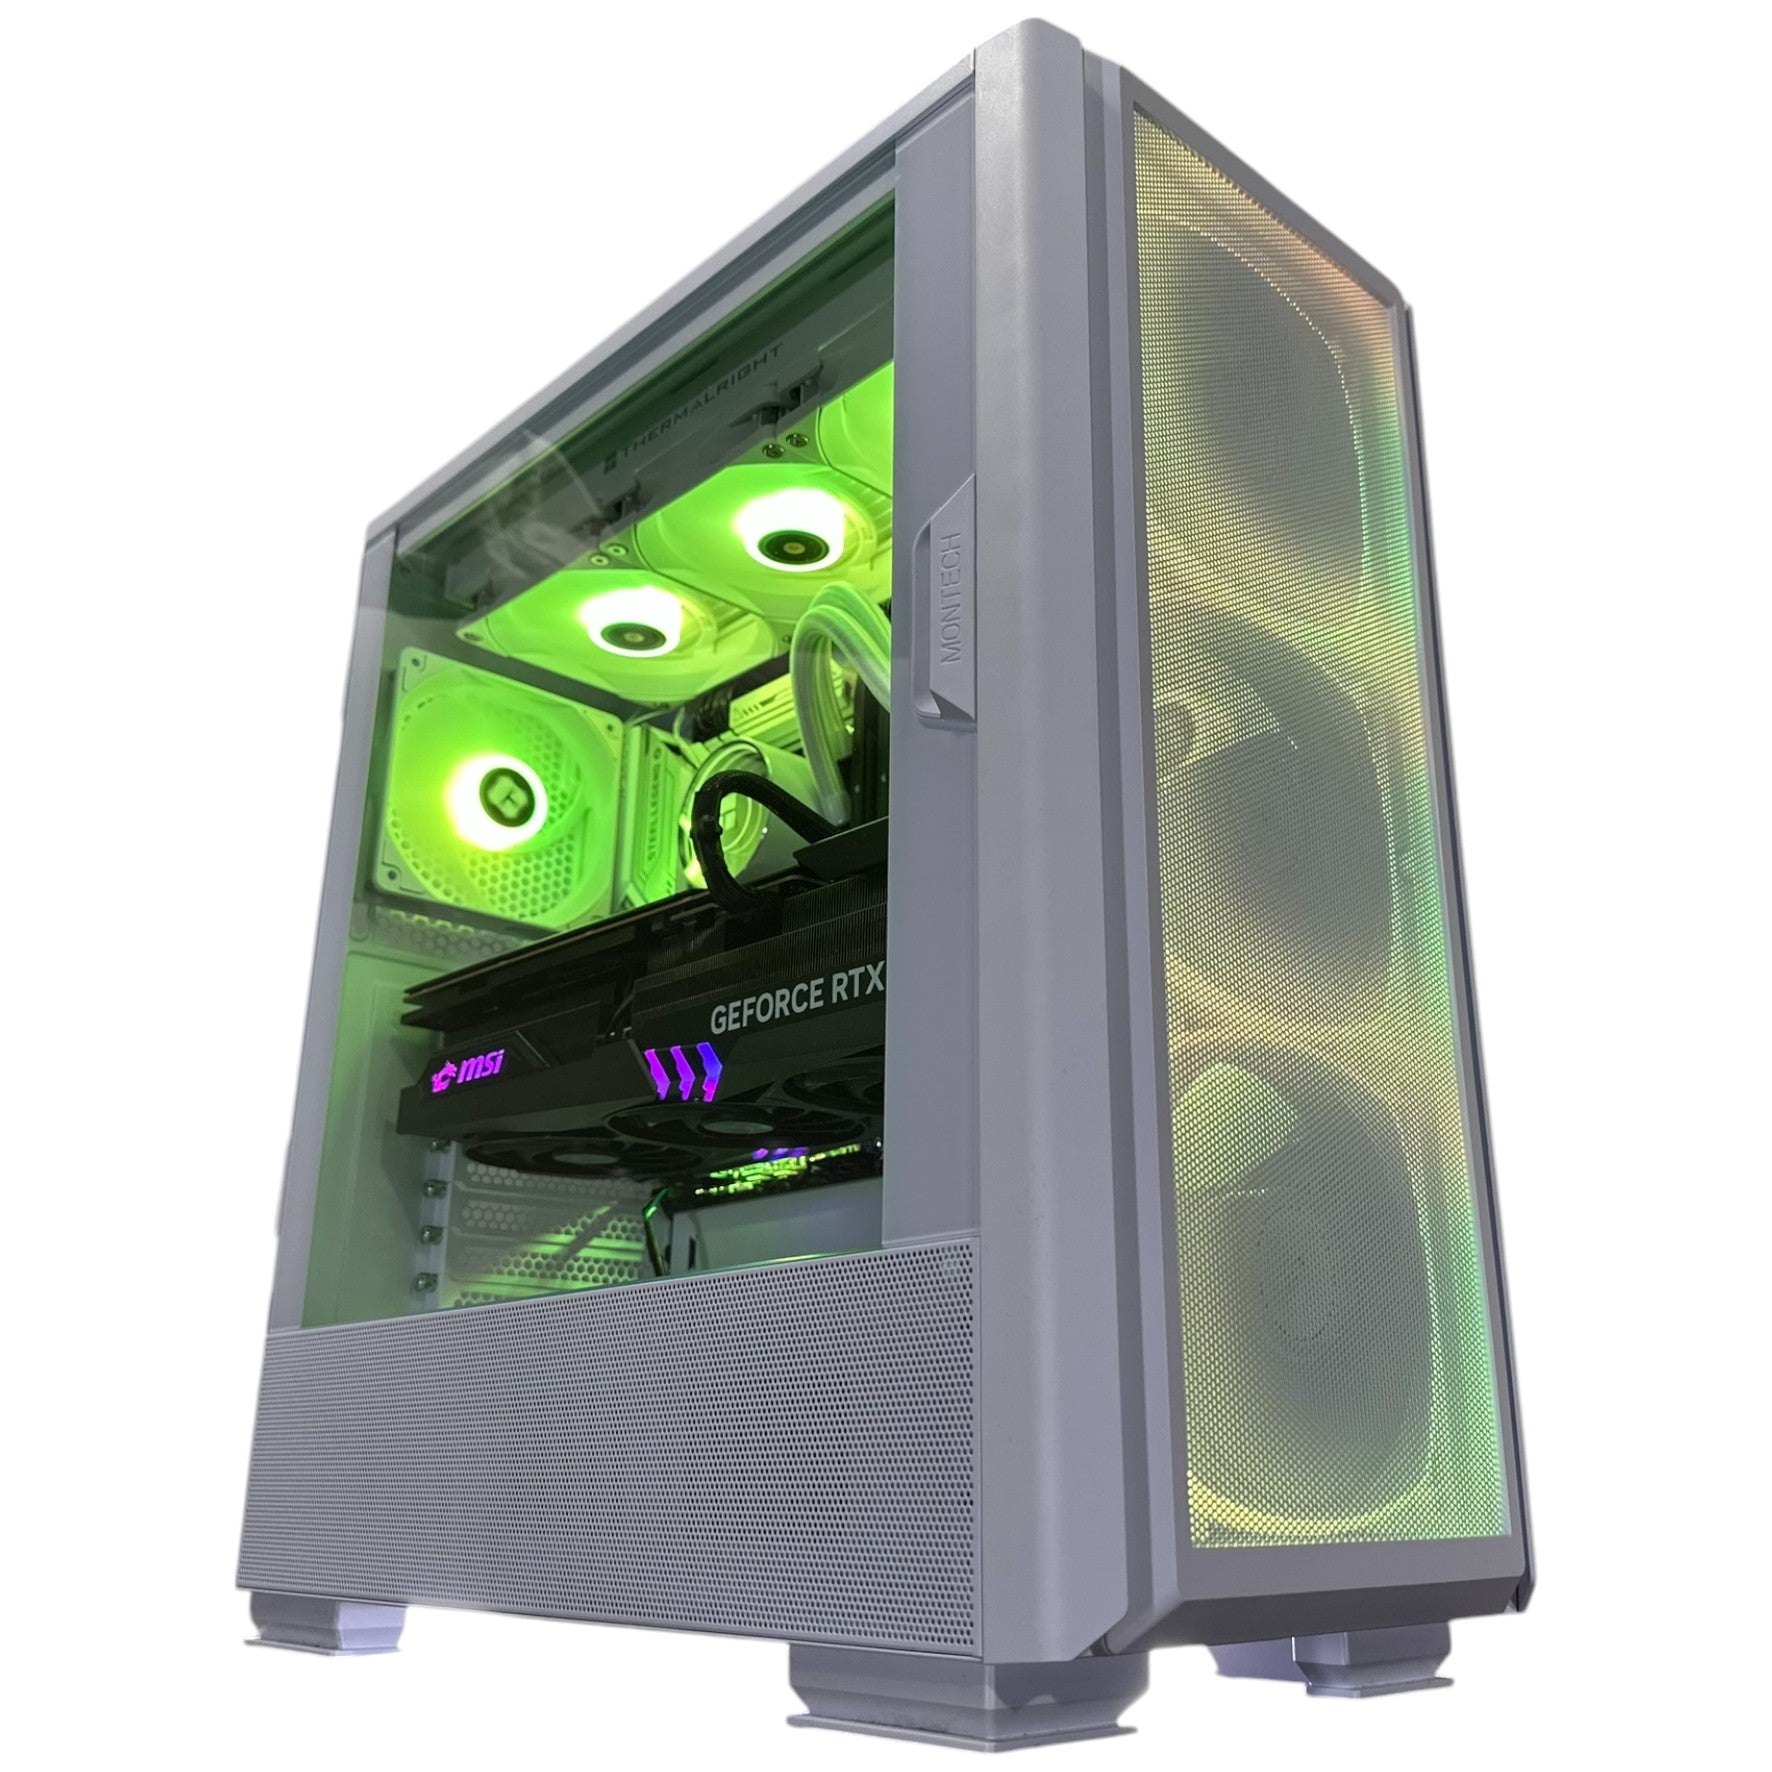
Cooling: Keep Things Cool
Many budget AMD processors include good enough stock coolers, which saves you money on entry-level builds. But if you're running higher-end processors or any Intel chip that doesn't include a cooler, you'll need aftermarket cooling.
Tower air coolers from brands like Thermalright, DeepCool, and Be Quiet deliver excellent performance at $35-60. They're reliable and can't leak.
All-in-one (AIO) liquid coolers with 240mm or 360mm radiators cost $80-150 but provide better cooling and often look nicer. The Cooler Master MasterLiquid PL360 FLUX is a solid 360mm AIO at $129.
High-end air coolers from Noctua can match or beat liquid cooling while removing pump failure risks, though they're big and you need to check case compatibility.
Compatibility Check: Making Sure Everything Works Together
This step saves you from headaches later. Parts that don't work together are useless.
The most important compatibility is between your CPU and motherboard. Different processor generations use specific socket types that aren't swappable. AMD's AM5 socket works with Ryzen 7000 and 9000 series. Intel's LGA 1700 works with 12th, 13th, and 14th gen, while newer Arrow Lake chips use LGA 1851.
Memory compatibility gets tricky. Intel's 12th, 13th, and 14th gen processors can use either DDR4 or DDR5 memory, but your motherboard choice locks you into one forever. Individual boards support only one memory type, never both. AMD's Ryzen 7000 and newer require DDR5. Intel's Core Ultra 200 series also requires DDR5.
PCPartPicker is your best friend here. This free tool automatically checks compatibility by cross-checking selected parts against known compatibility databases. It flags potential issues before you buy.
Your case needs to physically fit everything. Check that it fits your motherboard form factor, provides clearance for your CPU cooler height, and supports your graphics card length. Long high-performance cards may not fit in smaller cases, especially with front-mounted radiators reducing available clearance.
Power supply wattage calculation is important. Add up your part power draws and multiply by 1.5 for safe headroom. Modern high-end graphics cards may need dedicated 12-volt high-power connectors, though many power supplies include adapter cables.
Here's a compatibility mistake we see all the time: people buy DDR4 memory for a DDR5-only platform, or the other way around. The physical notches are different, so it won't even fit. Always check your motherboard's memory type before buying RAM.
Another common issue is mixing different capacity memory modules in DDR5 systems. You can't start with 2x8GB and later add 2x16GB for 48GB total. DDR5 platforms don't support mixing capacities in channels. You'd have to replace the original modules entirely.
The Build Process: Putting It All Together
Now comes the fun part. Building your gaming PC is easier than you think, and it only takes 2-3 hours for first-timers.
Preparing Your Workspace
Find a clean, well-lit area with plenty of room. A wooden table works great since it doesn't conduct electricity. Avoid synthetic surfaces that can create static electricity.
You'll need Phillips head screwdrivers in #1 and #2 sizes. Magnetic tips are super helpful for getting dropped screws. While anti-static wrist straps provide extra protection, they're not essential if you're building on non-synthetic surfaces and occasionally touching grounded metal objects.
Lay out all your parts and check you have everything. Make sure boxes are unopened and parts look undamaged. Read through the motherboard manual because it has important installation diagrams you'll reference throughout the build.
Installing the CPU
This is the most delicate step, but it's simple if you're careful.
AMD's AM5 processors use pins on the CPU itself. There's a gold triangle on one corner that matches a mark on the socket. Lift the socket retention arm, align the CPU using these markers, and gently lower it into place. Don't apply any pressure. If it doesn't settle naturally, check your orientation rather than forcing it.
Intel's design puts pins in the socket instead of on the CPU. Open the socket cover carefully, align the processor using the notches, and lower it straight down. Again, proper installation requires zero force.
Once the CPU is seated, close the retention mechanism. It might feel like you need more force than expected, but that's normal.
Applying Thermal Paste
Many modern coolers come with thermal paste pre-applied. If yours doesn't, you'll need to apply it yourself.
Put a small amount about the size of a rice grain or pea onto the center of the CPU's heat spreader. Don't spread it manually. The pressure from mounting the cooler will spread it evenly across the entire surface.
Too much thermal paste actually hurts cooling performance by creating gaps. Too little fails to fill tiny imperfections in the metal surfaces. The rice grain method works perfectly.
Installing the RAM
Most motherboards have four slots arranged in pairs, often color-coded. When using two memory modules, you typically install them in the second and fourth slots (labeled A2 and B2) to enable dual-channel operation.
Dual-channel mode basically doubles memory bandwidth compared to single-channel, providing noticeable performance improvements in gaming.
Press the small retention clips at each end of the slot outward. Line up the notch in the memory module with the key in the slot. Press down firmly on both ends at the same time until you hear clicks as the retention clips snap into place.
The module should sit completely flush in the slot with clips engaged on both ends. Any gap means it's not fully inserted.
After your build boots up, you'll need to enable XMP (Intel) or EXPO (AMD) profiles in BIOS to run your memory at its rated speed. Out of the box, DDR5-6000 memory will run at slow default speeds until you enable the performance profile.
Installing Storage Drives
M.2 NVMe drives are the standard now. Most motherboards have multiple M.2 slots, often covered by thermal shields.
Remove the thermal shield covering the slot you want to use. Remove the tiny mounting screw at the standoff position for your drive length (usually 80mm for 2280 drives).
Insert the drive at about a 30-degree angle into the M.2 slot. Once the contacts fully engage, press the opposite end down flat and secure it with the mounting screw.
Don't overtighten the screw. You can strip the standoff threads or crack the drive's circuit board. Just snug is enough.
If you're using 2.5-inch SATA SSDs or 3.5-inch hard drives, mount them in the case's drive bays using the provided screws, then connect SATA data cables to the motherboard and SATA power cables from the power supply.
Installing the CPU Cooler
Installation varies by cooler type, but all require thermal paste application first (unless it's pre-applied).
Tower air coolers typically mount using a backplate behind the motherboard. You'll install this backplate, thread standoffs through from the front, then mount the cooler using the retention bracket.
Tighten the mounting screws in a diagonal or star pattern to ensure even pressure across the CPU. This is important for good thermal contact. Many first-time builders don't tighten enough because they're worried about damaging something, but you need surprisingly firm pressure.
AIO liquid coolers work similarly for the waterblock installation, but you'll also need to mount the radiator in your case. Front mounting is usually best for overall system temps since the radiator gets cool outside air.
Connect the cooler's fan cable to the CPU fan header on your motherboard. It's usually labeled and located near the CPU socket.
Preparing the Case
Remove both side panels by unscrewing the thumbscrews on the rear edge. This gives you access to both the main chamber and the rear cable management area.
Install the I/O shield that came with your motherboard. This thin metal plate snaps into the rectangular opening at the case's rear. Press firmly around all edges until it clicks into place.
Check that standoffs are installed in positions matching your motherboard's mounting holes. Most cases come with standoffs pre-installed for ATX boards, but you may need to adjust them for smaller motherboards.
Never install a motherboard without proper standoffs. It'll short circuit against the metal case. But also don't install standoffs where there aren't motherboard holes, as those can cause shorts too.
Installing the Motherboard
Route your main power cables through the rear cable management area first. Thread the 24-pin ATX cable and 4+4 pin CPU cable through rubber-lined openings near where they'll connect on the motherboard.
Carefully lower your motherboard into the case at a slight angle. Align the rear I/O ports with the I/O shield opening while positioning the board so mounting holes line up with standoffs.
Some I/O shields have spring tabs that press against ports. You might need firm pressure to get the motherboard fully seated against standoffs.
Start screws in all mounting holes without fully tightening any. Once all screws are started, tighten them in a star or X pattern, switching between opposite corners.
Don't overtighten. You just need moderate pressure to secure the board. Too much force risks stripped standoff threads or PCB cracks around mounting holes.
Installing the Power Supply
Most modern cases position the PSU in the bottom rear with the fan facing down. This draws cool air from outside through vents in the case bottom and pushes heat directly out the back.
Slide the power supply into its bay from inside the case, with the fan facing the correct direction and the rear panel flush with the case opening. Secure it with four screws from the outside rear panel.
If your case has a power supply shroud, route cables through the provided openings before securing the PSU.
Cable Management and Connections
This is where organization pays off. Start with the 24-pin ATX motherboard power connector. Route it from behind the motherboard tray through the nearest rubber-lined hole. It only fits one way. Press firmly until the retention clip engages.
The 4+4 pin or 8-pin CPU power connector goes near the top edge of the motherboard. Route it along the rear edge and through a top rubber-lined hole.
Connect your front panel cables. The small power switch, reset switch, power LED, and HDD LED connectors attach to the motherboard's front panel header (usually labeled JFP1 or F_PANEL). Your motherboard manual shows exactly which pin each connector goes on.
USB headers connect front panel USB ports. There's usually a USB 2.0 header and a USB 3.0 header. Some newer cases also have USB Type-C headers.
Audio cables connect front panel headphone and microphone jacks. Fan headers power your case fans.
Use cable ties or Velcro straps to bundle cables in the rear compartment. Secure them to case anchor points or cable management channels. The goal is keeping cables organized so the rear panel closes easily without too much force.
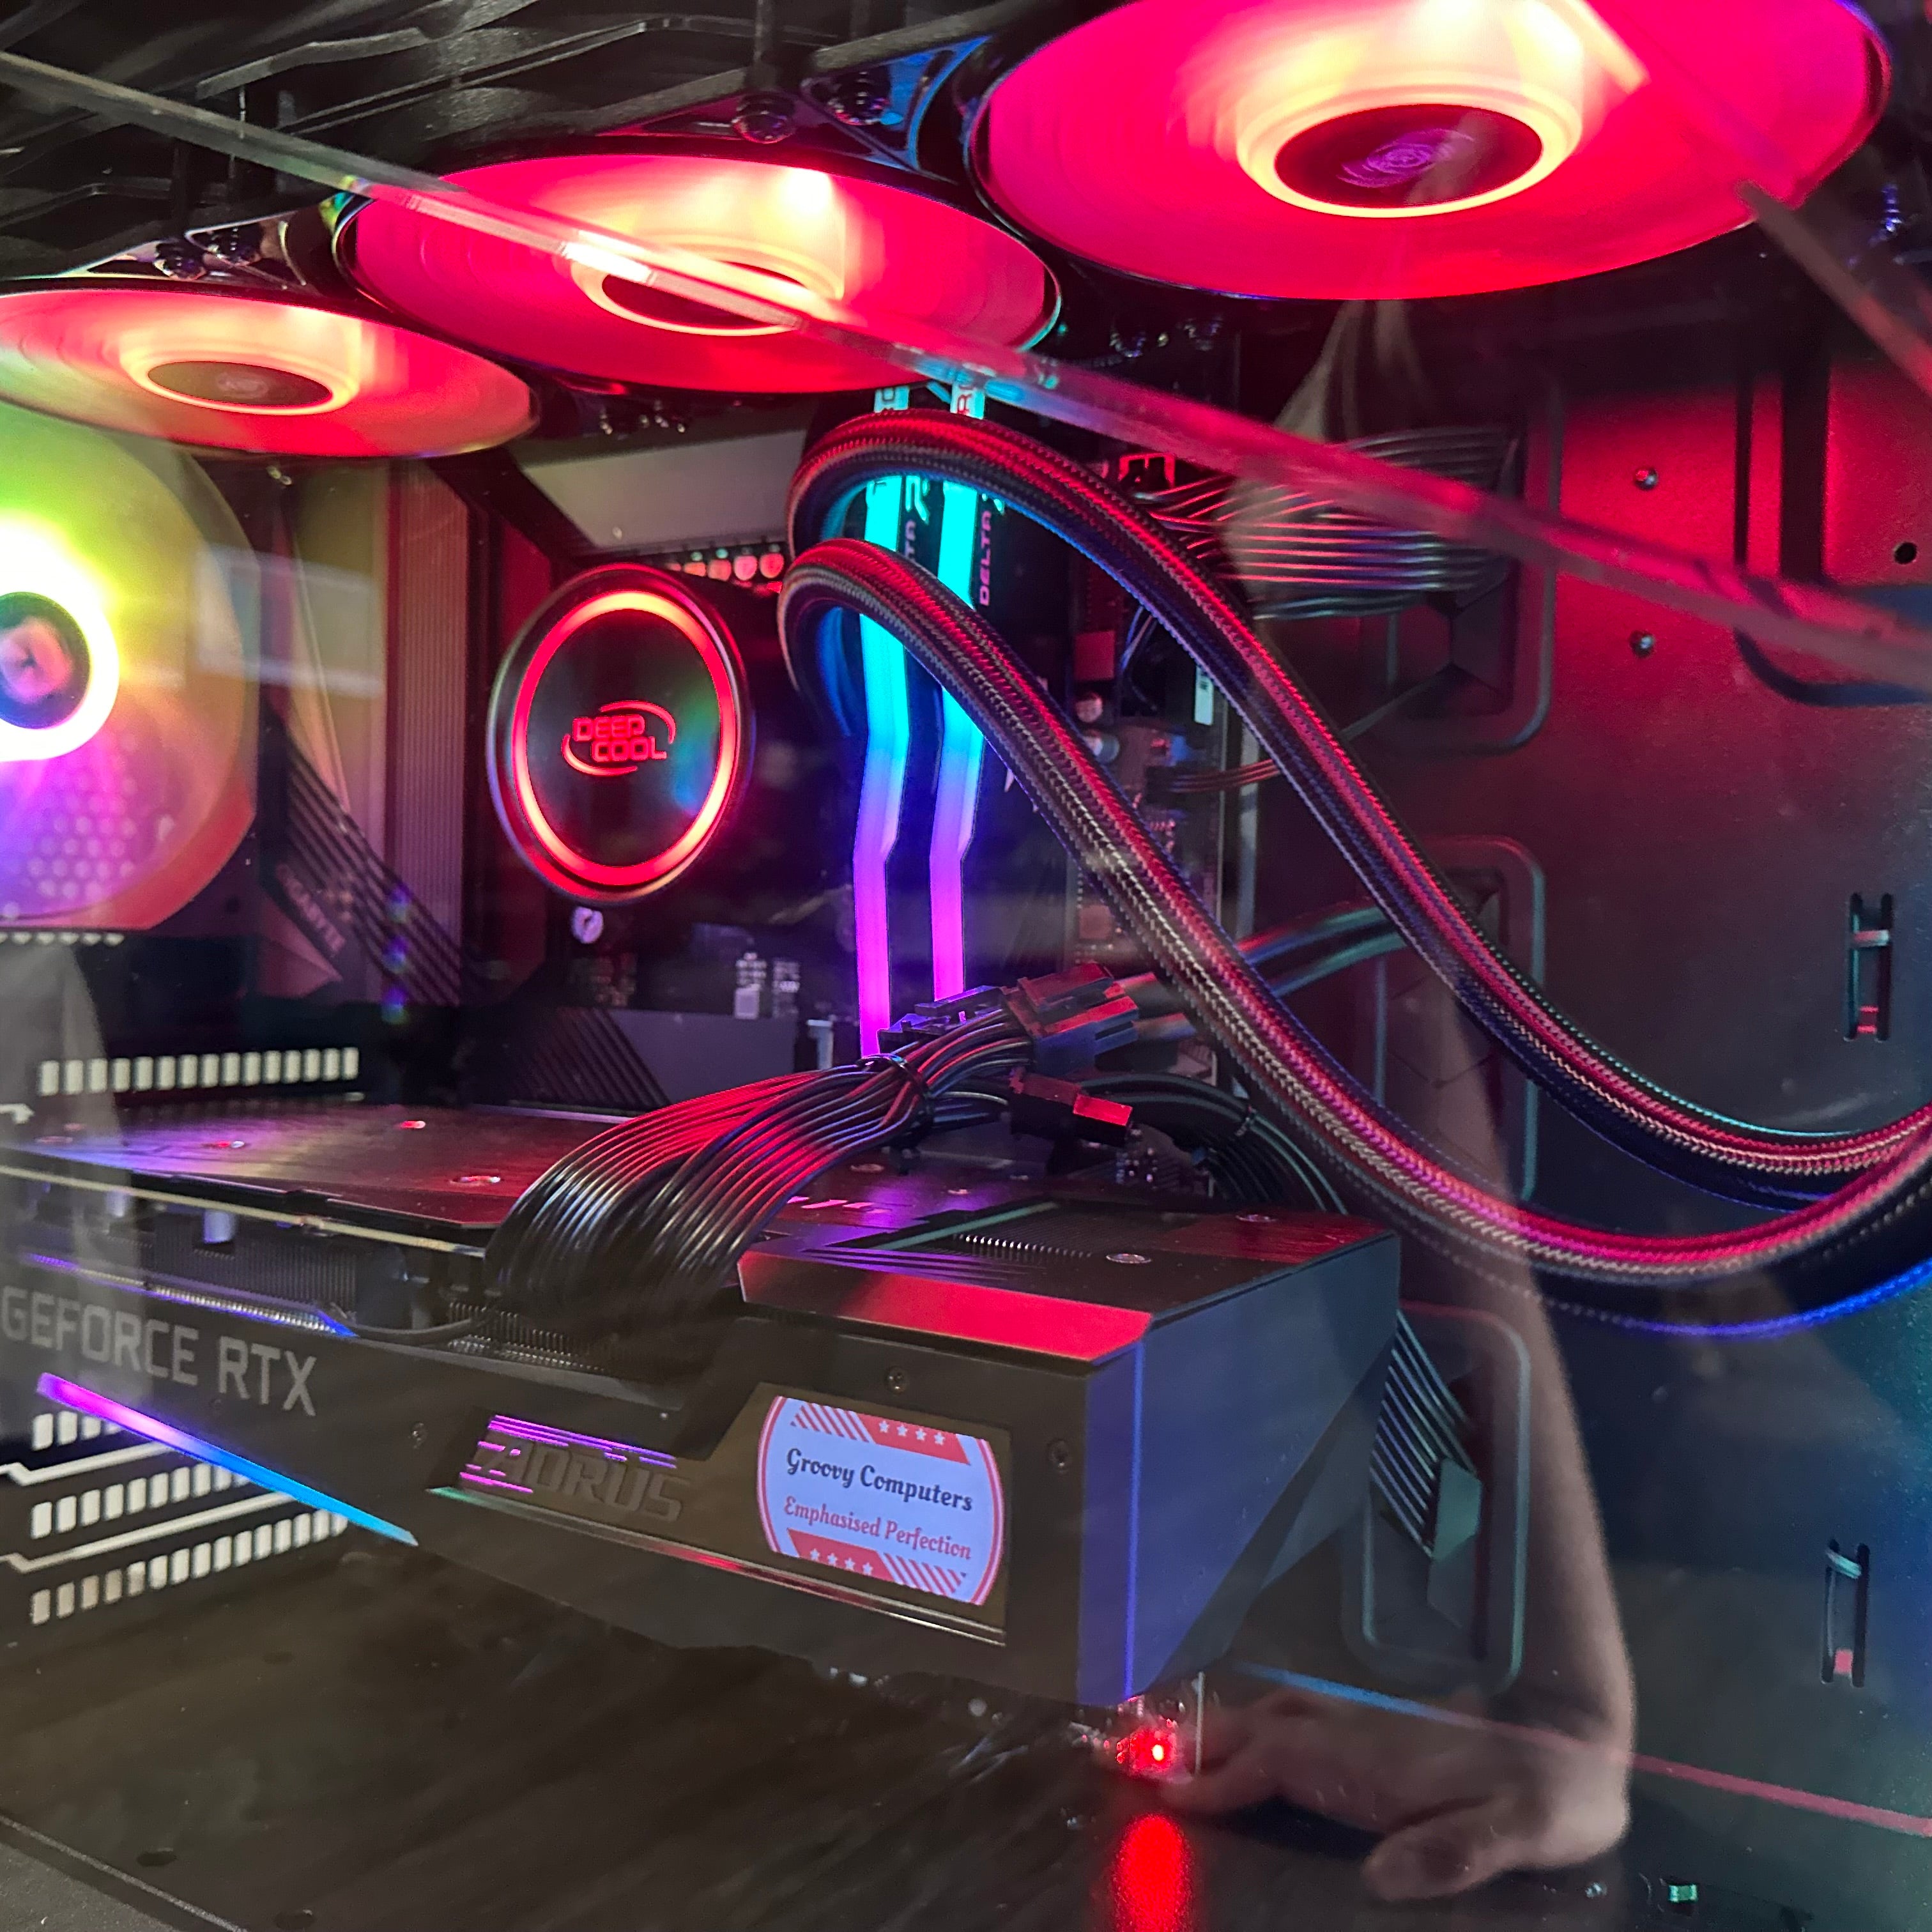
Installing the Graphics Card
Remove the PCIe slot covers matching where your graphics card will sit. Most modern GPUs take up two or three slots.
The top PCIe x16 slot on your motherboard provides best performance with direct CPU connection and full x16 bandwidth. Don't use lower slots unless you have to.
Align the card's PCIe connector with the slot and the rear I/O bracket with the case opening. Press down firmly and evenly until the card fully seats and the retention clip clicks.
Secure the graphics card bracket to the case with screws through the expansion slot mounting points.
Connect PCIe power cables from your power supply to the graphics card if it requires them. High-end cards typically need one or more 8-pin connectors. The cables only fit one way and should click firmly into place.
Heavy graphics cards sometimes sag at the end farthest from the PCIe slot. GPU support brackets can help if this bothers you.
First Boot and BIOS Setup
This is the moment of truth. Before pressing the power button, double-check all power connections.
Make sure your monitor is plugged into your graphics card's output ports, not the motherboard. Systems with dedicated graphics cards typically disable motherboard video outputs.
Flip the power supply switch on the back to the "on" position. Press your case's power button.
The first boot might take several seconds as the motherboard trains memory and starts up parts. You might see diagnostic LEDs cycling through CPU, DRAM, VGA, and BOOT.
If everything's working, you'll see the motherboard manufacturer's logo on your screen. Press Delete, F2, or the manufacturer-specific key to enter BIOS.
Checking Hardware Detection
In BIOS, check that all parts are properly detected. Make sure your CPU model, memory capacity, and storage devices all show up correctly.
Memory often runs at slow default speeds until you enable performance profiles. Look for XMP (Intel) or EXPO (AMD) settings in the overclocking or memory configuration menu. Enable the profile matching your memory's rated specs.
This is important. DDR5-6000 memory will run at default DDR5-4800 speeds until you enable the profile, leaving significant performance on the table.
Setting Boot Priority
Make sure your primary NVMe drive is set as the first boot device. This ensures your system boots from the correct drive when you install Windows.
Check for BIOS updates while you're here. Motherboard manufacturers release updates improving compatibility and fixing bugs. If there's an update available and you're comfortable doing it, updating now can prevent issues later.
Installing Windows and Drivers
Download the Windows 11 installation media creation tool from Microsoft's website on any Windows PC. Use it to create a bootable USB drive.
Boot from the USB by pressing F8, F11, or the manufacturer-specific boot menu key during startup. Select your USB drive from the boot menu.
Follow the Windows installer through partition creation, file copying, and initial setup. Windows 11 officially requires TPM 2.0 and Secure Boot support, but workarounds exist if needed.
Installing Essential Drivers
After Windows is up and running, you need drivers for best performance.
Start with chipset drivers from AMD or Intel's website. These enable proper communication between your operating system and motherboard parts.
Graphics drivers are critical. Download the latest version directly from NVIDIA or AMD's website. Don't rely on Windows Update for GPU drivers since they're often outdated.
Some people prefer clean driver installation using tools like Display Driver Uninstaller (DDU) to remove all previous driver leftovers before installing fresh. For a new build, just run the installer normally.
Your motherboard may need additional drivers for audio, networking, and RGB control. Check the manufacturer's support page for your specific board model.
Testing and Optimization
Don't just assume everything's working perfectly. Test your system to catch any issues early.
Check Task Manager to make sure your RAM is running at the correct speed. If it shows default speeds, you forgot to enable XMP/EXPO in BIOS.
Run a stress test using Prime95, AIDA64, or similar tools to confirm system stability under heavy loads. This reveals thermal or power delivery issues that might cause crashes during gaming.
Monitor temperatures while stress testing. Modern processors typically idle at 30-45°C and reach 60-80°C under gaming loads. If you're seeing much higher temps, you might have poor cooler mounting or missing thermal paste.
Gaming benchmarks like 3DMark or actual games provide performance baselines for future comparison. They also help identify underperforming parts.
Making Performance Better
Enable Resizable BAR in BIOS if both your motherboard and graphics card support it. This allows your CPU to access the full GPU memory buffer at once, providing modest performance improvements in some games.
Set up custom fan curves in BIOS if you want to balance noise levels against cooling performance. Conservative curves prioritize quiet operation, while aggressive curves focus on lower temperatures.
Windows settings matter too. Make sure your power plan is set to High Performance or Balanced rather than Power Saver.
If you have an NVIDIA GPU, consider using NVCleanstall to install only essential driver parts without telemetry and bloatware.
Common Mistakes to Avoid
Even experienced builders make these mistakes sometimes.
Not enabling XMP/EXPO is probably the most common performance-limiting mistake. Your memory won't run at its rated speed until you enable this in BIOS, leaving significant performance on the table.
Installing RAM in the wrong slots prevents dual-channel operation. Most motherboards want modules in slots A2 and B2, not A1 and A2. Check your manual.
Forgetting the I/O shield is annoying because you have to remove the motherboard to install it after the fact. Put it in before mounting the motherboard.
Not enough thermal paste or poor cooler mounting causes high temperatures. The rice grain method works for paste application, and cooler mounting screws need to be surprisingly tight.
Front panel connectors confuse everyone. Take your time, use good lighting, and reference your motherboard manual's diagram. The power switch connection is most critical since you can't turn the system on without it.
Installing the graphics card in the wrong PCIe slot reduces bandwidth and performance. Always use the top x16 slot closest to the CPU.
Not connecting CPU power is a classic beginner mistake. The 4+4 pin or 8-pin CPU power connector near the socket is separate from the main 24-pin motherboard power. Without it, your system won't boot or will shut down under load.
Mixing different capacity DDR5 modules doesn't work. You can't combine 2x8GB with 2x16GB for 48GB total. You'd need to replace the original modules entirely.
Troubleshooting When Things Go Wrong
No display output is the most common first-boot issue. Check that your monitor is plugged into the graphics card, not the motherboard. Make sure the monitor input source is set correctly. Make sure all power cables are fully seated.
If the system powers on but won't POST, watch the diagnostic LEDs on your motherboard. They cycle through CPU, DRAM, VGA, and BOOT, showing you where the problem is.
A DRAM light staying on usually means a memory module isn't seated properly or you're using incompatible RAM. Reseat the modules, check you're using the correct slots, and double-check compatibility.
High temperatures suggest cooler mounting issues or missing thermal paste. Idle temps above 50°C indicate a problem. Remount your cooler, ensuring the retention mechanism is fully tightened.
Random crashes or instability during stress tests can indicate power delivery problems, thermal issues, or even a defective part. Check all power connections first, monitor temperatures, and try testing parts individually if possible.
Frequently Asked Questions
How long does it take to build a gaming PC?
First-time builders typically take 2-3 hours to complete assembly, though it can stretch to 4 hours if you're being extra careful or dealing with troubleshooting. The process goes much faster on later builds once you know what you're doing.
Do I really need 32GB of RAM for gaming in 2025?
Yes, 32GB is now the recommended standard because several new AAA titles show stuttering and performance issues with only 16GB. While you can still game with 16GB, you'll need to upgrade soon as memory requirements continue increasing.
Can I use a PCIe 3.0 SSD in a PCIe 4.0 slot?
PCIe is backward compatible. A PCIe 3.0 SSD works fine in a PCIe 4.0 slot, it just runs at PCIe 3.0 speeds. The reverse is also true - PCIe 4.0 drives work in PCIe 3.0 slots at the slower speed.
Should I build or buy a prebuilt gaming PC?
Building yourself usually saves 15-20% compared to prebuilt systems and gives you complete control over parts selection. However, if you prefer a ready-to-go solution, you can explore our selection of prebuilt gaming PCs that offer competitive value, particularly during component shortages or when manufacturers secure favorable bulk pricing.
What's the difference between DDR4 and DDR5 RAM?
DDR5 offers higher speeds starting at 4,800 MT/s versus DDR4's 3,200 MT/s baseline, supports larger capacities up to 128GB per stick, and uses lower voltage for better efficiency. However, DDR4 costs significantly less and remains viable for budget builds, though future upgrade paths will be limited.
How often should I upgrade my gaming PC?
Graphics cards typically need upgrading every 3-5 years to maintain high settings at current resolutions, while CPUs, RAM, and storage can last 5-7 years or longer. Most gamers upgrade the GPU once or twice before rebuilding the entire system.
Do I need liquid cooling for gaming?
No, tower air coolers work great for most gaming builds and cost less while removing pump failure risks. Liquid cooling makes sense for high-end processors, extremely compact builds where air coolers won't fit, or when you want the look of an AIO cooler.
What power supply wattage do I need for my gaming PC?
Calculate your part power draw and multiply by 1.5 for safe headroom. Budget systems with entry-level GPUs need 500-600W, mid-range builds benefit from 750-850W, and high-end systems with flagship graphics cards require 1000W or more.
Leave a comment
This site is protected by hCaptcha and the hCaptcha Privacy Policy and Terms of Service apply.