

Building a computer from individual parts has never been more exciting or accessible than it is in 2025. Whether you're chasing the highest frame rates in competitive gaming, creating content that demands serious power, or simply want a machine built exactly to your needs, assembling your own PC gives you complete control over every component and dollar spent.
I've built dozens of systems over the years, and the feeling of pressing that power button for the first time never gets old. But I know the process can feel overwhelming when you're staring at thousands of component options and terms that look like they're written in another language.
That's why I put together this guide. I'm going to walk you through everything you need to know about building a PC by parts in 2025.
Key Takeaway
- Building a PC by parts gives you complete control over performance, looks, and budget
- The seven essential components are CPU, motherboard, RAM, storage, GPU, power supply, and case
- Component matching is critical – especially your CPU socket to your motherboard and making sure your power supply has enough watts
- Building your own PC typically takes 2-4 hours for first-timers and can save money compared to pre-builts while offering better component quality
- Modern PC building is easier than ever with tool-less cases, pre-applied thermal paste, and helpful online compatibility checkers
What Does Building a PC By Parts Actually Mean
When I talk about building a PC by parts, I mean buying each component individually and putting them together yourself rather than buying a pre-built system. You pick your own processor, motherboard, memory, storage drives, graphics card, power supply, and case, then assemble them all.
This approach is different from walking into a store and buying a complete computer off the shelf or ordering a pre-configured system online. With a parts build, every single component is your choice.
The appeal goes beyond just customization. Building by parts means you know exactly what's inside your machine. You're not stuck with the cheap power supply or slow RAM that manufacturers often use to hit certain price points. You decide where every dollar goes.
According to recent data, there are about 1.86 billion PC gamers worldwide as of 2024, with a large portion choosing to build their own systems rather than buying pre-assembled units. The DIY PC building market keeps growing because it offers something pre-builts simply can't match: complete transparency and control.
I've seen friends buy "gaming PCs" from big box stores only to discover they have a great processor but a graphics card that can barely run modern games. That doesn't happen when you build by parts because you're making informed decisions about each component based on what you actually need.
The Essential Components You Need
Every PC build needs seven basic components to work. Let me break down each one so you understand what it does and why it matters.
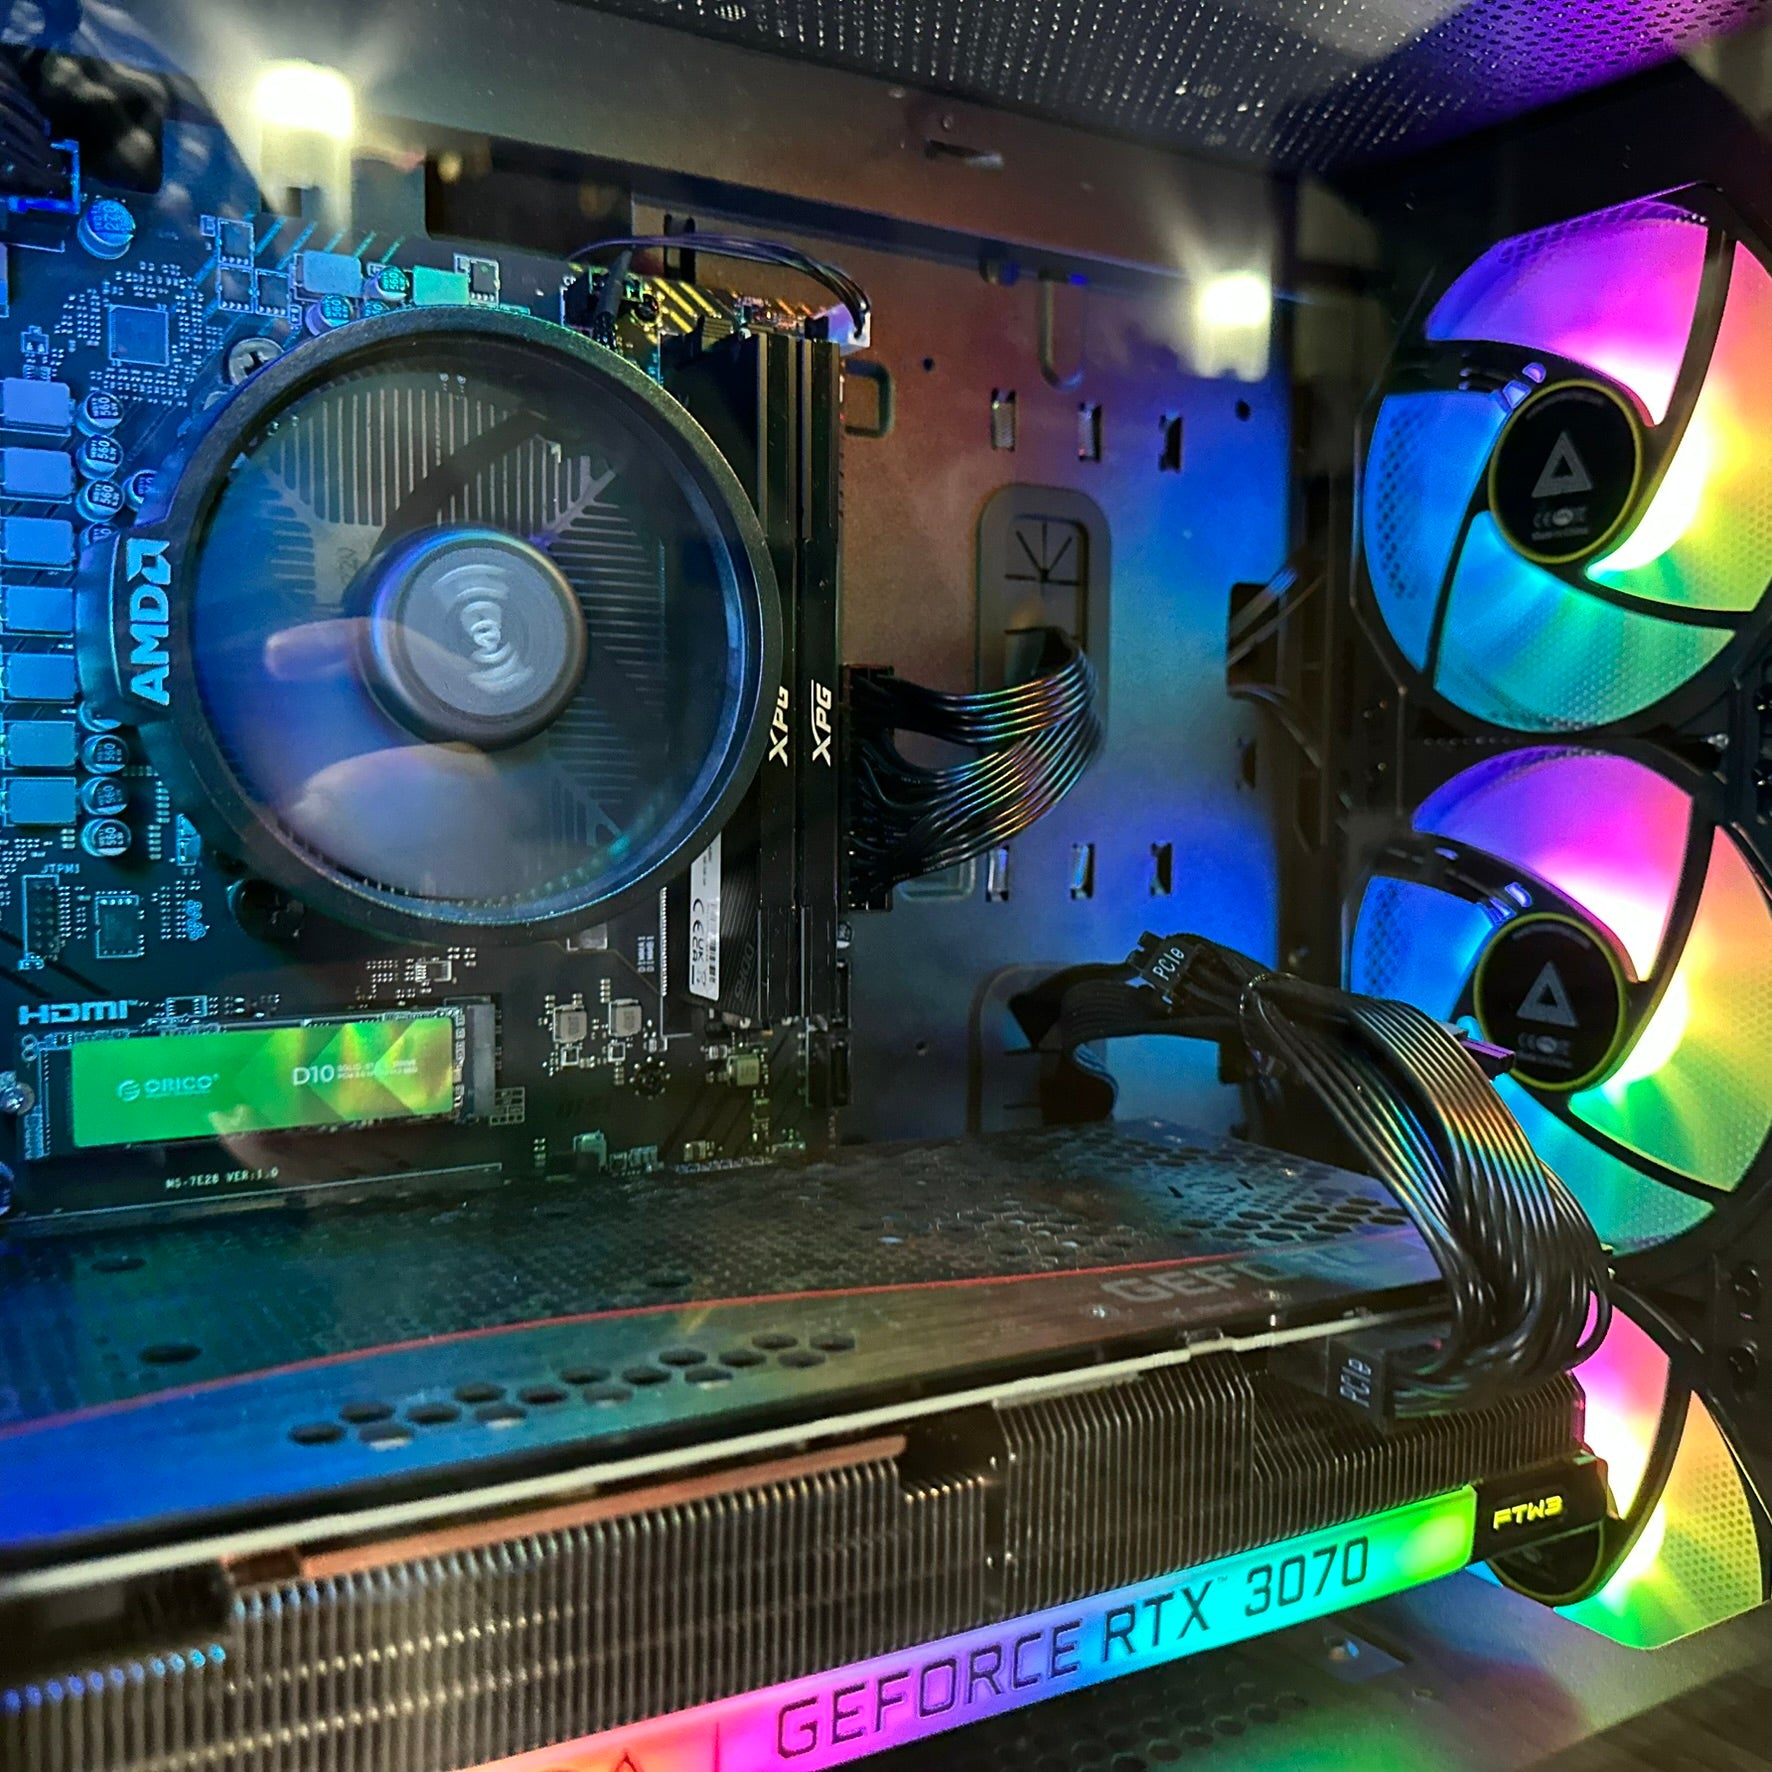
The central processing unit is your computer's brain. It runs instructions from programs and coordinates everything happening in your system. For gaming builds in 2025, you want a CPU with strong single-thread performance and at least eight cores.
AMD and Intel dominate this space. AMD's Ryzen processors generally offer better value and multi-threaded performance, while Intel's chips have traditionally held slight advantages in certain gaming scenarios. The competitive landscape shifted significantly in 2024, with AMD accounting for just shy of 40% of client CPU sales in Q4 2024, the highest since early 2022.
Your motherboard is the central hub connecting all components. It must match your CPU's socket type, which is non-negotiable. An AMD AM5 processor won't work in an Intel LGA 1700 motherboard, and vice versa.
Beyond basic compatibility, motherboards determine your upgrade path and available features. Look for enough PCIe slots, enough USB ports, built-in WiFi if you need it, and quality voltage regulation for stable power delivery. Form factor matters too. ATX boards are standard size, Micro-ATX offers compact builds with reasonable expandability, and Mini-ITX provides the smallest footprint.
RAM provides temporary storage for data your CPU actively uses. Modern builds should have at least 32GB of memory, though 16GB works for tighter budgets. You'll choose between DDR4 and DDR5, with DDR5 offering higher speeds at increased cost.
Memory setup matters a lot. Installing RAM in the correct slots enables dual-channel operation, which roughly doubles your memory bandwidth compared to single-channel. A common mistake is mounting memory sticks right next to each other, which will work and the system will boot, but this forces single-channel operation, leaving significant CPU performance on the table.
Storage has changed completely with NVMe solid-state drives. You need at least 1TB for a solid experience, with 2TB being better. Target M.2 PCIe 4.0 drives as PCIe 5.0 drives are slightly faster but not worth the extra cost.
The performance difference between mechanical hard drives and SSDs is huge. Testing across games like Ghost of Tsushima, Cyberpunk 2077, and God of War Ragnarok revealed that while average frame rates may stay similar, SSDs deliver more stable frame time graphs, making gameplay feel much smoother.
Your graphics card handles the intensive calculations needed to render images at high speeds. For gaming PCs, the GPU is the most important component for gaming performance but also represents the biggest expense in most builds.
Nvidia and AMD offer dramatically different performance tiers. In early 2025, Nvidia's RTX 5000 series and AMD's RX 9000 series represent the latest generation. The RTX 5090 flagship features 32GB of GDDR7 memory with an MSRP of $1,999, though street prices have been higher due to strong demand.
For most gamers, you want at least 12GB of VRAM for future needs. The amount of video memory heavily impacts a card's ability to handle high-resolution textures and complex scenes.
The power supply converts wall outlet AC power into the DC power your components need. Calculate your total system power draw and pick a PSU with 20-30% headroom above that.
Lower-end builds focus on having enough wattage above all else, while higher-end builds need at least 750 or 850 watts and should use Gold or Platinum rated supplies for best energy efficiency. The 80 PLUS certification rates power supplies on efficiency, with Bronze, Silver, Gold, Platinum, and Titanium indicating progressively higher efficiency levels.
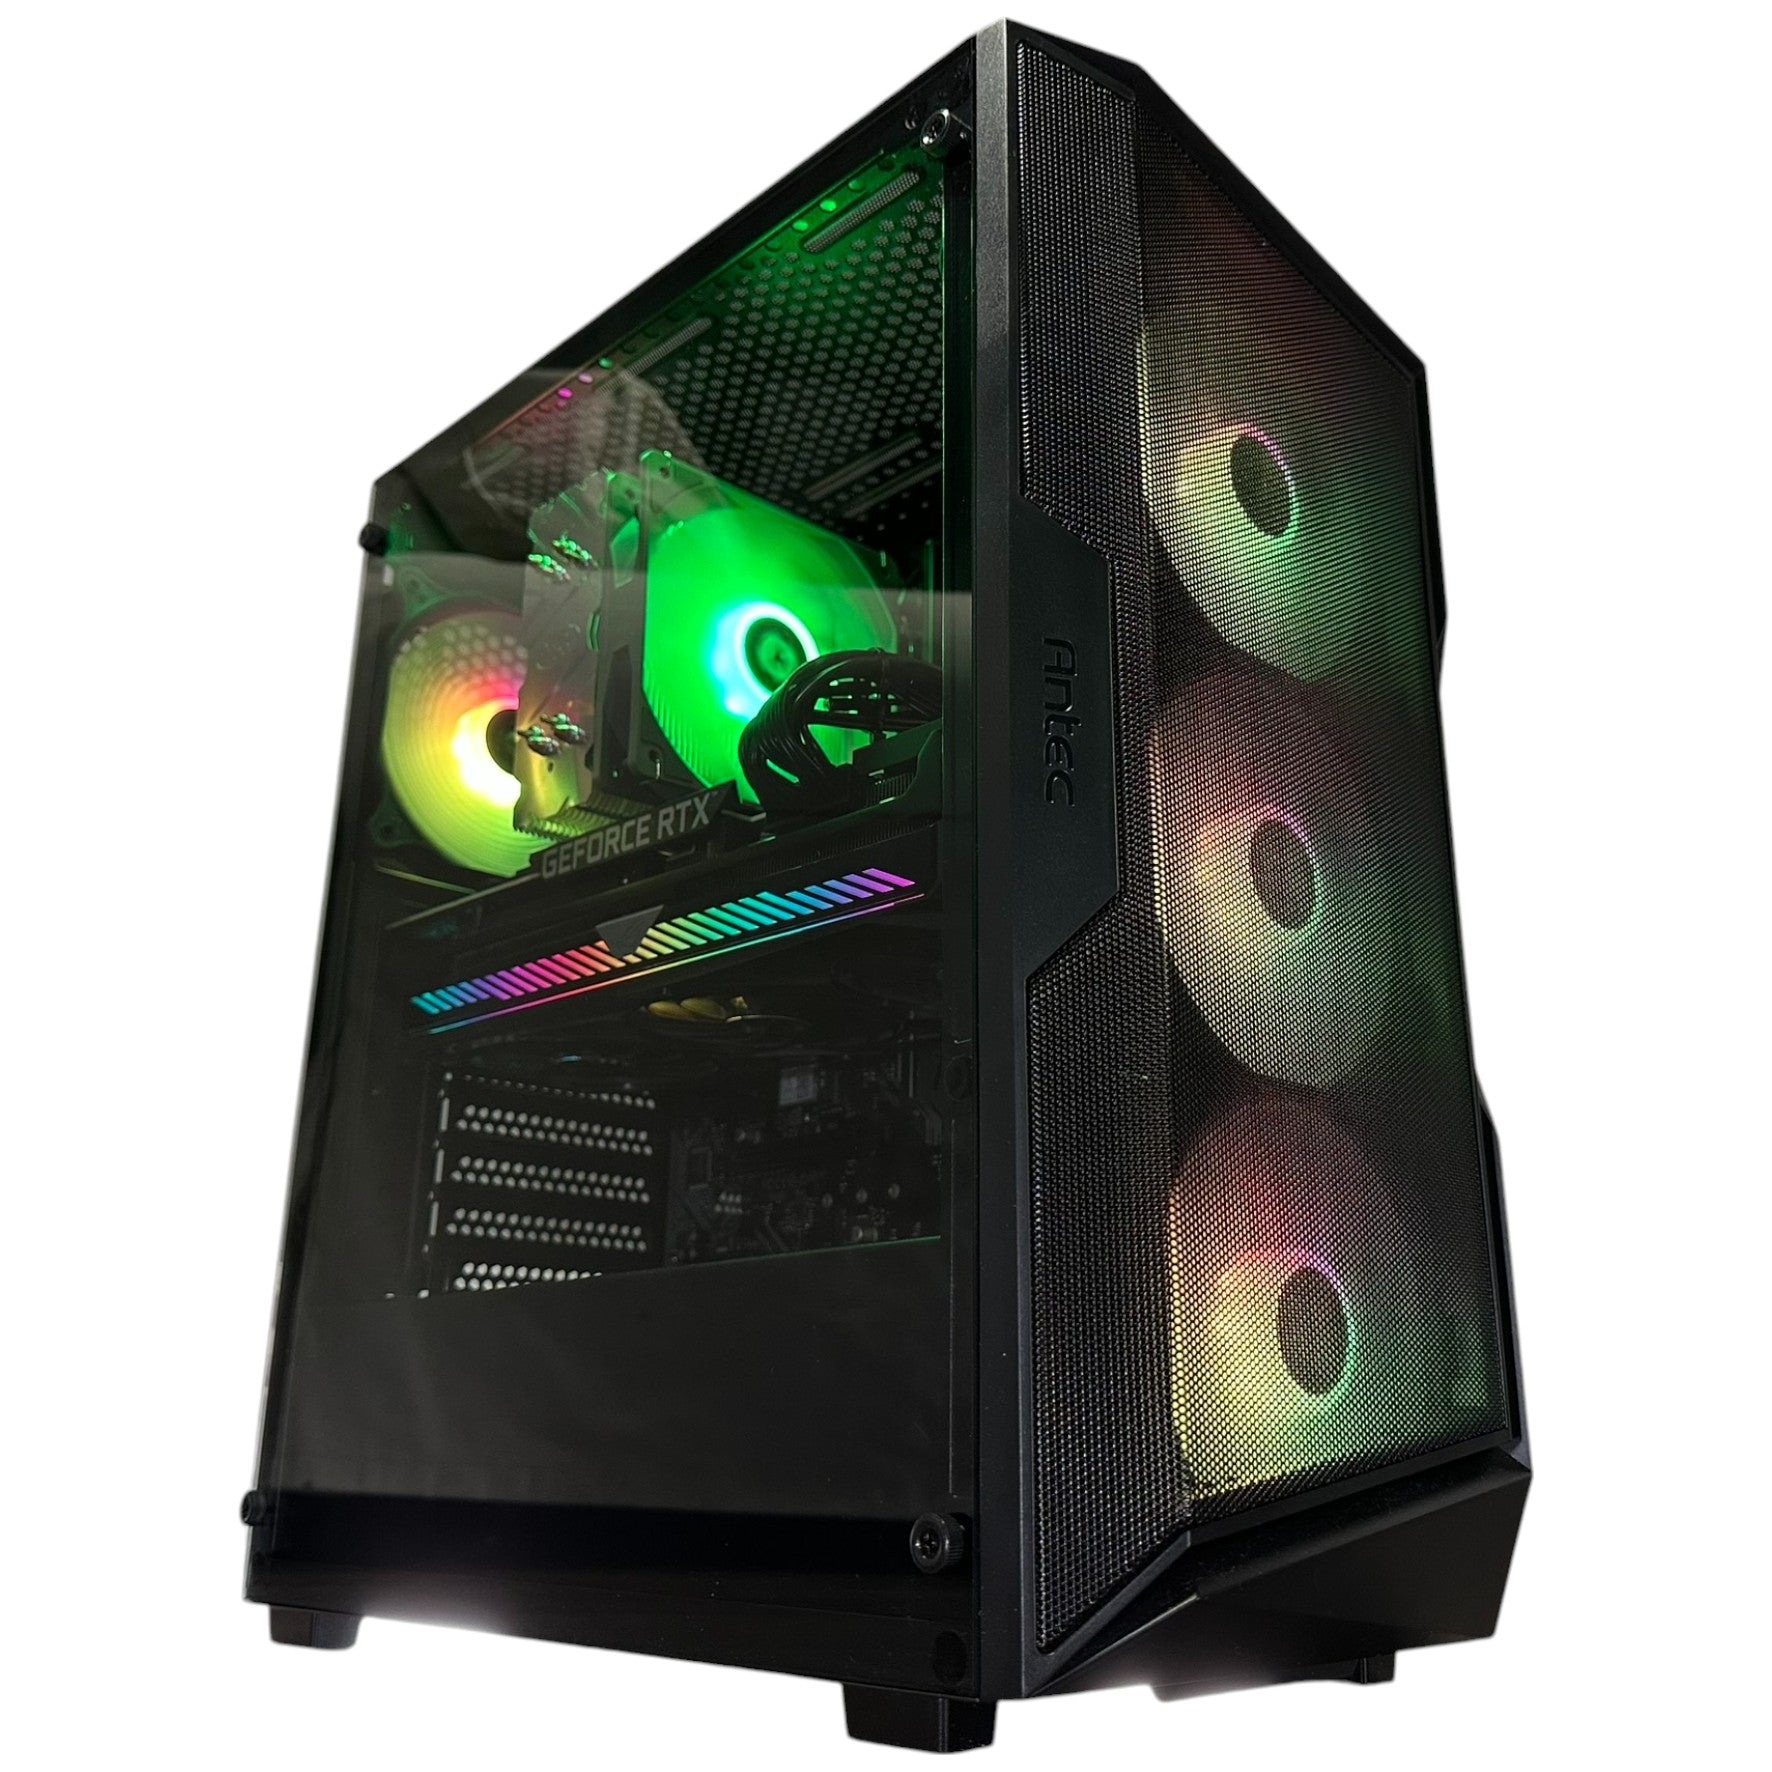
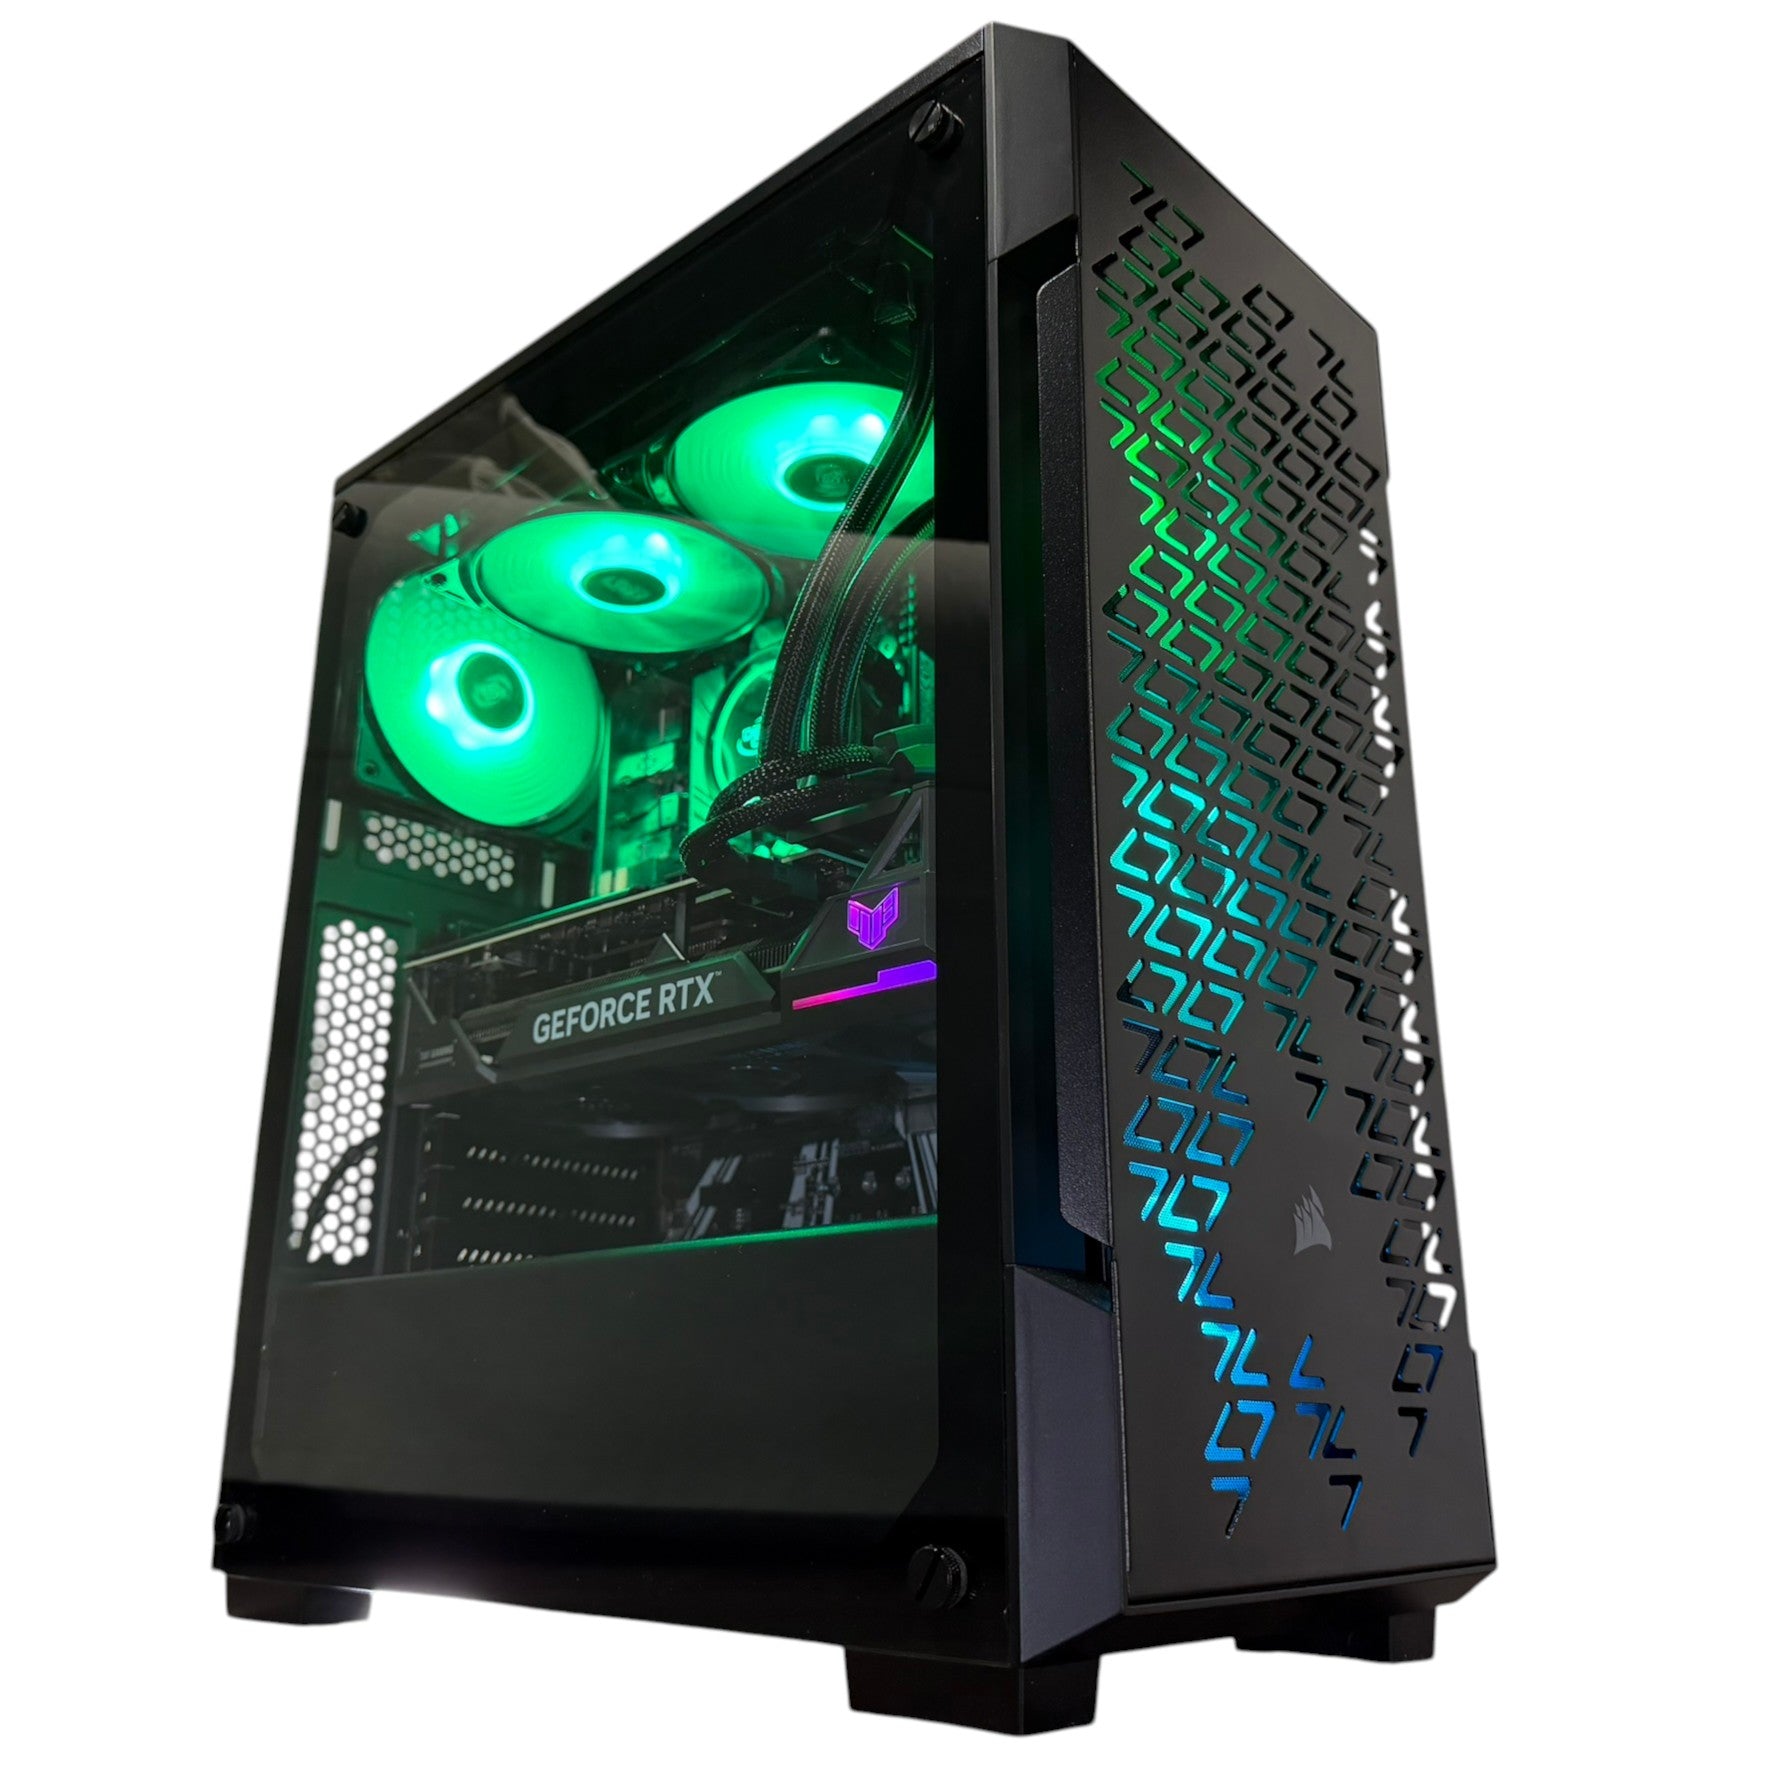
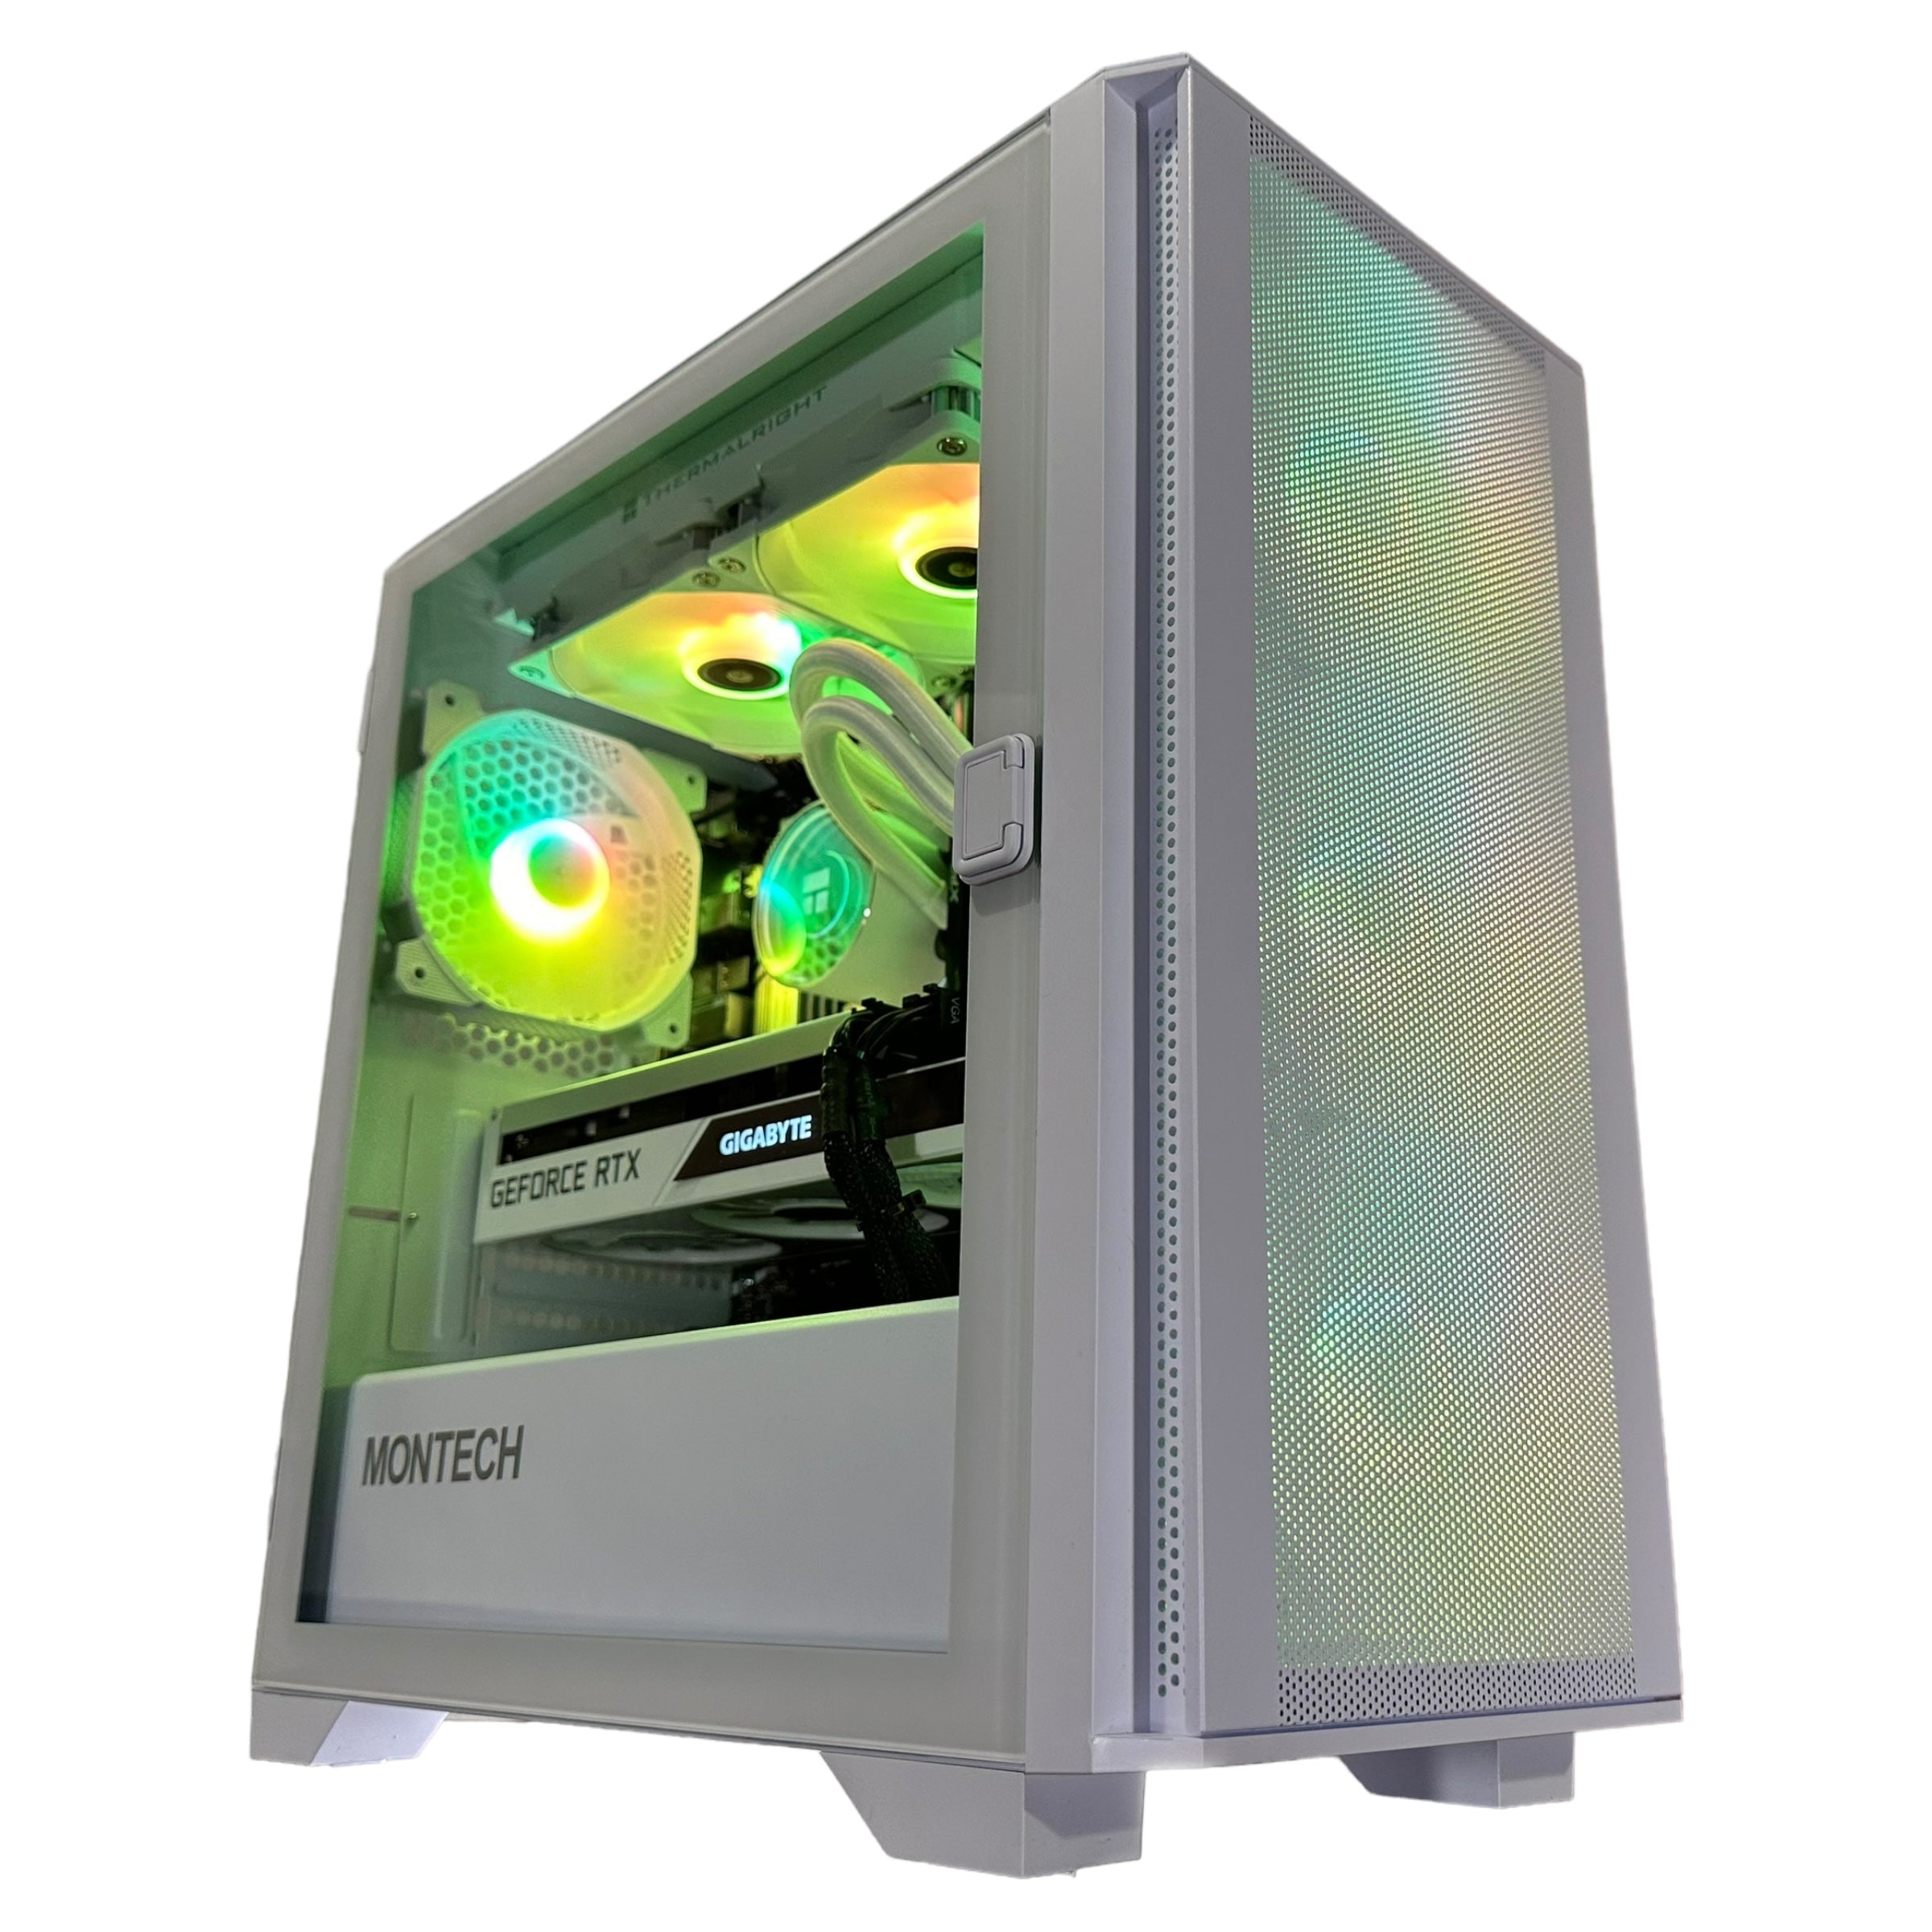
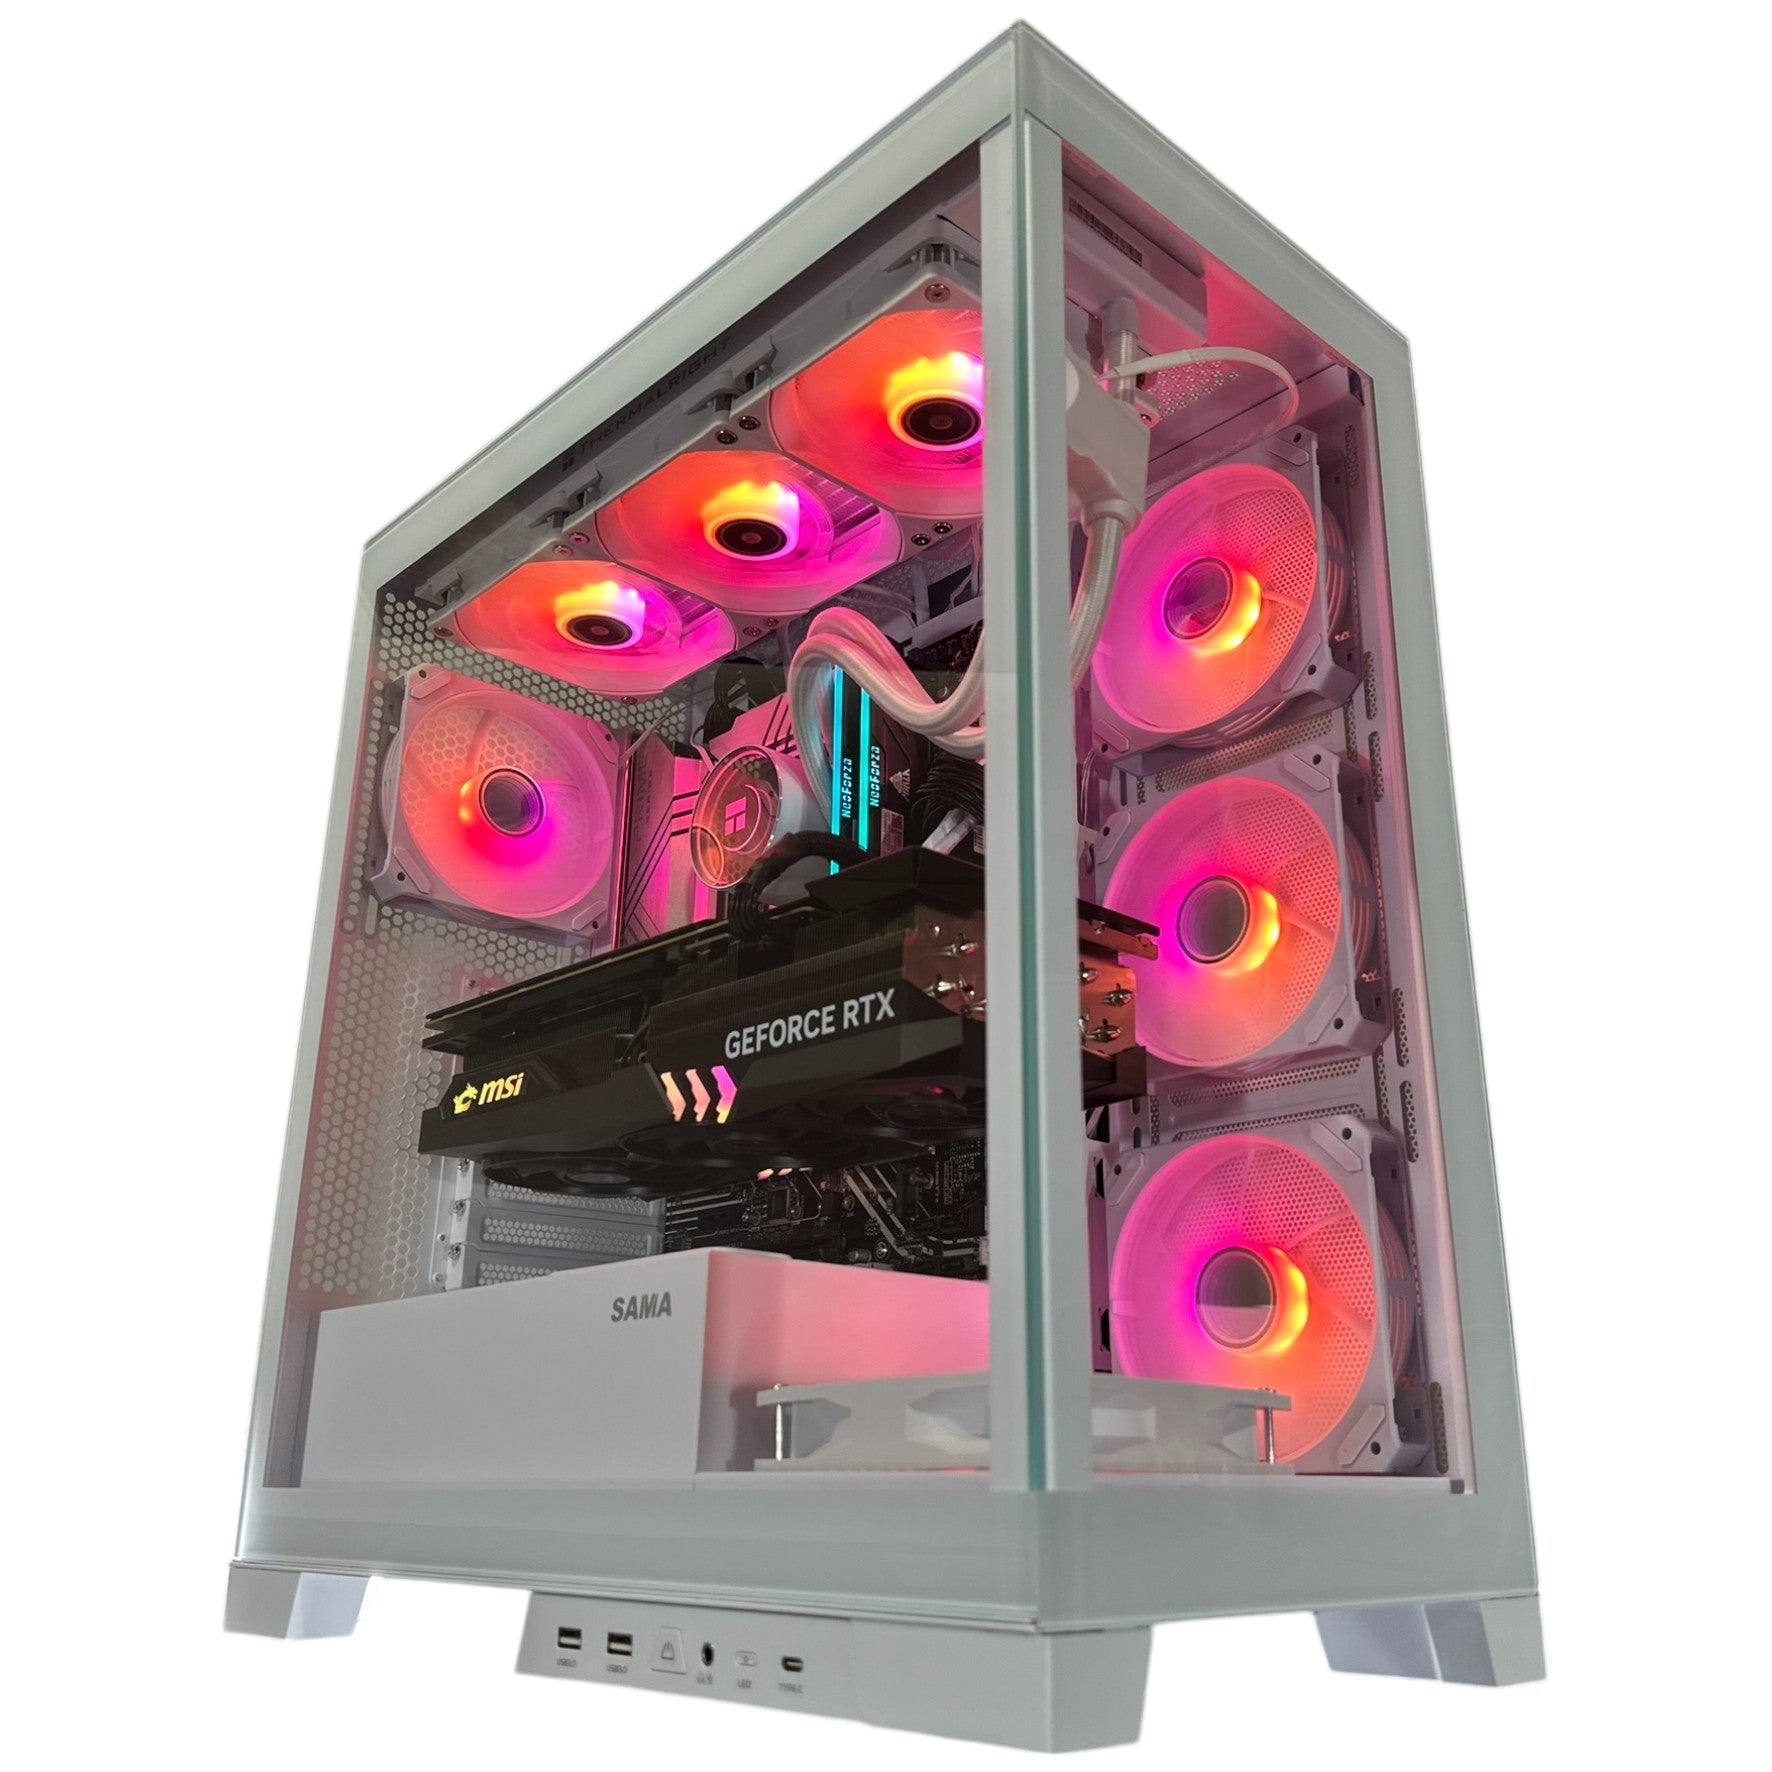
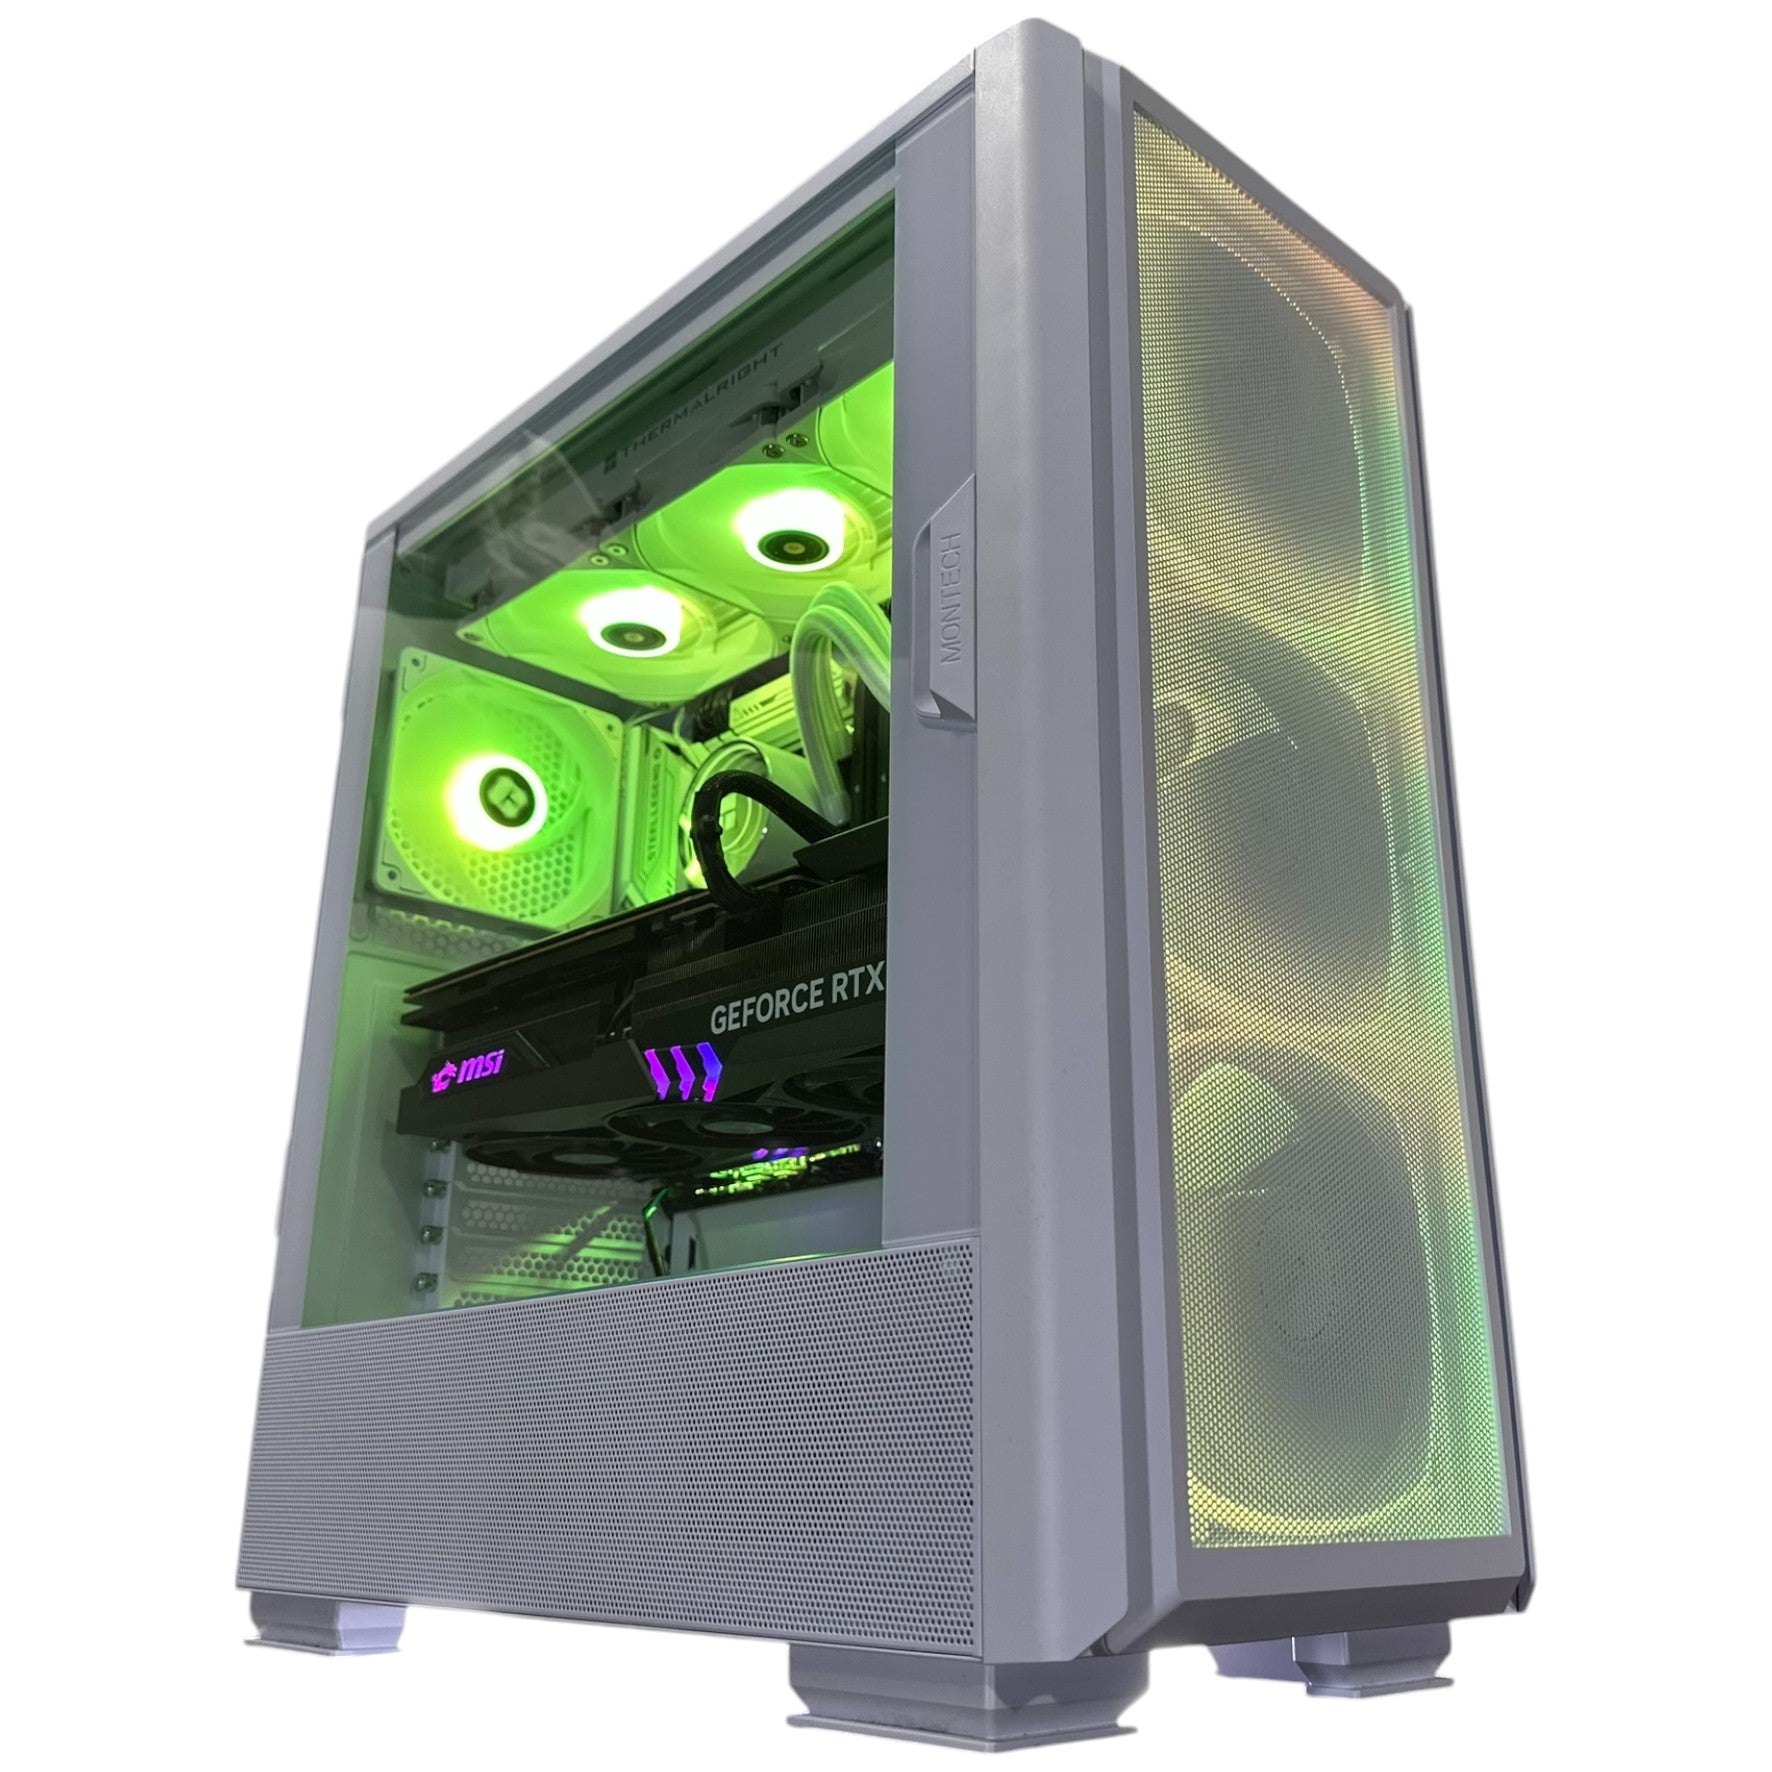
Your case houses everything and significantly influences cooling performance and build difficulty. First, ensure your case fits your motherboard form factor. Buying an ATX motherboard with a case that only supports Micro-ATX boards results in incompatibility.
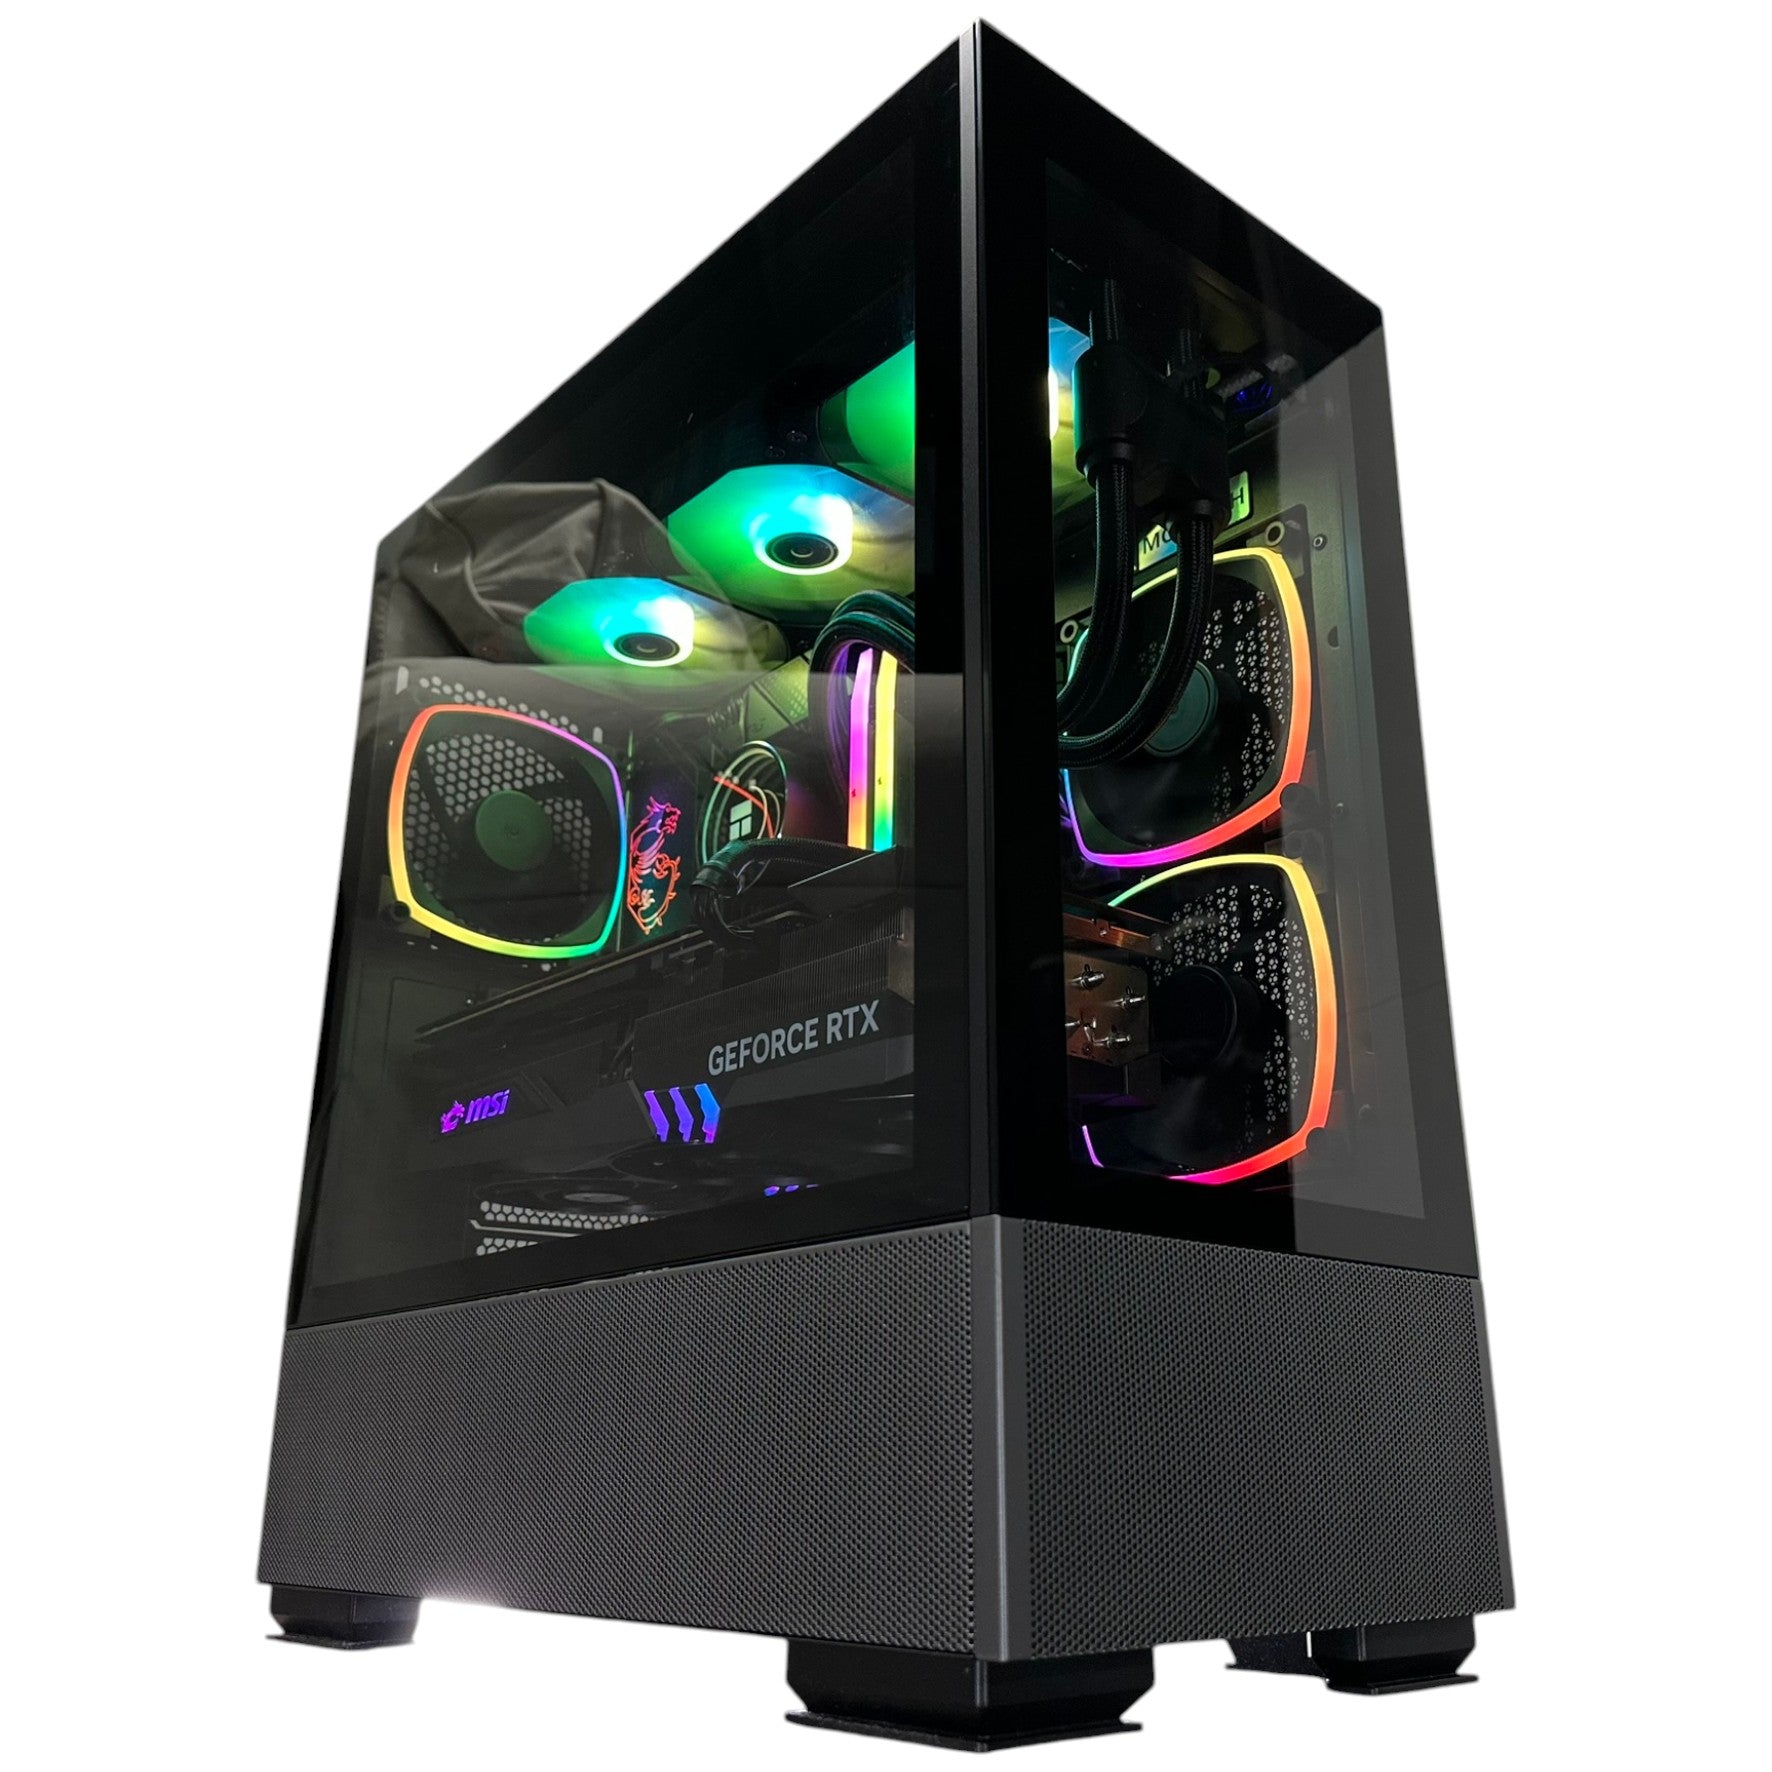
Modern cases have continuously improved in both looks and functionality, making the building process much easier. Look for good ventilation with multiple fan mounting positions, room for radiators if using liquid cooling, and enough clearance for large graphics cards and CPU coolers.
Understanding Component Compatibility
Compatibility is where many first-time builders get nervous, and rightfully so. Ordering incompatible parts wastes time and money.
The CPU and motherboard relationship is your first critical checkpoint. Different processor families need specific socket types, and these are not interchangeable. AMD's current desktop platforms use either the AM4 socket for older Ryzen processors or the newer AM5 socket for Ryzen 7000 series and later processors. These sockets are physically incompatible.
Intel has progressed through LGA 1151v2, LGA 1200, and LGA 1700, none of which work with each other. An LGA 1200 CPU will not work in an LGA 1700 motherboard. Period.
The good news is that AMD committed to supporting AM5 through at least 2025, giving you a longer upgrade path compared to Intel's traditional two-generation socket support.
Memory compatibility extends beyond DDR4 versus DDR5. You must ensure your CPU and motherboard support the type of RAM you're considering, as DDR4 and DDR5 are physically incompatible and cannot be mixed.
When installing memory modules, proper slot population is crucial for achieving best performance. Incorrectly installing RAM sticks next to each other rather than in alternating slots forces single-channel operation. The correct approach involves checking the motherboard manual to determine which slots to use for dual-channel operation – typically slots A2 and B4 for two-stick setups.
Graphics card compatibility involves multiple considerations. The PCIe x16 slot represents the standard interface for modern graphics cards, though you must verify your chosen GPU will physically fit within your case. High-end models can extend to 300mm or more in length and occupy three or more expansion slots vertically.
Power supply compatibility requires calculating total system power draw plus enough headroom. High-end graphics cards can potentially need 300-450 watts or more on their own.
Online tools make compatibility checking easier. PCPartPicker automatically finds compatibility issues between selected components. For specific products like Kingston memory, manufacturers offer compatibility search tools on their websites.
The consequences of compatibility errors range from simply having to return and replace a component to potentially missing return windows and being stuck with unusable parts. This is why I always triple-check compatibility before ordering.
Also, internal linking on your own site shouldn't be overlooked. A strong internal link structure helps search engine crawlers index all your pages and helps AI understand the relationships between your content pieces (What is generative engine optimization (GEO)?). If an AI is retrieving information and sees multiple pages on your site all linked and focused on a topic, it reinforces that your site is an authority on it.
How Much Does Building a PC By Parts Actually Cost
The cost of building a PC by parts varies dramatically based on your performance targets and component choices. Let me break down realistic budget tiers for 2025.
Entry-level gaming builds start around $700-$1,000. At this price point, you might use an AMD Ryzen 5 5600 paired with an RX 6500 XT or similar budget graphics card. Memory would be 16GB, enough for most games but potentially limiting in heavily multitasking scenarios. Storage typically consists of a single 500GB-1TB NVMe SSD.
These builds provide acceptable 1080p gaming performance at reduced settings. They won't run the latest AAA titles at ultra settings, but they deliver playable frame rates and represent a solid starting point for budget-conscious gamers. You can explore our selection of budget gaming PCs from $700-$1500 for pre-configured options in this range.
Mid-range builds in the $1,200-$2,000 range represent the sweet spot for many builders. A $1,000 gaming build can deliver excellent 1080p gaming performance and competent 1440p capabilities by centering the configuration around an Nvidia RTX 5060 graphics card paired with a capable processor.
These setups should include 32GB of DDR5 memory running at reasonable speeds like 6000 MT/s, which provides both capacity and performance for modern gaming and productivity tasks. Storage should consist of at least a 1TB NVMe SSD with strong performance characteristics. Check out our mid-tier gaming PCs from $1501-$2500 for systems in this category.
High-end builds from $2,000-$3,500 achieve outstanding 1440p and excellent 4K gaming performance. A build in this tier might center around an RTX 5070 Ti or RTX 5080, paired with a high-end processor like the AMD Ryzen 7 9800X3D, which offers outstanding gaming performance and impressive multi-core capabilities.
Supporting components at this budget level include 32GB of high-speed DDR5 memory, a premium NVMe SSD of 2TB or more, and a high-quality 850-watt or larger power supply with Gold or Platinum efficiency certification. Our high-end gaming PCs from $2501-3500 showcase what's possible at this tier.
Extreme enthusiast builds exceed $3,500 and pursue absolute maximum performance. These systems feature Nvidia's flagship RTX 5090 graphics card, which was fully capable of playing games at 4K resolution with ultra settings and ray tracing enabled, averaging 90.2 frames per second on a six-game test.
At this budget level, no compromises are necessary. Builders specify premium components throughout including 64GB or more of high-speed DDR5 memory, multiple large NVMe SSDs, custom liquid cooling solutions, and showcase cases with exceptional build quality. For the ultimate performance, consider our #1 Fastest Gaming PC with Ryzen 7 9800X3D and RTX 5090.
The comparison between building and buying pre-built deserves an honest discussion. System builders who put together hundreds of PCs weekly benefit from economies of scale that individual consumers cannot match, buying components by the pallet at prices sometimes several hundred dollars below retail.
Build costs for system integrators are fairly minimal once they have set up efficient processes, as experienced builders can finish a fairly polished computer in under 60 minutes. This efficiency contrasts sharply with the time investment needed for first-time builders, who may spend several hours researching components, checking compatibility, assembling the system, and troubleshooting.
The customization advantage of building from individual parts remains one of the most compelling arguments for the DIY approach. Building a PC provides flexibility and customization options that give users the freedom to choose components that meet their exact needs, whether for gaming, video editing, or other intensive tasks.
The Step-by-Step Building Process
The actual assembly follows a logical sequence designed to minimize damage risk while maximizing accessibility. I'm going to walk you through the order I follow for every build.
Start by preparing your workspace:
- You need a large area with ample room to work comfortably
- Place a towel or soft pad down to protect the PC case as it'll be on its side for most of the build
- Ensure the area is well-lit or have a flashlight available to see into narrow corners
Take each component out of its packaging carefully – some are fragile. Line everything on your workspace so it's visible and easy to reach during installation. Wear an anti-static wrist strap to ground yourself and work on solid floors rather than carpet when possible.
I always start with motherboard preparation outside the case. This allows easier access for CPU, cooler, and memory installation before the board is mounted.
CPU Installation:
- Find the CPU socket and locate the small metal lever next to the protective case
- Press down gently to open the socket tray
- For AMD AM5 and earlier processors, align the golden triangle on the CPU corner with the matching marker on the socket
- The processor should settle into place with no force if correctly oriented
- For Intel LGA sockets, align the processor using corner notches and gently place it onto the socket
- Never force the CPU – if it doesn't seat easily, you've got the orientation wrong
Thermal Paste Application:
- Apply a small amount roughly the size of a grain of rice onto the center of the CPU's integrated heat spreader
- The pressure from the cooler installation will spread the paste evenly
- Don't manually spread thermal paste yourself, as incorrect application can cause air bubbles to form that negatively impact thermal conductivity
One mistake I see constantly is forgetting to remove the protective plastic from the CPU cooler base before installation. This seems obvious, but it happens enough that I always mention it. Check before you install.
RAM Installation:
- Install memory in specific slots to enable dual-channel operation
- Motherboards typically color-code or label slots to show proper population
- The most common mistake involves installing memory sticks in adjacent slots, which forces single-channel operation
- For two sticks, you typically want slots A2 and B4
- Check your motherboard manual for the exact configuration
- Installation requires enough force to fully seat the modules
- Clips on either end of the memory slot should click into place when RAM is correctly installed
- You should hear an audible click
Motherboard Installation:
- First, verify that standoffs are present only in locations matching mounting holes on your specific motherboard
- An extra standoff positioned where no mounting hole exists can create a short circuit
- The IO shield must be installed before the motherboard
- This metal plate fits into a rectangular opening at the rear of the case and provides cutouts for the motherboard's rear ports
- It snaps into place from inside the case
- I've forgotten this step before, and let me tell you, realizing it after everything else is installed is incredibly frustrating
With standoffs verified and the IO shield in place:
- Carefully lower the motherboard into position
- Align rear ports with IO shield openings and mounting holes with standoffs
- Secure the board with screws in a diagonal pattern rather than one side to the other
M.2 NVMe Drive Installation:
- M.2 NVMe drives install directly onto the motherboard
- Remove the small screw and standoff from the M.2 slot
- Insert the drive at approximately a 30-degree angle until it engages
- Press it flat and secure with the screw
- The screws are extremely small and easy to lose, so have a magnetic parts tray handy
Power Supply Installation:
- The PSU typically mounts in a dedicated chamber, often at the bottom of the case
- Fan orientation matters – position the PSU fan to draw cool air from outside the case if your case provides bottom ventilation
- The 24-pin motherboard power connector and 4+4 or 8-pin CPU power connectors should be among your first cable connections
- These are essential for the system to boot, and other components may block access later
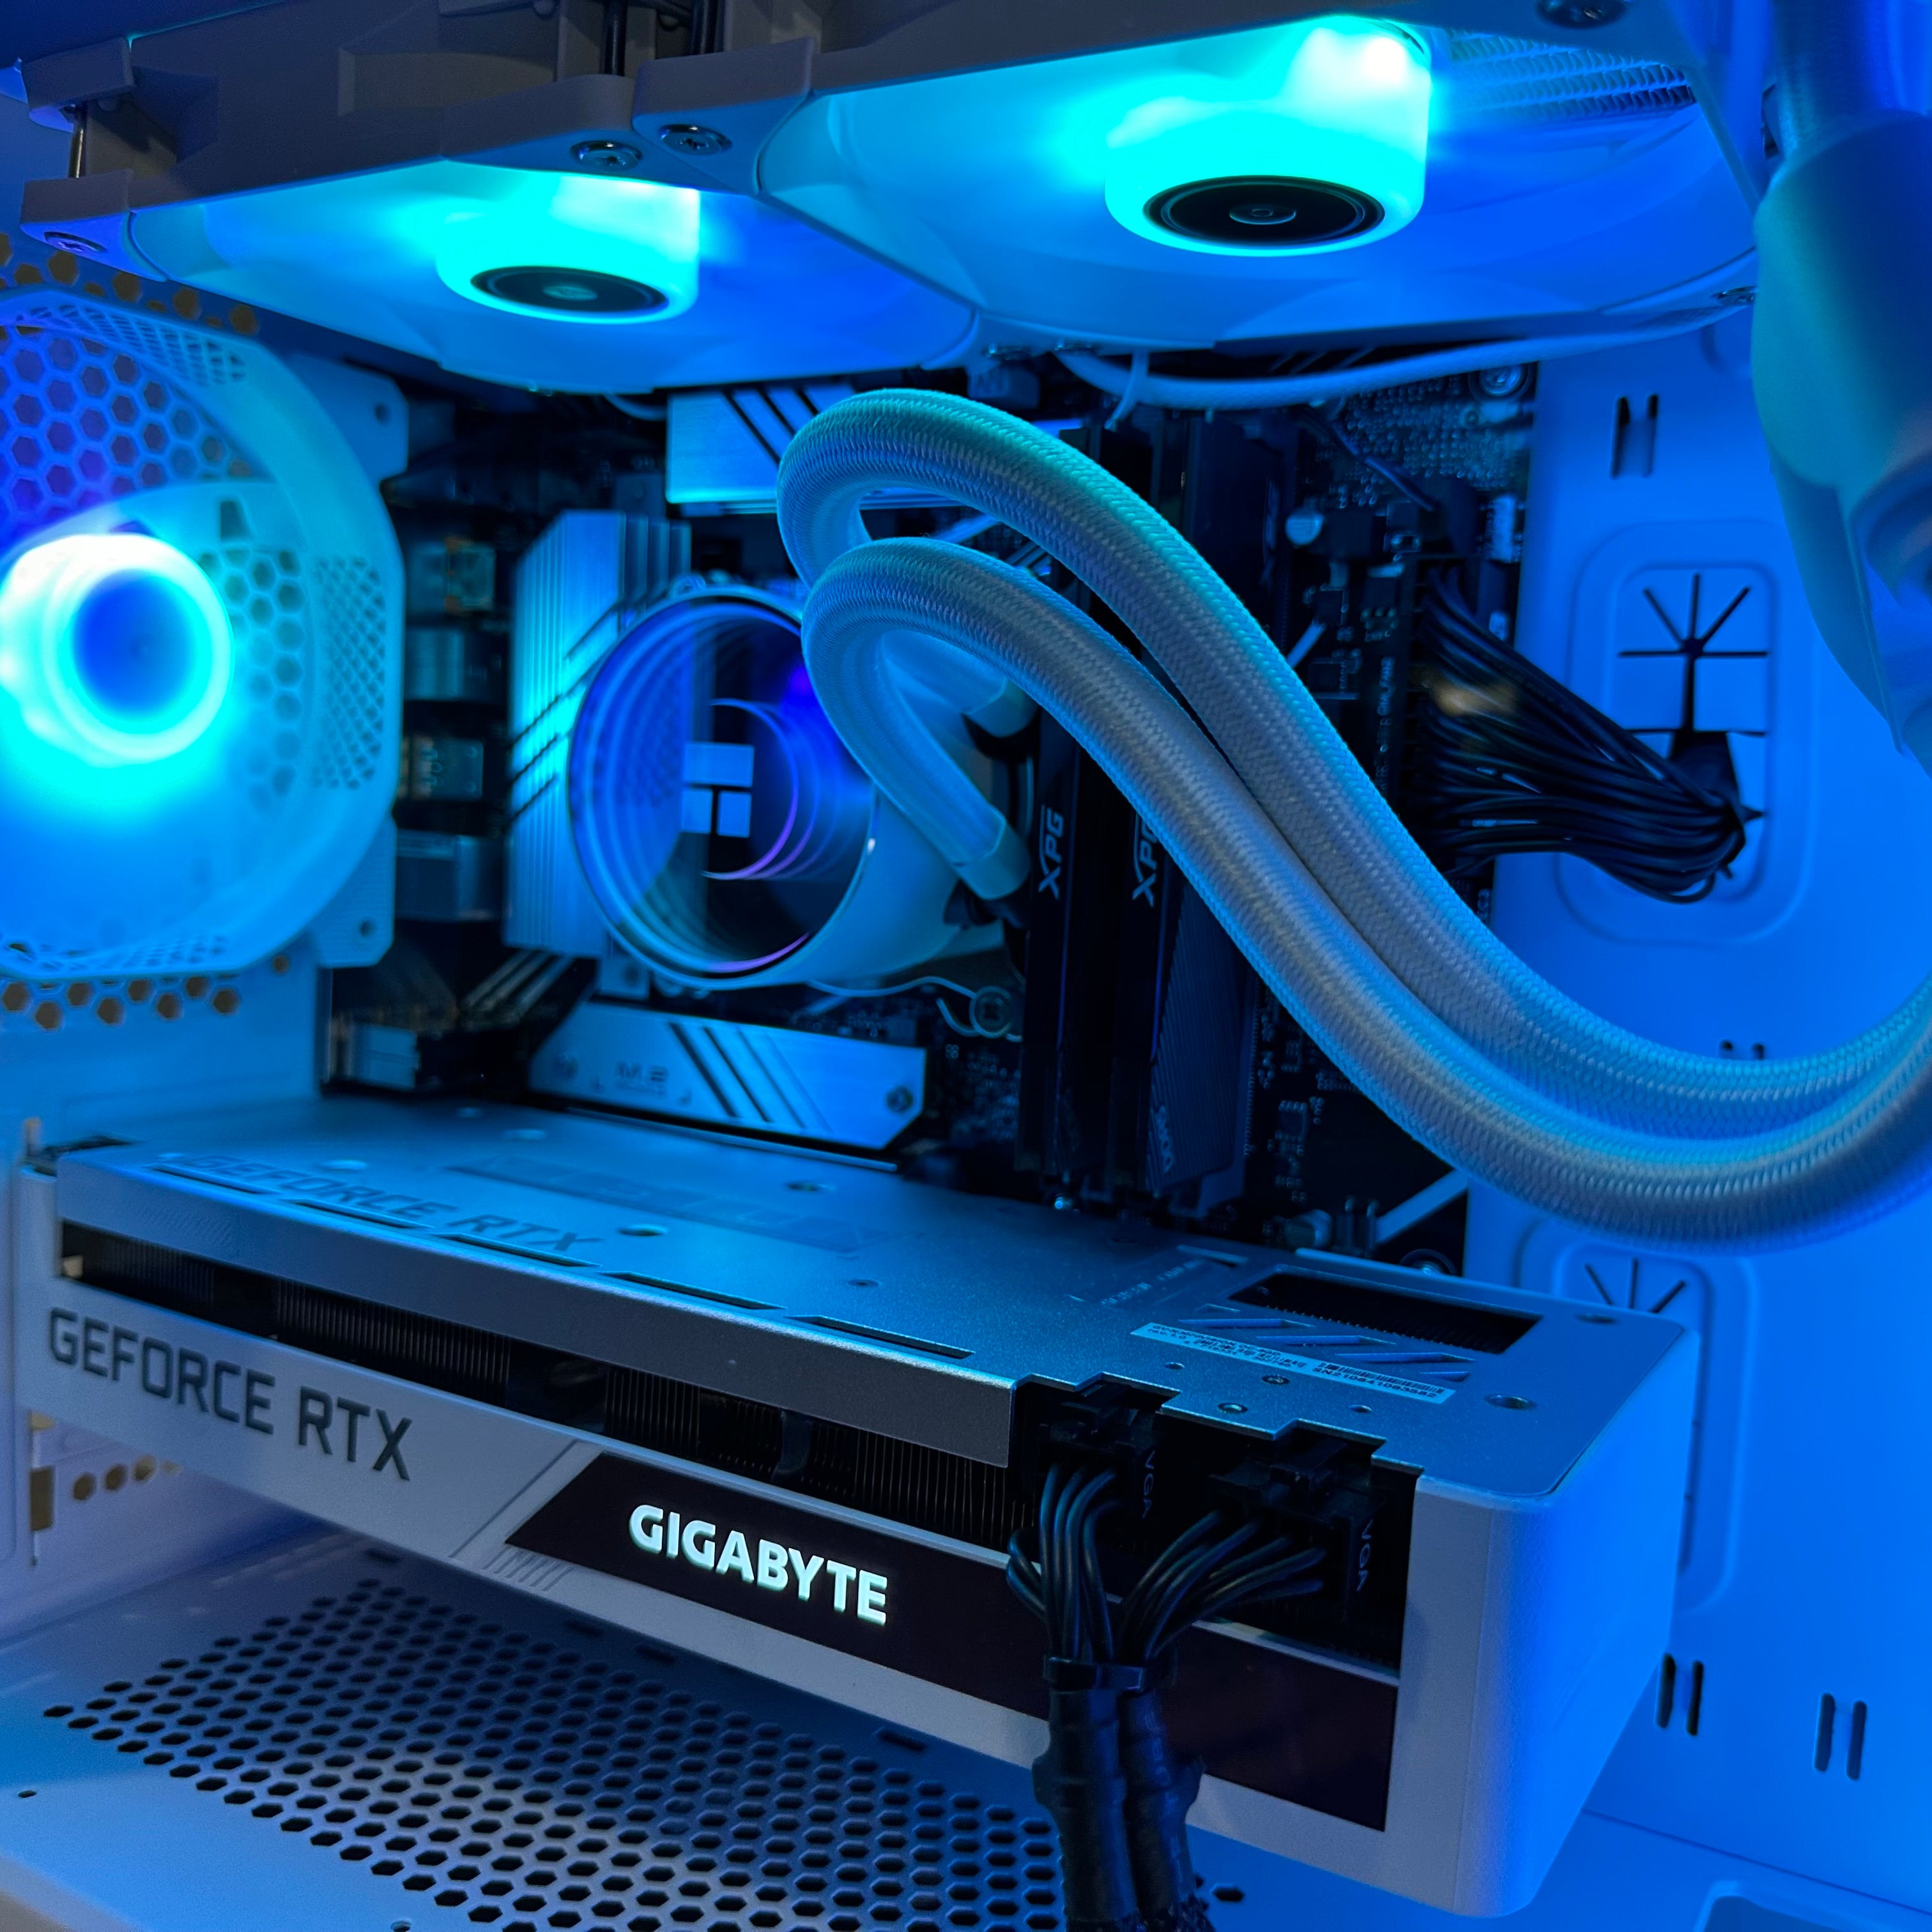
Graphics Card Installation:
- Graphics card installation occurs near the end
- The PCIe x16 slot will be the longest slot on your motherboard
- Before inserting the card, remove IO covers from the back of the case to accommodate the GPU's display outputs
- Align the card with the slot and press down firmly until it clicks into place
- Secure it to the back of the case with screws
- If your GPU requires auxiliary power connectors, connect them now
Fan and Front Panel Connections:
- Connect case fans to motherboard fan headers
- You're looking for small three- or four-pin connectors at the edge of the motherboard with labels like CPUFAN or SYSFAN
- It's often easy to wire in the fans on an all-in-one liquid CPU cooler but forget to plug in the actual pump that sits on top of the processor
Front panel connectors represent the final and most frustrating step for many builders:
- These small cables from the case connect to pins on the motherboard for the power button, reset button, LEDs, and front USB ports
- The indicators on the motherboard PCB can help guide you, but you'll need to squint to see them
- Use your motherboard manual for this step
- Even experienced builders who have been building PCs their entire lives acknowledge that remembering which of the little motherboard plugs goes where is an absolute nightmare
Common Mistakes to Avoid When Building By Parts
I've made plenty of mistakes over the years, and I've helped friends troubleshoot their builds countless times. Here are the errors I see most frequently.
Inadequate power supply selection tops the list. Not calculating the correct wattage for the PSU can leave you with a system that fails under load or cannot boot at all. This is particularly important for those planning to install power-hungry components like Nvidia's RTX 4090, which alone can consume 450 watts or more.
Beyond wattage, power supply quality matters tremendously. Low-cost and poor-quality power supplies represent one of the most talked-about mistakes when building new PCs. A failing power supply can damage other components, making this one area where investing in quality pays dividends.
Component compatibility errors still occur despite online tools. I always recommend adding all desired parts into PCPartPicker, which automatically finds compatibility issues. The consequences of compatibility errors range from simply having to return components to missing return windows and being stuck with unusable parts.
Improper CPU installation can damage pins. Some beginners don't know how to place the CPU into the slot correctly, and installing it incorrectly could potentially damage or snap the pins depending on how much force is used. Modern CPUs always include markings that should match corresponding marks on the motherboard.
Excessive force during CPU installation always indicates a problem. Correctly oriented processors settle into their sockets with minimal resistance. If you need to push or press, something's wrong.
Thermal paste errors significantly impact temperatures. Applying the wrong amount of thermal paste can result in poor CPU and system performance. Too little fails to cover the necessary surface area, while too much reduces performance by keeping metal surfaces too far apart and risks spillover onto the motherboard.
Memory installation mistakes beyond slot selection cause problems. Failing to fully seat modules or not engaging retention clips results in systems that may not boot or experience random crashes. If you have an even number of memory modules, always space them apart in alternating slots according to the motherboard manual.
Forgetting the motherboard IO shield represents one of the most frustrating mistakes because it's typically discovered after numerous other components are installed. At that point, you either start over by removing components or attempt to force the backplate into its opening with considerable effort, often resulting in a bent plate that never sits quite right.
Cable connection mistakes prevent system boot or cause components to operate incorrectly. Checking all connections before proceeding can easily avoid these issues. All cables need to be connected to the right inputs, otherwise the system won't turn on and could risk damaging parts.
Building for Different Use Cases
Your component selection strategy should align with how you'll actually use your PC. Let me break down optimization for different scenarios.
Gaming-focused builds focus on graphics card performance above all else. The GPU typically consumes 40-50% or more of total component budget in balanced setups.
For 1080p gaming, a build around an RTX 5060 paired with a mid-range processor like the AMD Ryzen 5 7600X or Intel Core i5-14400 provides balanced performance without significant bottlenecks. Memory requirements have increased, with 32GB now representing the recommended baseline rather than 16GB.
Storage should focus on a fast NVMe SSD of at least 1TB capacity for the operating system and frequently played games, as modern titles commonly exceed 50-100GB each.
For 1440p and 4K gaming, allocate budget to premium graphics cards like the RTX 5070 Ti or RTX 5080. Pair these with high-end processors for maximum performance.
Content creation and workstation builds follow different optimization principles. While gaming focuses on single-thread CPU performance and graphics card capabilities, professional workflows often benefit more from high core count processors, substantial memory capacity, and fast storage systems.
A video editing workstation might center around an AMD Threadripper processor with 24 or 32 cores, providing exceptional parallel processing performance for rendering tasks. Memory requirements commonly exceed gaming needs, with 64GB representing a reasonable baseline and 128GB or more preferred for complex projects.
Average system RAM capacity has grown steadily, going from an average of 135GB in 2023 to 150GB in 2024 according to hardware trends data.
Graphics card selection for professional work depends heavily on specific applications used. Some benefit from professional-grade cards like Nvidia's RTX Ada series that offer optimized drivers and certified compatibility, while other workflows achieve excellent performance with consumer gaming cards at substantially lower cost. For photo editing PCs, balanced configurations with strong CPU and GPU performance work best.
Streaming builds need to balance gaming performance with encoding capability. You need a strong CPU for encoding video in real-time while gaming, or a powerful GPU if using hardware encoding.
For streaming, I recommend at least an 8-core processor with strong single-thread performance. The RTX 40 and 50 series cards include excellent hardware encoders that reduce CPU load during streaming, making them particularly attractive for content creators. Our Twitch/YouTube/Facebook streaming gaming PCs are specifically configured for this purpose.
What's Changed in PC Building for 2025
The PC building landscape continues evolving, with several significant shifts affecting component selection and availability in 2025.
The artificial intelligence boom has created specific areas of intense demand threatening bottlenecks in component availability. Demand for high-performance computing and AI server supplies is rising to meet growing interest in generative AI applications.
Nearly every analyst firm and memory maker is warning of looming NAND and DRAM shortages that will send SSD and memory prices skyrocketing over the coming months and years, with some predicting a shortage lasting a decade. One AI organization alone reportedly signed a deal for 900,000 DRAM wafers per month, which could account for 40% of current global DRAM output.
CPU market dynamics shifted substantially in 2024. AMD passed Intel in total CPU sales per quarter for the first time in nearly three years according to Puget Systems data tracking workstation sales. Intel Core processors are still managing to hang on with a 60% share in client-class CPUs, but AMD is steadily gaining ground.
Contributing factors include the AMD Ryzen 9000 launch, Intel's somewhat lackluster Core Ultra 200S launch, and instability issues that plagued Intel Core 13th and 14th generation processors throughout 2024.
GPU availability and pricing have stabilized somewhat from extreme volatility during the cryptocurrency mining boom. GPU prices have fallen as competition in the supply pool has increased and more powerful GPUs have been launched.
Nvidia's RTX 50-series launch in early 2025 initially faced availability constraints. Cards like the RTX 5070 Ti and RTX 5090 were only available through scalpers at prices well above MSRPs. Within weeks, these cards became available from reputable retailers, though still commanding premiums over suggested retail prices.
Storage continues its transition to solid-state drives. The average size of primary OS and application drives in workstations increased by nearly 25% compared to 2023, averaging just over 2TB in 2024.
DDR5 memory has become mainstream for new builds. The performance gap between DDR4 and DDR5 has widened considerably, with DDR5 providing substantial performance improvements particularly in memory-intensive titles. Testing across 13 games showed that Intel's 14th-generation processors see an average boost of 16% when using DDR5 compared to DDR4.
Frequently Asked Questions
How long does it take to build a PC from parts?
Building your first PC typically takes 2-4 hours from unboxing components to completing assembly. Experienced builders can finish in under an hour, but as a beginner, you should plan for an afternoon and not rush the process. Take breaks if you get frustrated, and remember that careful, methodical work prevents mistakes that cost time fixing later.
Is building a PC cheaper than buying pre-built in 2025?
Building your own PC can save money compared to pre-built systems, but the gap has narrowed due to manufacturers' bulk buying power. The real advantage of building isn't always cost savings but rather getting exactly the components you want and knowing the quality of every part. You avoid the budget power supplies and slow RAM that pre-built manufacturers often use to hit price points, and you gain valuable knowledge about your system for future upgrades and troubleshooting. Browse our gaming PCs to compare pre-built options.
What tools do I need to build a PC?
You only need a Phillips head screwdriver, typically a #2 size, to build most PCs. A magnetic tip version helps with small screws but should be kept away from storage devices. Beyond that, zip ties or velcro straps for cable management are helpful, and isopropyl alcohol with lint-free cloths for cleaning thermal paste surfaces if needed. An anti-static wrist strap provides extra protection for components, though working on a non-carpeted surface and touching your case periodically to discharge static also works.
Can I use parts from my old PC in a new build?
You can reuse several components from an old PC including the case, power supply (if it has enough wattage and isn't too old), storage drives, and sometimes RAM if it's compatible with your new motherboard. However, the CPU, motherboard, and usually RAM need to be replaced together as a platform since they must match. Graphics cards transfer easily to new builds as long as your power supply can handle them. Always verify compatibility before assuming old parts will work with new components.
What should I do if my PC doesn't turn on after building?
First, verify all power connections are secure, including the 24-pin motherboard connector, 8-pin CPU power connector, and that the power supply switch is on. Check that your monitor is plugged into the graphics card, not the motherboard, if you have a dedicated GPU. Ensure RAM is fully seated with retention clips engaged, and try reseating it if necessary. If still no response, breadboard the system outside the case with only essential components to eliminate shorts from incorrect standoffs, and check your motherboard manual for diagnostic LED meanings.
Do I need to apply thermal paste when building a PC?
Most aftermarket CPU coolers come with thermal paste pre-applied to the cold plate or include a tube of paste. If using a cooler with pre-applied paste, simply install it without adding more. If thermal paste isn't pre-applied, you need to apply a small amount (roughly the size of a grain of rice) to the center of the CPU before installing the cooler. Never reuse old thermal paste, as removing and reinstalling a cooler causes air bubbles that negatively impact cooling performance.
How do I know if my power supply has enough wattage?
Calculate your system's power draw by adding the TDP of your CPU and GPU plus about 100-150 watts for other components, then add 20-30% headroom for efficiency and power spikes. Online power supply calculators from manufacturers like Cooler Master and Be Quiet provide estimates based on selected components. As a general rule, budget builds typically need 500-650W, mid-range systems require 650-750W, and high-end builds with powerful GPUs need 850W or more, with the RTX 4090 and 5090 alone consuming 450+ watts.
Should I buy the latest generation components or save money with older parts?
This depends on your budget and performance needs. The latest generation components offer the best performance and longest relevance, but previous generation hardware often provides excellent value when prices drop after new releases. For gaming, focus spending on the GPU since it has the largest performance impact, and you can often save substantially by choosing a last-generation processor that still delivers strong gaming performance. However, ensure you're not buying components so old that they limit upgrade paths or lack support for modern features you need. Check our special discounts for deals on current-generation hardware.
Leave a comment
This site is protected by hCaptcha and the hCaptcha Privacy Policy and Terms of Service apply.